
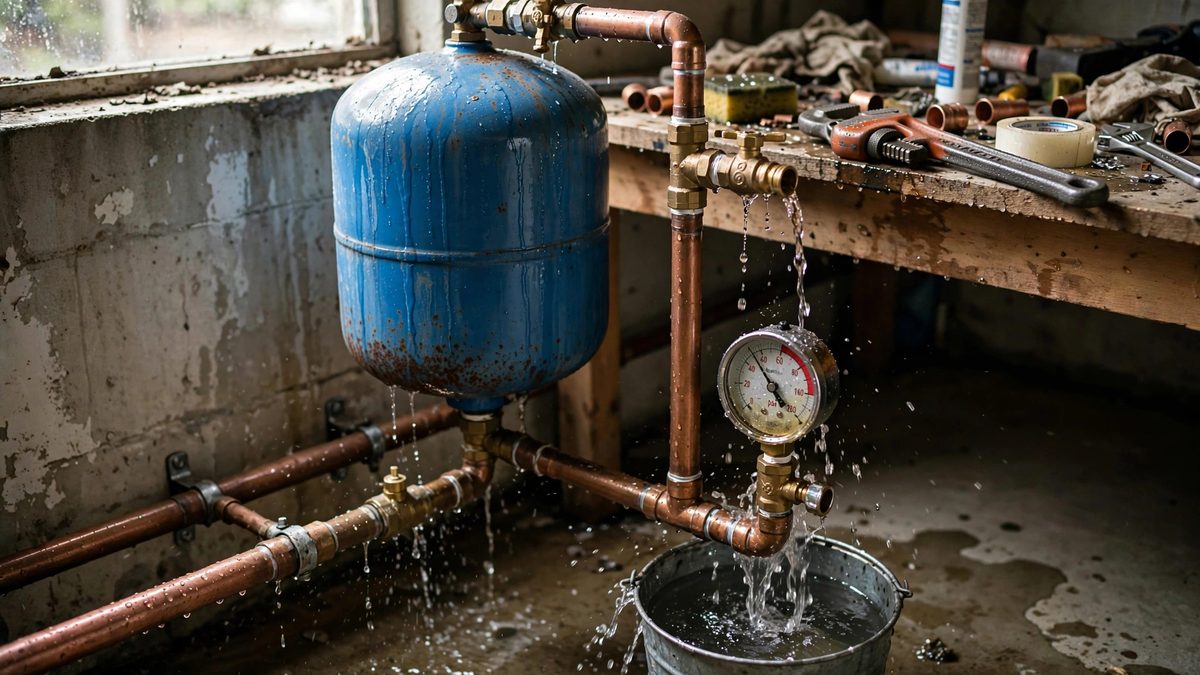
A waterlogged expansion tank announces itself indirectly: the pressure relief valve weeps or pops, the pressure gauge swings wildly, pipes knock when fixtures close, and the system generally behaves as if it has lost its manners. The expansion tank's job is to give heated water somewhere to go, absorbing the pressure rise in a closed plumbing system with a cushion of compressed air behind a rubber diaphragm. When that diaphragm fails, the air cushion vanishes into the water, the tank fills solid, and every symptom of a missing expansion tank appears at once. Diagnosing it is a short, methodical procedure that separates tank failure from the other things that cause the same symptoms.
How the tank is supposed to work
Inside the tank, a flexible diaphragm divides the vessel into two chambers: one connected to the plumbing system, one pre-charged with air. When water heats and expands, it pushes into the water side, compressing the air cushion, and system pressure rises only slightly. When water cools, the air pushes it back out. The pre-charge pressure, set with the system depressurized, should match the static water pressure of the system, so the diaphragm rests in a neutral position at normal pressure with room to move in both directions. This balance is the whole design. A ruptured diaphragm lets the air dissolve into the water and escape through fixtures over days or weeks, leaving the tank waterlogged: full of water, with no compressible cushion at all.
The tap test and other quick checks
Start with the tank in place and the system at normal pressure. Tap the tank from top to bottom with a knuckle or a wrench handle. A healthy tank rings hollow at the top, where the air chamber is, and sounds solid and dull at the bottom where the water sits. A tank that sounds solid all the way up is waterlogged and highly suspect. Next, check the tank's weight; a waterlogged tank is dramatically heavier than a working one, and anyone who has lifted both knows the difference immediately. Look at the system pressure gauge while a water heater runs through a heating cycle. In a healthy system the pressure rises modestly. In a waterlogged system it climbs fast and far, often reaching the relief valve's setpoint. Each of these checks is suggestive rather than conclusive, but together they paint a clear picture.
Checking the pre-charge properly
The definitive test is the pre-charge check, and it must be done with the system depressurized. Shut off the water feed, open a faucet to drop system pressure to zero, and then check the air valve on the tank with a tire gauge. If water comes out of the air valve, the diaphragm is ruptured, full stop, and the tank needs replacement. If the gauge reads zero or far below the rated pre-charge, the air charge has leaked out, which may be a slow valve leak or a diaphragm failure in progress. Recharge to the specified pre-charge with a pump, close everything up, and recheck in a week. A tank that holds its charge was just low; a tank that loses it again has a failed diaphragm or a leaking air valve, and the air valve can be tested with soapy water like a tire.
Ruling out the lookalikes
Several other faults mimic a failed expansion tank, so rule them out before replacing anything. A failed pressure-reducing valve on the main can let street pressure creep up, causing relief valve discharge that looks exactly like thermal expansion symptoms; check static pressure with no water heating to separate the two. A relief valve that weeps at pressures well below its rating is often just a worn valve, not a system problem. Water hammer from fast-closing valves causes knocking that a waterlogged tank worsens but does not originate. And in well systems, a waterlogged pressure tank produces similar pressure swings through a different mechanism. Diagnose the actual fault rather than replacing the most suspicious part. Parts-changing is expensive and occasionally fixes nothing.
Replacement and pre-charge setup
When the diaphragm has failed, replace the tank; diaphragms are not field-serviceable in the sealed tanks used residentially. Size the replacement to the system: water heater capacity and the temperature rise determine the expansion volume, and an undersized tank will cycle its diaphragm to the stops and fail early. Install it with support adequate for its full-of-water weight, because a failed tank is heavy and the replacement will be too if it ever waterlogs. Set the pre-charge before pressurizing the system, with the tank isolated and the water side at zero pressure, matching the system's static pressure. A tank installed with the wrong pre-charge works poorly from day one: too high and it cannot accept water, too low and the diaphragm over-extends.
Safety around pressurized vessels
Expansion tanks are pressure vessels, and the diagnostic steps involve a relief valve that exists to prevent dangerous overpressure. Never plug, cap, or restrict a relief valve or its discharge line, even temporarily during testing. If the relief valve is discharging, it is doing its job; find and fix the cause rather than silencing the symptom. When replacing a tank, depressurize fully and expect residual water. And if system pressure ever reads far above normal with no relief discharge, treat the relief valve itself as suspect and address it immediately. Pressure vessels forgive almost nothing.
Diagnose expansion tanks in order: tap test and weight for suspicion, pressure behavior during heating for confirmation, and the depressurized pre-charge check for the verdict, with water from the air valve as the smoking gun. Rule out the pressure-reducing valve and the relief valve before buying parts. Then replace with the right size, charge it correctly, and the system goes back to its quiet, well-mannered self.
Related Guides
- Expansion Tank Pressure Pre-Charge Tuning: Water expands when heated, and in a closed plumbing system with a check valve or pressure regulator blocking the way back to the main, that expansion
- Recirculation Pump Sizing for On-Demand Hot Loops: An on-demand recirculation loop keeps hot water waiting at the tap instead of in the water heater: a small pump circulates hot water through a
- Sediment Filter Micron Sizing for Well Water Mains: Well water carries sediment: fine sand, silt, rust flakes, and the occasional surprise from a shifting water table. Without filtration, that grit
- Calculating Flow Rates for Recirculating Hot Loops: A recirculating hot water loop promises hot water at the tap without the long wait and the wasted water down the drain. But size the pump wrong and