
Drag soldering a row of dual-in-line leads looks like a magic trick the first time you see it done well. A grooved tip carrying a small reservoir of molten solder glides across a fluxed row of pins, and every joint wets out cleanly in a single pass. The trick is not the tip or the solder. It is the speed. The pace of the drag sets how long each lead sees heat, how much solder deposits, and whether surface tension pulls the metal into tidy fillets or into bridges between pins. Get the speed right for the generous 2.54 mm pitch of a classic DIP package and you build a feel that transfers directly to tighter surface-mount rows later.
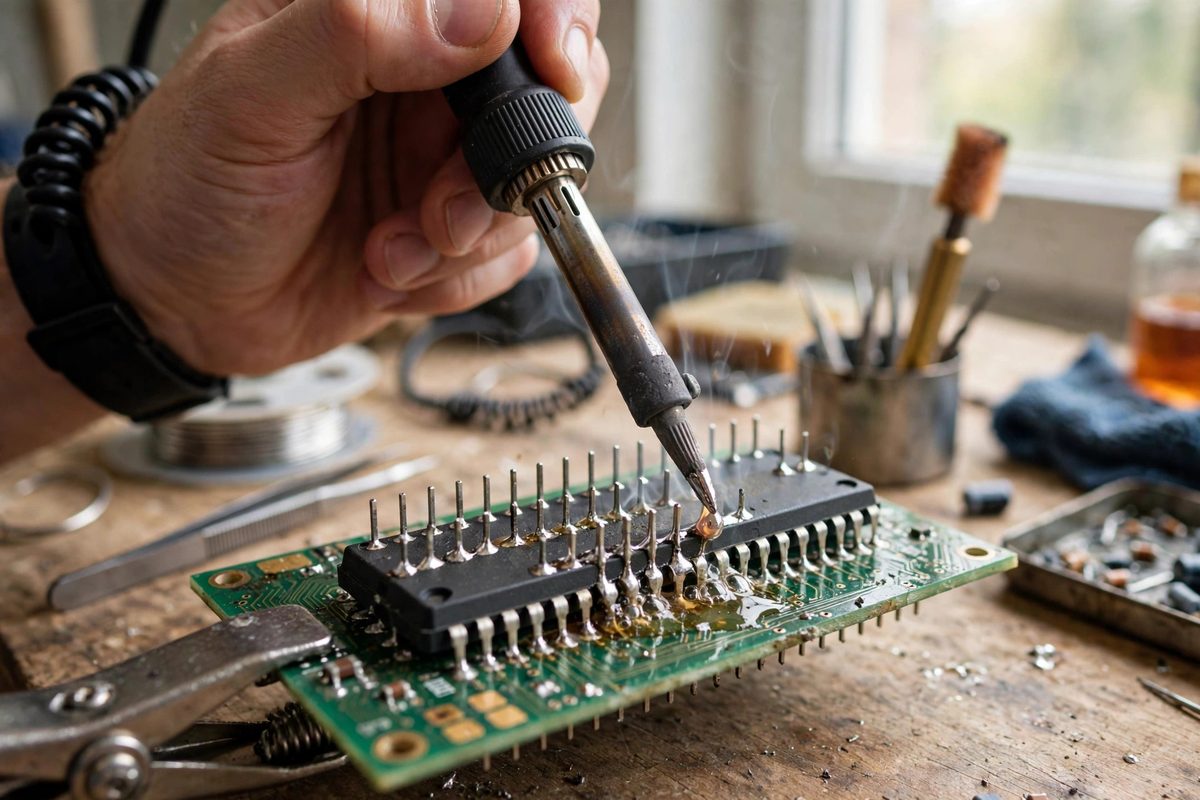
Why drag speed is the primary variable
Soldering is controlled heat transfer, and in drag work nearly everything else stays fixed. Your iron holds one temperature, the tip has one thermal mass, and the board sinks heat at whatever rate its copper pours dictate. The only thing you modulate pass to pass is dwell time, and dwell time is set by how fast the tip travels. When each lead sees roughly a third to a half second of contact, the flux activates, the plating wets, and the solder flows around the lead and into the through-hole or around the pad before freezing. Cut that dwell too short and the solder skins over before wetting, leaving grainy, starved joints that look dull and fail under vibration. Stretch it too long and the whole row stays liquid at once, which is exactly the condition where surface tension drags solder sideways into bridges. Speed is not a style choice. It is the heat budget.
Prepare the joint before the tip moves
A good drag starts before the iron touches the board. Flood the row with liquid or gel flux, because flux is what lets solder release from the tip and wet the metal instead of balling up. Choose a tip with a concave well or a broad hoof face and tin it so the well holds a small, shiny reservoir, not a dripping blob. Secure the board so it cannot shift mid-pass, and check that nothing tall sits in the path of the iron. If the board has heavy ground pours tied to the pins, a few minutes on a low preheat plate pays for itself, since cold copper is the usual reason the first pins of a row refuse to wet. Wipe the tip, reload the reservoir, and commit to the pass. Hesitation halfway across a row is how cold joints happen.
A starting speed for DIP pitch
For the 2.54 mm pitch of dual-in-line parts, a steady travel of roughly five to eight millimeters per second is a sane starting point for most bench irons. At that pace each lead sees enough contact to wet fully without the row ahead of the tip getting hot enough to bridge. The right way to use a number like that is as a calibration anchor, not a law. Solder one practice row on a scrap header and read the joints. Bridges between neighbors mean the row stayed liquid too long, so pick up the pace slightly or carry a little less solder in the tip well. Dull, grainy, or incompletely wetted fillets mean the leads never reached temperature, so slow down a touch. Once the joints come out bright and concave with a crisp meniscus at each lead, note the rhythm of your hand. That rhythm is the setting, and it belongs to your iron, your tip, and your solder, not to a chart.
Angle, direction, and pressure
Hold the iron so the tip meets the board at roughly thirty to forty-five degrees, with the concave well facing the direction of travel so molten solder feeds continuously onto the leads as they arrive. Use only the weight of the iron for pressure. Bearing down bends leads, scrapes mask, and squeezes solder sideways. Plan the direction before you start: drag toward open board, away from tall components and away from any connectors whose plastic bodies would soften under a stray touch. Work one full side of the package in a single continuous pass, starting just before the first pin and lifting cleanly just past the last. Stopping mid-row leaves a fat deposit where the tip parked and a cold joint where it restarted. If your hand is not steady enough for the full row yet, practice the motion cold a few times until the travel feels like drawing a straight line with a pen.
Fixing bridges and missed joints
Even a good drag leaves the occasional bridge, and the fix is faster than the worry. Lay a strand of desoldering wick over the bridged pins with a drop of fresh flux, touch the tip to the wick, and let capillary action drink the excess. Do not scrub. For a pin that never wetted, add flux and re-drag just that section at your established pace, or touch it up with a fine conical tip. Inspect every row under magnification when you are learning, because a joint that looks fine to the naked eye can hide a hairline bridge at the heel of the fillet. Check both sides of the package, then check the solder side for stray balls, which signal that the tip was carrying too much solder or the flux was exhausted before the pass ended.
Fumes, lead, and cleanup
Solder fumes deserve the same respect as any shop chemical. Work with a fume extractor or at minimum a fan pulling air away from your face, and never lean directly over the work while the iron is down. If you use leaded solder, keep food and drink out of the area and wash your hands when you finish, since the exposure route is ingestion from your fingers, not the fumes themselves. Let the board cool before handling it, because a freshly dragged row holds heat longer than it looks like it should. Decide on flux cleanup based on the flux type: no-clean residue can stay where the datasheet allows it, while rosin residue in a high-impedance or high-voltage section should come off with the appropriate solvent and a stiff brush.
Drag speed is a feel you calibrate once and keep. Burn through a handful of scrap DIP headers at different paces, read the joints honestly, and lock in the rhythm that gives bright, concave fillets with no bridges. From there, the same motion scales down to tighter pitches. The numbers change, but the physics does not.
Related Guides
- Selective Solder Flux Wave Heights on Mixed Boards: Selective soldering solders through-hole components on a board that already carries surface-mount parts, using a small, precise solder wave instead
- Solder Mask Dam Thickness to Prevent Bridging: Between two adjacent surface-mount pads, a thin wall of solder mask, the dam, keeps molten solder from flowing across the gap and shorting the pads
- Copper Land Pad Widths for Hand Solder Clearances: Hand soldering is more forgiving than reflow in some ways and less in others: the iron can reach places the oven cannot, but the human hand needs
- Thermal Relief Spoke Sizing on Power Planes: Thermal reliefs are the compromise between two enemies: the soldering iron, which needs the joint hot, and the power plane, which wants to wick that