
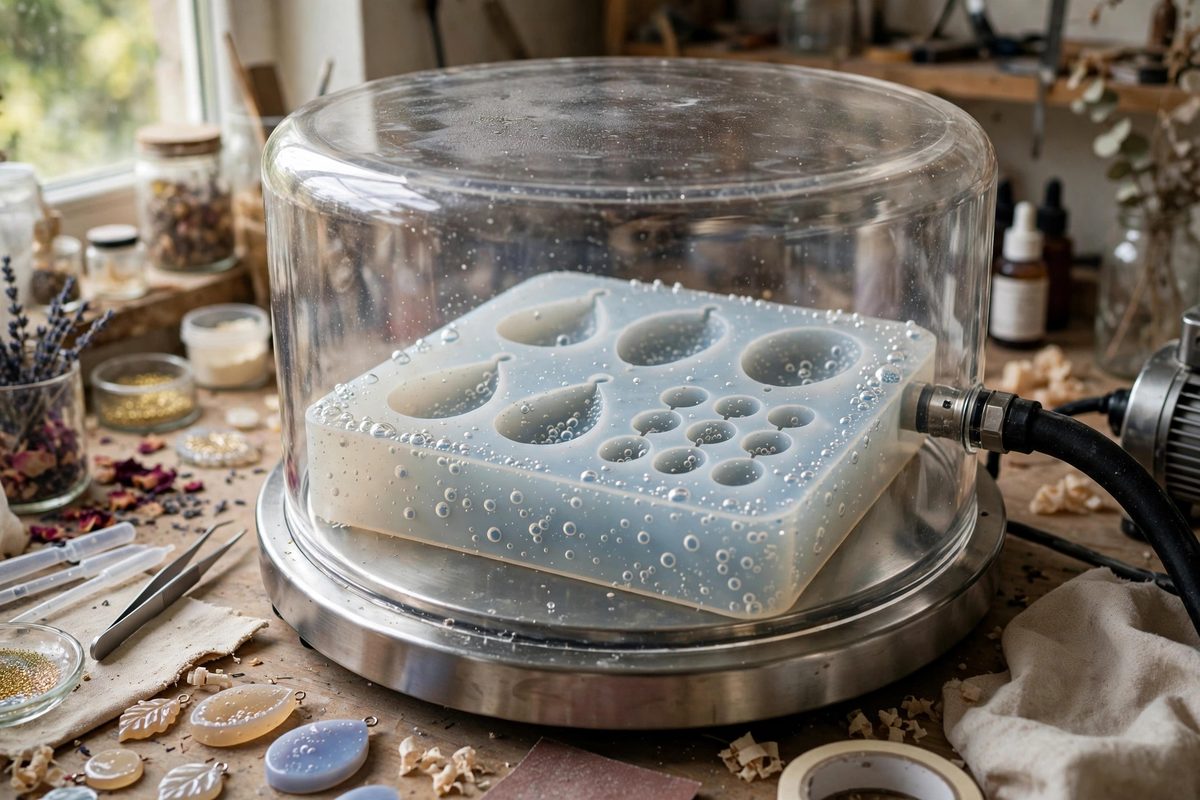
Micro bubbles in silicone molds are the invisible defect that ruins visible castings. The mold looks perfect, but tiny air bubbles trapped in the silicone during mold-making leave microscopic pits on the mold surface. Every casting pulled from that mold inherits those pits as tiny bumps or cloudy spots, and in jewelry-scale work, where the piece is examined up close, they are fatal to a professional finish. Degassing the silicone before it cures, pulling the trapped air out under vacuum, is the standard prevention, and it is straightforward once you understand what the vacuum is actually doing.
Where the Bubbles Come From
Mixing two-part silicone folds air into the material: every stir, every fold of the mixing stick, captures bubbles, and pouring the components together traps more. Silicone is viscous, so those bubbles rise slowly; in a fast-curing silicone they never reach the surface before the material gels, freezing in place. The worst offenders are the micro bubbles, too small to see in the mixing cup, which migrate to the mold's detail surfaces and cure as tiny craters. Brushing or pouring silicone over a master without degassing also traps air against the master's surface through surface tension, especially in fine textures and undercuts. The result is a mold that looks smooth to the naked eye but prints texture defects into every casting. Degassing addresses the mixed-in air; careful pouring technique addresses the surface-tension air. You need both.
How Vacuum Degassing Works
A vacuum chamber lowers the air pressure around the mixed silicone, and the bubbles inside the silicone expand as the external pressure drops. Expanded bubbles are more buoyant, so they rise faster; at the surface they pop, releasing their air into the chamber. The visual signature is dramatic: the silicone froths up, sometimes doubling or tripling in volume, then collapses back down as the bubbles break. That rise-and-collapse cycle is the process working. The key detail is container size: the mixing cup must hold at least three to four times the silicone volume to contain the frothing without overflowing into the chamber. A vacuum pump that pulls a reasonably deep vacuum, the kind sold for resin and silicone work, is sufficient; you do not need laboratory-grade vacuum. Cycle the vacuum until the frothing subsides and the surface goes calm, which usually takes a few minutes.
Timing Against the Pot Life
Degassing consumes working time, and silicone's pot life is fixed. The sequence that works: mix thoroughly but not violently, transfer to the degassing container if needed, degas promptly, then pour immediately. Every minute spent under vacuum is a minute the silicone is thickening, and silicone poured too late flows poorly and traps new air against the master. Choose a silicone with a pot life that accommodates your process: if degassing takes five minutes and your pour takes five, you want at least twenty minutes of working time, not twelve. Do not try to compensate for a short pot life by rushing the degassing; a partial degas leaves the worst bubbles, the deep micro ones, still in the material. If the schedule is tight, mix smaller batches: two well-degassed small molds beat one rushed large one.
Pouring Technique After Degassing
Degassed silicone can still trap air during the pour, so technique matters. Pour in a thin stream from a height, which stretches the silicone and lets any remaining micro bubbles pop as the stream thins. Pour into the lowest point of the mold box and let the silicone rise around the master, rather than pouring directly onto detail surfaces, which folds air underneath. For masters with deep texture, brush a thin detail coat of degassed silicone onto the surface first, working it into every crevice with a soft brush, then pour the bulk. The brush coat displaces surface-tension air mechanically, and because it is the same degassed material, it bonds seamlessly with the pour that follows. Watch for air trapped under horizontal surfaces and in undercuts; a gentle vibration of the mold box or a few taps on the bench coaxes those loose before the silicone gels.
When You Do Not Have a Vacuum Chamber
Vacuum degassing is the reliable method, but there are fallback techniques. A pressure pot works on the opposite principle: curing the silicone under pressure compresses the bubbles so small they become invisible, though they technically remain in the material. Thin, slow pours from height eliminate a surprising amount of air without any equipment. Choosing a low-viscosity silicone with a long pot life lets more bubbles rise out on their own, especially if you pour soon after mixing and give the mold an extended undisturbed cure. None of these fully replace vacuum degassing for critical detail work, but they meaningfully reduce defects. If jewelry casting is a serious pursuit, a basic vacuum chamber is one of the highest-value equipment purchases: it improves every mold you will ever make.
Micro bubbles are a mixing problem with a vacuum solution. Degas in an oversized container, watch for the rise and collapse, pour thin from height into the low point, and brush the details first. The mold surface you create is the ceiling on every casting's quality; make it flawless.
Related Guides
- UV Resin Layer Thickness Limits for Small Pendants: UV resin cures in seconds under the right light, which makes it irresistible for small jewelry like pendants. But that instant cure has a catch
- Bezel Wall Clearances for Clear Jewelry Embedments: Clear resin jewelry lives or dies by optical clarity, and the bezel wall, the metal rim holding the resin, is where clarity most often fails. Resin
- Open Bezel UV Resin Sealing With High-Tack Backing Tape: An open bezel is a metal frame with no back, which means UV resin poured into it has nothing to sit on until it cures. High-tack backing tape solves