
Soda ash, plain sodium carbonate, is the unsung workhorse of tie-dye. Fiber-reactive MX dyes only bond to cellulose in an alkaline environment, and the pre-soak in soda ash is what sets that environment inside the fabric before the dye ever touches it. Makers who skip or shortchange the soak get pale, washed-out shirts; makers who understand the chemistry behind it get saturated, washfast color. Here is what the soak is actually doing and how to get it right.
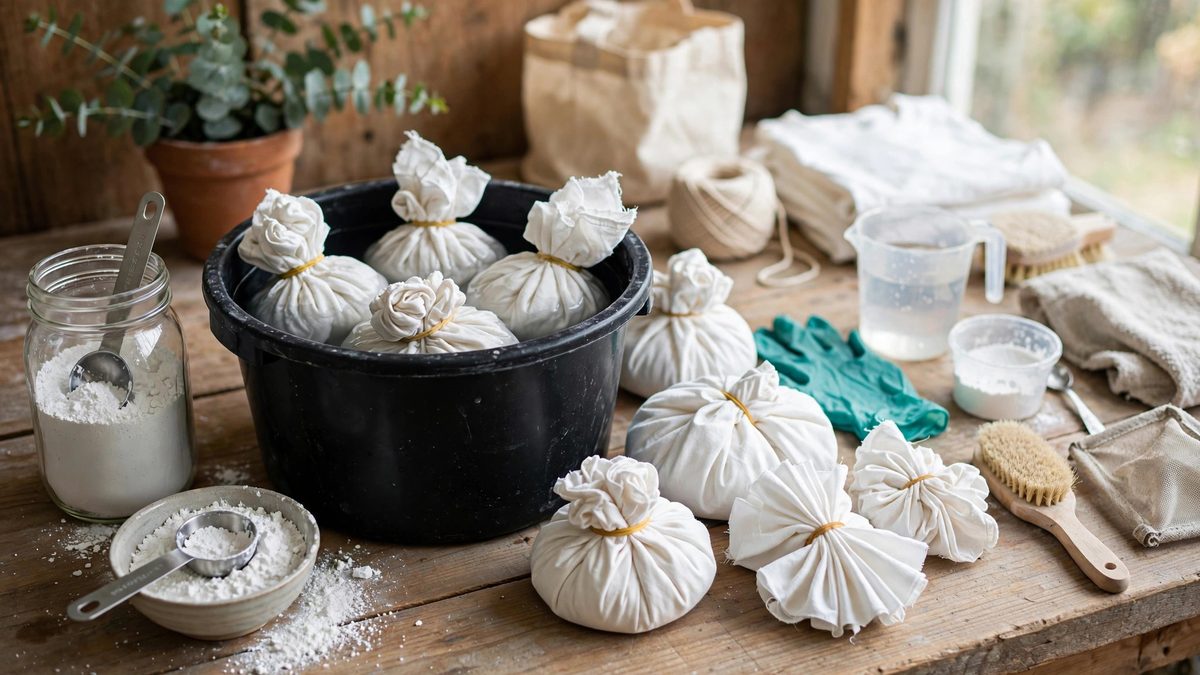
Why fiber-reactive dyes need alkali
MX dyes attach to cotton through a covalent bond: the dye molecule reacts with a hydroxyl group on the cellulose chain and becomes part of the fiber itself. That reaction only proceeds at a meaningful rate when the fabric pH is up around 10 to 11. Dry shirt cotton sits near neutral pH, so dye applied without alkali largely just sits on the surface and rinses away. The soda ash soak loads the fiber with carbonate ions and raises its internal pH, so that when dye solution arrives, the bonding reaction starts immediately and thoroughly. No alkali, no bond; it really is that binary.
Mixing and timing the soak
The standard working solution is about one cup of soda ash per gallon of warm water. Warm water matters because sodium carbonate dissolves sluggishly in cold water and undissolved granules leave pale spots where they sat against the fabric. Soak the garment for at least 15 to 20 minutes, squeezing it gently a few times so the solution penetrates folds and the fabric core. Thicker garments like sweatshirts benefit from a longer soak, up to 30 minutes. After soaking, wring the piece out firmly; it should be damp, not dripping. Dyeing a sopping-wet shirt dilutes the dye at the contact point and softens your lines.
The dampness window and dye application
Soda ash keeps working only while the fabric is damp. As the garment dries, the pH environment collapses and the dye stops bonding, which is why tie-dye instructions insist on dyeing immediately after wringing. If you must pause, seal the damp, soda-soaked pieces in plastic bags; they will hold their reactive window for a day or more. Apply dye to fabric that is evenly damp, not bone dry in spots, because dry patches bond poorly and show up as pale ghosts after washing. This is also why the soak squeeze should be thorough and uniform.
Common soak failures and what causes them
Overall pale results after a proper dye session almost always trace back to the soak: too weak a solution, too short a dwell, or dyeing fabric that dried out first. Uneven pale blotches point to undissolved soda ash granules or to the garment folding against itself during the soak so solution never reached the fold. Crusty white residue after washing means the piece went into the dye bath still loaded with excess ash; wring harder next time. And if colors bleed into each other more than intended, the culprit is usually excess water in the fabric rather than the ash itself, so wring more firmly and apply dye with less liquid.
Safety and fabric care
Soda ash is a mild chemical but not harmless: it is an irritant to eyes and skin with prolonged exposure, so gloves are a sensible habit and you should keep it out of your eyes. It is also hard on some fibers. Protein fibers like wool and silk are damaged by the alkaline soak, so keep soda ash away from them entirely. On cotton it is safe at normal concentrations, though repeated heavy soaking can slightly stiffen fabric; a proper rinse and a wash with mild detergent after dyeing restores the hand. Store dry soda ash sealed, since it absorbs moisture and clumps, and label the container clearly so nobody mistakes it for washing soda's gentler cousins.
Batching and reuse
A mixed gallon of soda ash solution can be reused for several garments in one session; its strength declines gradually rather than collapsing. When the solution starts feeling slippery-weak or you are topping it up with plain water, mix fresh. For production-style sessions, keep a dedicated soak bucket going and a second bucket for wrung pieces, so the line from soak to dye stays short and every piece hits the dye while properly damp.
The soak is fifteen quiet minutes that decides the whole result. Mix it strong, keep the fabric damp, and the dye chemistry does the rest.
Related Guides
- Sodium Bicarbonate Buffering in Cold Batch Tie-Dye: Fiber reactive dyes need alkalinity to bond with cotton: the high pH opens the cellulose to reaction and fixes the color permanently. The standard
- Sodium Bicarbonate Buffering for Direct Powder Dyes: Tie-dye lives on bright, saturated color, and the chemistry behind that brightness is pH. The fiber-reactive dyes used in tie-dye need an alkaline
- Urea Solution Mixing Ratios for Ice Dyeing Cotton: Ice dyeing lays fiber-reactive dye powder over ice on scrunched cotton, and as the ice melts, the dye solution blooms through the fabric in
- Sodium Hexametaphosphate Binding in Hard Water Dyeing: Hard water is the invisible saboteur of dyeing. Calcium and magnesium ions bind fiber-reactive dyes before they ever reach the fabric, producing