
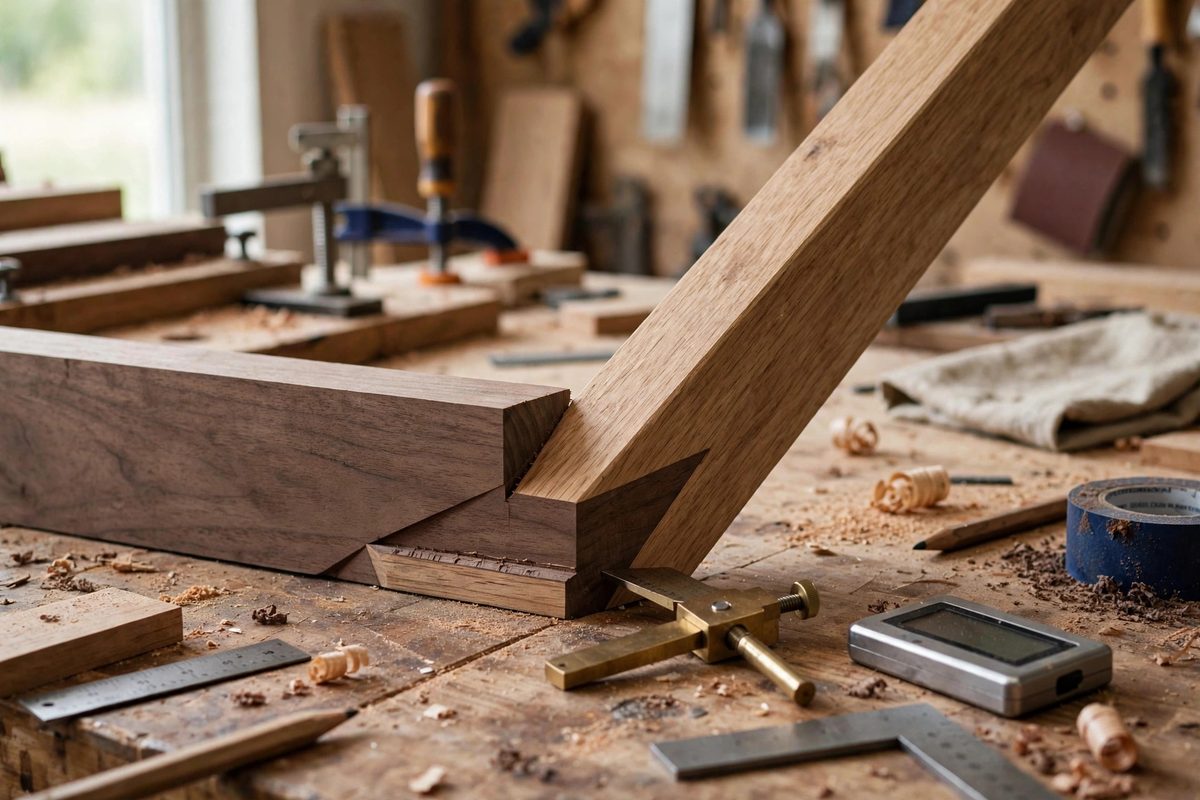
A table apron that meets splayed legs has to solve two angles at once: the miter across the face of the board and the bevel through its thickness. Get either one wrong and the joint gapes, and no amount of glue and clamping closes a compound gap cleanly. The geometry looks intimidating because the two angles interact; changing the splay changes both the miter and the bevel in ways that simple addition cannot predict. But the calculation is straightforward trigonometry, and understanding it lets you cut splayed aprons confidently instead of sneaking up on the fit with test cuts.
What the two angles actually are
Picture a table leg splayed outward in two directions, tilted both along the apron's length and across its width. The apron end must be cut so its face mates perfectly with the leg's face. The miter angle is the angle of the cut as seen looking down at the top of the apron: it swings the end of the board sideways. The bevel angle is the tilt of the blade as seen looking along the apron: it slopes the cut face top to bottom. On a square leg with no splay, the miter is forty-five degrees and the bevel is zero. As soon as the leg tilts, the miter moves away from forty-five and the bevel becomes nonzero, and the two are linked by the splay angles in both planes. This is why trial and error is so frustrating: adjusting one angle by eye never quite fixes the joint because the error lives in both.
Setting up the geometry
Define the splay as two independent tilts: the leg's angle from vertical in the plane of the apron, and its angle from vertical in the plane perpendicular to the apron. Call them the side splay and the front splay. For a typical table these might each be a few degrees, and they need not be equal. The apron's end cut must be perpendicular to the leg's face in three dimensions, which is what generates the compound angle. The cleanest way to work is with the standard compound miter formulas, which take the two splay angles and return the miter and bevel saw settings directly. These formulas come from resolving the leg's direction vector against the apron's faces, and they are worth understanding qualitatively even if you let a calculator do the arithmetic: the miter setting is dominated by the splay in the apron's plane, while the bevel is dominated by the splay across it, with each influencing the other as the angles grow.
Working the numbers
For modest splays, the results stay close to intuitive. With a few degrees of splay in each plane, expect the miter to shift a degree or two from forty-five and the bevel to read a few degrees off zero. As splay increases, the interaction strengthens and the settings move faster than linear intuition suggests, which is exactly where the formulas earn their keep. Work in decimal degrees and keep at least one decimal place through the calculation, because rounding to whole degrees at the start can stack into a visible gap at the joint. Double-check which angle is which before touching the saw: the most common shop error is entering the miter value as the bevel and vice versa, producing a joint that is wrong in a confusing, non-obvious way. Label your cut list explicitly, miter and bevel per apron end.
Cutting and test-fitting
Set the saw carefully and cut all matching apron ends without changing the settings between them; consistency across the four joints matters as much as absolute accuracy. Cut the pieces slightly long if the design allows, since a compound cut that is a hair off can sometimes be corrected by trimming, while a short piece is scrap. Dry-fit the apron to the leg and read the gap: a gap at the top or bottom of the joint points at the bevel, while a gap along the face points at the miter. Adjust in small increments, a quarter degree at a time, and recut test pieces rather than the real aprons until the joint closes. When the dry fit is right, mark the orientation of every piece, because compound joints are not interchangeable and a rotated apron will not fit the leg it was not cut for.
Design choices that simplify the problem
The geometry gets dramatically easier when you reduce the number of splay planes. Splaying the legs only front to back, with the side elevation vertical, collapses the compound problem nearly to a single miter with a small bevel, and many classic table designs do exactly this for both looks and buildability. Keeping all four legs at identical splay angles means one saw setup serves every joint. If the design demands aggressive splay in both planes, consider whether the apron can meet the leg with a housed or bridled joint instead of a pure miter; a shoulder on the joint hides small angular errors and adds mechanical strength where a miter relies on glue alone. The prettiest joint is the one you can cut repeatably.
Safety at the saw
Compound cuts combine a swung miter with a tilted blade, which is the saw setup most likely to trap a workpiece or throw it. Keep hands clear of the blade path on both sides, since the tilted blade exits the wood at an angle you may not expect. Support long aprons so they cannot shift mid-cut; a compound angle cut on a moving board is ruined and dangerous. Make these cuts with the blade guard in place and the workpiece firmly against the fence, and never freehand a compound angle. The math deserves respect, and so does the blade.
Compound splay angles are just trigonometry applied to sawdust: define the splay in both planes, compute the miter and bevel instead of guessing them, cut consistently, and read the dry-fit gaps to fine-tune. Do the math once and the joints close the first time, which is a deeply satisfying moment at the assembly bench.
Related Guides
- Tenon Shoulder Scribing for Out-of-Square Aprons: In fine furniture, the apron meets the leg with a mortise and tenon, and the tenon's shoulder must sit flush against the leg all around. When the
- Calculating Wood Sag Deflection in Long Bookcases: Every bookcase shelf that looks straight on day one starts moving the moment books go on it. Wood creeps under constant load, and a span that seems
- Install Simple Floating Shelves: Add Storage and Style with Floating Shelves Floating shelves are the secret weapon of home decorating. They provide storage without taking up floor
- Golden Ratio Proportions in Table Leg Design: The golden ratio, roughly 1 to 1.618, shows up in furniture design conversations the way it shows up everywhere: part geometry, part mythology. Strip
- Scribing Complex Table Apron Tenons for Sloped Legs: When table legs splay or slope, the apron meets the leg at a compound angle, and the tenon shoulder has to match that angle exactly or the joint