
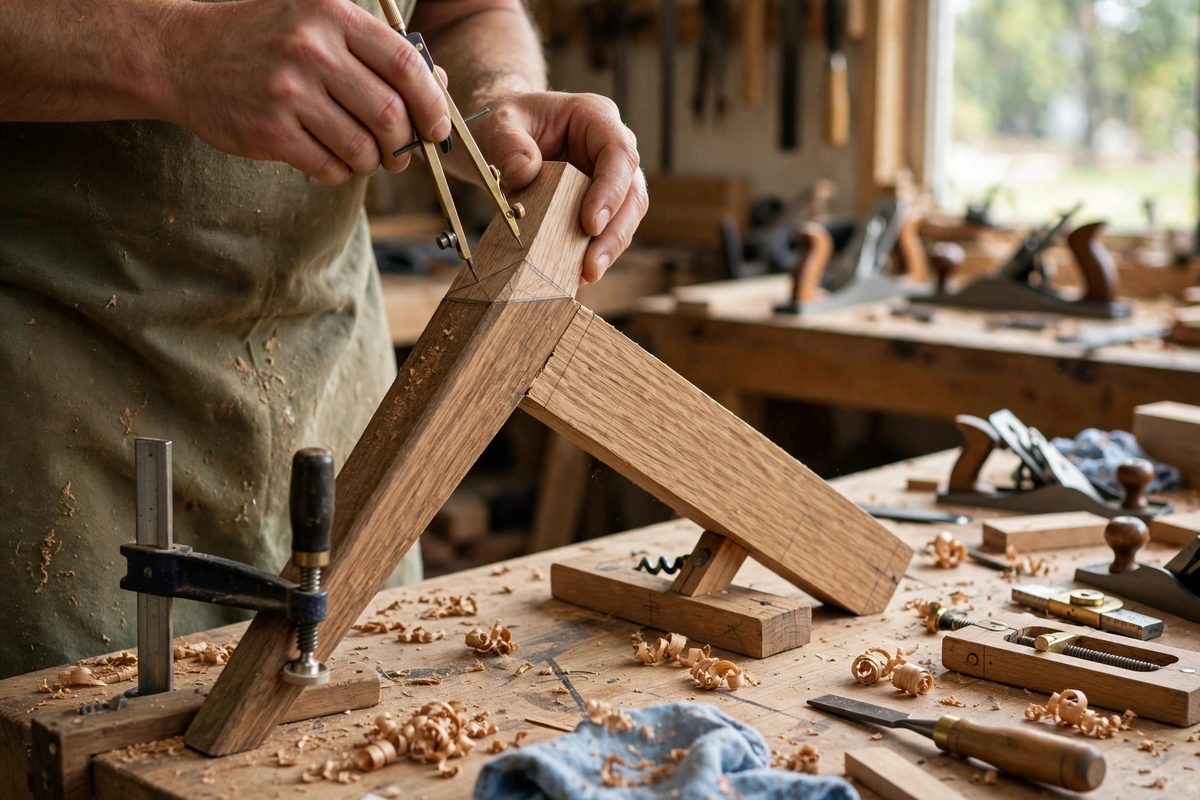
When table legs splay or slope, the apron meets the leg at a compound angle, and the tenon shoulder has to match that angle exactly or the joint shows gaps. Scribing, transferring the leg's actual geometry directly onto the apron rather than calculating it, is the reliable way to get those shoulders right. The leg itself becomes the template, which eliminates the measurement errors that compound-angle math invites and produces a shoulder that beds against the leg along its full face.
Why sloped legs complicate the apron joint
On a straight-legged table, the apron meets the leg at ninety degrees and the tenon shoulder is a simple square cut. Splay the leg outward in one plane and the shoulder needs a matching single angle. Splay it in two planes, outward and forward, as many designs do, and the shoulder becomes a compound surface: angled in two directions at once, with the tenon itself needing to enter the mortise along the leg's axis rather than square to the apron.
Calculating these angles is possible but error-prone, and the errors are asymmetric: a degree off on the shoulder angle shows as a visible gap on one side of the joint. Scribing sidesteps the calculation by copying the geometry physically, which is inherently as accurate as the leg itself.
Setting up the scribe
Start with the legs cut to their final splay angles and the mortises laid out and cut. The apron stock should be milled to final dimensions and cut slightly long, since the scribed shoulder line determines the final length. Assemble the leg in its splayed position, supported so it holds the exact angle it will have in the finished table; any movement between scribing and assembly introduces error.
Hold the apron against the leg in its final position, with the tenon (cut to its final cross-section but overlong) entered into the mortise. The apron's shoulder, still square and overlong at this stage, will stand proud of the leg's face on one side and gap on the other. That discrepancy is what the scribe line will correct.
Taking the scribe line
With the apron held firmly in position, use a marking knife or a sharp pencil to trace the leg's face directly onto the apron, marking the exact line where the shoulder must fall to meet the leg. Work all the way around the apron's cross-section, since the shoulder wraps the tenon and every face needs its line. A marking knife gives the crispest line and severs the surface fibers, which helps the subsequent shoulder cut stay clean.
Mark both aprons for each leg before cutting any, and label everything. Scribed joints are fitted pairs: each apron shoulder matches its specific leg face, and swapping aprons between legs undoes the fitting. Cabinetmaker's triangles or numbered marks keep the pairs straight through the cutting and assembly.
Cutting to the scribed line
Cut the shoulder with a fine saw, staying just proud of the scribe line, then pare to the line with a sharp chisel. The paring is the fitting step: test the apron against the leg frequently, and remove material only where the joint shows interference, revealed by the shiny spots where the parts rub. The goal is a shoulder that contacts the leg evenly across its full face, with no rocking and no gaps visible against a strong light.
Cut the tenon cheeks to match the mortise angle as well. On splayed legs the mortise is usually cut square to the leg's face, which means the tenon enters at an angle to the apron; the cheek cuts must accommodate this. Scribe these too, using the mortise walls as the reference, rather than trusting a calculated angle.
Dry assembly and final fitting
Dry-assemble the full base before gluing. Check that all four apron-to-leg joints seat simultaneously; a scribed joint that fits perfectly in isolation can still fight its neighbors if the splay angles vary slightly between legs. Small discrepancies are corrected by paring the tight joints, never by forcing, since forcing a scribed shoulder open splits the apron or the leg.
Once the dry assembly seats cleanly, with all shoulders bedding and the base sitting without rocking, mark the final positions, disassemble, and glue up. The scribed joints, fitted as pairs and proven in the dry run, will close under clamp pressure exactly as they did dry.
Let the leg draw the line, cut to the line, pare to the fit, and prove it dry. Scribing trades calculation for contact, and contact does not make arithmetic errors.
Related Guides
- Golden Ratio Proportions in Table Leg Design: The golden ratio, roughly 1 to 1.618, shows up in furniture design conversations the way it shows up everywhere: part geometry, part mythology. Strip
- Tenon Shoulder Scribing for Out-of-Square Aprons: In fine furniture, the apron meets the leg with a mortise and tenon, and the tenon's shoulder must sit flush against the leg all around. When the
- Install Simple Floating Shelves: Add Storage and Style with Floating Shelves Floating shelves are the secret weapon of home decorating. They provide storage without taking up floor
- Calculating Wood Sag Deflection in Long Bookcases: Every bookcase shelf that looks straight on day one starts moving the moment books go on it. Wood creeps under constant load, and a span that seems
- Calculating Compound Miter Splay Angles for Aprons: A table apron that meets splayed legs has to solve two angles at once: the miter across the face of the board and the bevel through its thickness