
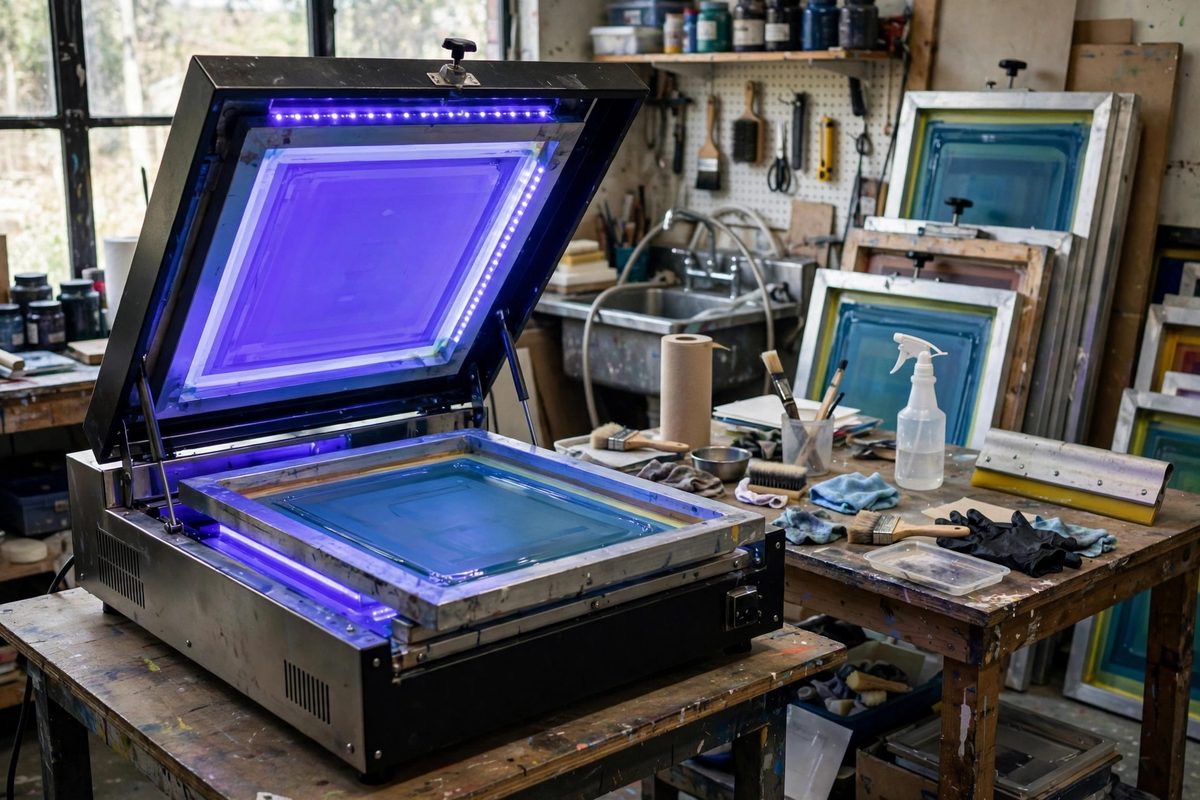
High-output UV exposure units cure screen emulsion in a fraction of the time that old fluorescent or halogen setups needed, which is a blessing and a trap. The blessing is throughput: screens expose in tens of seconds instead of many minutes. The trap is precision: when the correct exposure is 45 seconds, being off by 15 seconds is a 33% error, enough to swing a screen from underexposed to overexposed. With high-output units, timing is not approximate. It is the entire process, and it has to be calibrated to your specific unit, emulsion, and mesh.
Why High-Output Units Are Unforgiving
Exposure works by UV light crosslinking the emulsion: unexposed areas wash out, exposed areas harden and hold the stencil. The total UV dose, intensity multiplied by time, determines the result. High-output units deliver enormous intensity, so the time component shrinks dramatically. The problem is that the margin between underexposure (emulsion washes out of image areas, stencil edges go soft) and overexposure (fine details fill in, halftones plug, washout becomes difficult) also shrinks in absolute terms. On a slow unit, the usable window might be several minutes wide; on a high-output unit, it can be under half a minute. That narrow window means small timing errors, a slow hand on the timer, a unit whose bulbs are still warming up, produce large quality swings.
Calibrating With a Step Wedge
The reliable calibration tool is an exposure step wedge, a test film with graduated density steps, or the simpler DIY version: a strip of your actual artwork film covered progressively during a single exposure. The classic method is to place the film on the screen, cover all but a strip with opaque card, expose for a short interval, uncover the next strip, expose again, and repeat. After washout, the strip shows a gradient of exposures on one screen. The correct time is the shortest exposure where the emulsion washes out cleanly in the open areas while holding fine detail and surviving a firm washout spray. Too short and the stencil feels slimy and washes away; too long and detail starts disappearing. Run this test whenever anything changes: new emulsion batch, different mesh count, new bulbs, or even a seasonal temperature shift in the shop.
Emulsion Variables That Shift Timing
Not all emulsions respond to UV at the same rate. Diazo-based emulsions are relatively slow and forgiving, with wider timing windows. Pure photopolymer emulsions are fast, which pairs aggressively with a high-output unit and demands the tightest timing. Dual-cure emulsions sit between. Thicker emulsion coats need more exposure because the UV must penetrate the full stencil depth; a 2-over-2 coat needs noticeably more time than a 1-over-1. Mesh count matters too: coarse, low mesh lets more light through and exposes faster, while fine, high mesh blocks more light and needs longer. Some emulsions change color as they expose, but do not trust the color change alone: surface cure can look complete while deeper layers are still soft.
Unit Variables: Warm-Up and Distance
High-output UV units have quirks that affect timing. Many need a warm-up period before the bulbs reach full output; exposing during warm-up underexposes the screen, and the error is invisible until washout. Learn your unit's warm-up behavior and either wait it out or build it into the timing. Bulb age matters: output declines over hundreds of hours, so a timing that was perfect six months ago may now underexpose. Distance between the light source and the screen follows the inverse-square law in principle, so even small changes in screen placement shift the dose; always expose with the screen in the same position. Glass or vacuum blankets absorb some UV, which is why the step wedge must be run on your actual setup.
Reading Washout as Feedback
Washout is where exposure errors reveal themselves, and learning to read them closes the calibration loop. Underexposure shows as emulsion that feels soft or slimy, image edges that wash away under normal spray pressure, and pinholes appearing in solid areas. Overexposure shows as fine lines and halftone dots that refuse to wash out, a stencil that needs aggressive spraying to clear, and sawtooth edges on what should be smooth curves. The correct exposure washes out with moderate pressure, holds detail crisply, and feels firm but not brittle. Keep notes on each screen: time, emulsion, mesh, and how the washout behaved. Patterns emerge quickly and your timing converges.
Consistency Habits
Once calibrated, protect the calibration with routine. Coat screens with consistent technique so stencil thickness does not vary. Dry coated screens thoroughly and store them away from light; a screen that picked up ambient UV while drying is partially pre-exposed and your timing no longer applies. Use a timer, not counting in your head. Position the film emulsion-side down against the screen for the sharpest stencil, and ensure firm, even contact, whether by vacuum or weight, because any gap softens the image through light spread.
High-output UV exposure is a precision process wearing a speed costume. Calibrate with a step wedge on your actual setup, respect the narrow timing window, and read every washout as feedback. Do that, and the unit's speed becomes pure advantage.
Related Guides
- Mesh Tension Newton Ratings for Halftone Prints: Halftone screen printing, reproducing photographic tones as dots of ink, demands more from the screen than spot-color work does. The dots are small
- Off-Contact Distance Calibration on Textile Pallets: In screen printing on textiles, the screen should not lie flat on the garment; it should hover just above it. That gap, the off-contact distance, is
- Plastisol Ink Cure Temperatures for Stretch Cotton Garments: Plastisol ink does not dry; it cures. The ink is a suspension of PVC particles in plasticizer, and it only becomes a durable print when the full