
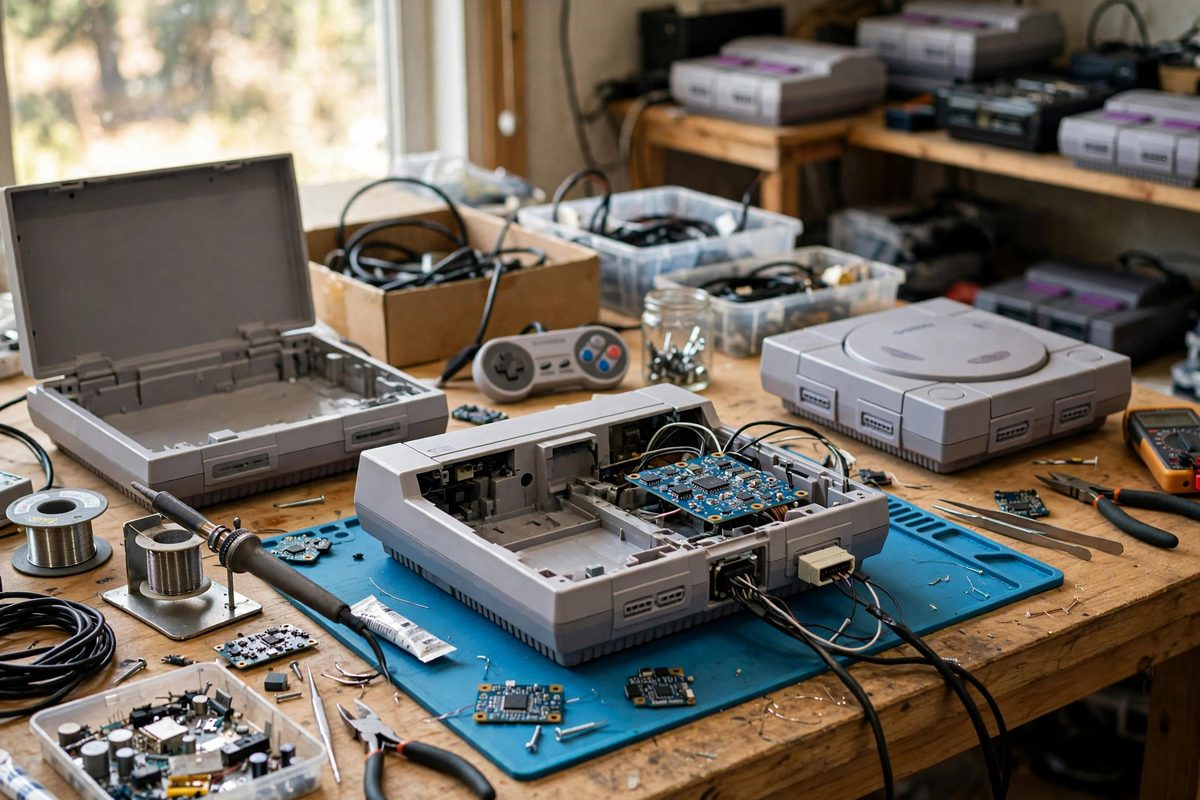
Many classic consoles generate a beautiful S-video signal internally but never brought it to the outside of the case. Adding a properly buffered S-video output is one of the most rewarding console mods: it separates brightness and color onto their own conductors, eliminating the dot crawl and color bleeding of composite video. The key word is buffered; tapping the signals raw invites interference and loading problems that undo the whole improvement.
Why S-Video Beats Composite
Composite video crams brightness (luma) and color (chroma) onto a single wire, and the display must separate them again. That separation is never perfect, so fine detail shimmers with dot crawl and sharp color edges bleed. S-video carries luma and chroma on separate conductors, so the display never has to unmix them. The result is visibly sharper edges, cleaner solid colors, and stable fine detail. For consoles whose graphics depend on crisp pixels and saturated colors, the difference is dramatic, often described as the single biggest video quality jump short of RGB. The mod is worth doing precisely because the console already makes these signals; you are just giving them a clean exit.
Why Buffering Is Non-Negotiable
The luma and chroma signals inside the console are designed to drive short internal traces, not a cable run to a display. Connecting them directly to an output jack loads the source, which dims the picture and can disturb the console's own video generation. A buffer, typically a simple transistor or op-amp stage per signal, presents a high impedance to the console's circuitry and a proper low impedance to the cable. Buffering also isolates the console from whatever the display does, such as backfeeding voltage or presenting an odd load. Some designs add a simple low-pass filter on the chroma line to clean up high-frequency noise. The buffer stage is a small circuit, but it is the difference between a mod that works reliably on every display and one that works on yours and nobody else's.
Finding the Signals
Locate the luma and chroma test points or chip pins using the console's schematics or the modding community's documented tap points for that specific board revision. Board revisions matter: manufacturers changed video chips and layouts across production runs, so verify the tap points against your actual board, not a photo of someone else's. Use a multimeter to confirm you have the right pins before soldering. Tap the signals with short, neat wires, and keep the buffer board close to the tap point to minimize the length of unbuffered signal run. Route the wires away from noisy areas like the power supply section and the cartridge slot, since the unbuffered signals pick up interference easily.
Building and Installing the Buffer
Assemble the buffer circuit on a small piece of perfboard or a purpose-designed PCB, keeping leads short and the layout tidy. Power it from the console's regulated supply rail, with a decoupling capacitor near the buffer chip; noisy power becomes noisy video. Mount the output jack, usually a mini-DIN or a pair of repurposed pins on a multi-out connector, in a clean hole in the case. Drill carefully and deburr the hole so the jack sits flush. Wire the buffered outputs to the jack with shielded cable if the run is more than a few inches, grounding the shield at one end. Double-check for shorts between the new wiring and the existing board before powering up; a short on a video line can damage the console's video chip.
Testing and Troubleshooting
Power up with a known-good S-video cable and display, and compare against composite on the same screen. You should see sharper text, cleaner color boundaries, and no dot crawl. Common problems have recognizable signatures: a dark picture means the luma buffer is loading the source or the output level is wrong; washed-out or missing color points to the chroma path; diagonal interference lines suggest the unbuffered tap wires are picking up noise and need rerouting or shielding. If the picture is clean but slightly off in brightness, many buffer designs include a trim or a resistor value you can adjust to set the output level. Take your time with testing; a mod that looks right on first power-up still deserves a long play session to prove stability.
S-video is already inside these consoles waiting to get out. Tap it at the right points, buffer it properly, route it cleanly, and the console finally shows the picture it was always capable of producing.
Related Guides
- Installing Low Noise RGB Bypass Amps on Consoles: Many classic consoles generate beautiful RGB video internally and then bury it under noisy, compromised output circuitry before it ever reaches the
- Low ESR Filter Capacitor Sizing on Vintage Consoles: The power supply filter capacitors in a vintage console have been cooking for decades, and electrolytics do not age gracefully. When they dry out
- Composite Video Sync Jitter on Retro CRTs: Retro consoles output composite video, a single signal carrying picture and synchronization together, and retro CRTs were designed to lock onto it