
RetroPie on a Raspberry Pi emulates classic consoles, and emulation is brutally CPU-intensive: the Pi must simulate every cycle of the original hardware in software, in real time. Demanding systems, later consoles and arcade boards, can outrun the Pi's stock clock speed, producing the telltale slowdown and choppy audio of a struggling emulator. Overclocking, raising the CPU and GPU frequencies above stock, buys the headroom those systems need. It is effective, but it is also a thermal and stability bargain: every megahertz has a price in heat, and an unstable overclock corrupts the very gameplay it was meant to smooth.
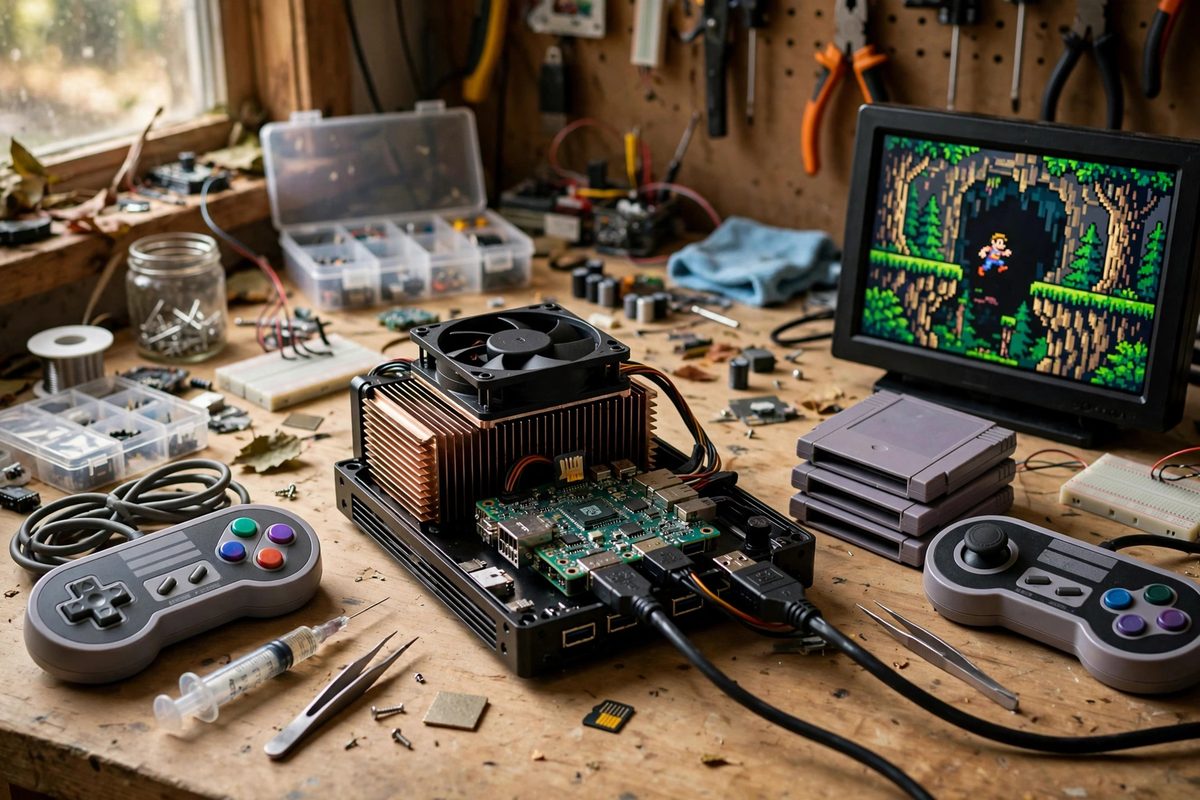
Why Emulation Wants More Clock
Emulators translate the original machine's operations into the Pi's ARM instructions on the fly, and accurate emulation does far more work per original cycle than the original hardware did. Cycle-accurate emulators for 16-bit and later systems can need an order of magnitude more host performance than the original clock speed suggests. When the Pi cannot keep up, the emulator cannot maintain real-time pacing: frames get skipped, the effective game speed drops below 100%, and audio, which has no frames to skip, stutters and crackles. Overclocking raises the ceiling proportionally: a 20% clock increase is roughly 20% more emulation headroom. The gains are real but linear, so overclocking turns "almost playable" into "playable" far more often than it turns "slideshow" into "smooth." Know which side of that line your target system sits on before investing the effort.
The Thermal Budget
Higher clocks mean higher power draw, and power becomes heat in the Pi's small package. The Pi throttles itself when hot, reducing clocks to protect the silicon, which means an overclock without adequate cooling is self-defeating: the chip boosts, overheats, throttles below stock speeds, and performs worse than it would have at defaults. Cooling is therefore not optional with overclocking; it is part of the overclock. A good heatsink, and for serious overclocks a fan, keeps the SoC below the throttling threshold under sustained emulation load. Monitor temperatures during a demanding game, not at idle: idle temperatures tell you nothing about the thermal behavior that matters. If the Pi throttles during gameplay, the overclock is not stable regardless of what the settings claim, and the fix is cooling first, clocks second.
Incremental Overclocking Method
Overclock by small steps and validate each one, because stability limits vary between individual boards: two identical Pi models can have meaningfully different headroom. Raise the ARM core frequency in modest increments, boot, and stress-test with the most demanding emulator and game you intend to play, for an extended session, not five minutes. Instability shows as crashes, graphical corruption, audio glitches beyond the normal emulation load, or filesystem errors; any of these means the last increment was too far, so step back to the previous stable value. Only after the CPU is stable should you touch GPU and memory frequencies, which help the less CPU-bound emulators and the rendering pipeline. Raise voltage only if needed for stability at a given clock, and minimally: voltage increases heat disproportionately, and heat is the enemy of everything else you are trying to achieve. Document the stable settings; they are specific to your board.
Per-System Needs and Profiles
Not every emulated system needs the overclock, and running maximum clocks for 8-bit systems that were already flawless wastes power and generates heat for nothing. The refined approach is per-system thinking: identify which systems in your library actually benefit, the demanding 3D consoles, certain arcade drivers, the accurate-emulation cores, and ensure the overclock is stable for those specifically. Some builders go further with per-game configurations, but per-system is usually the practical granularity. Also consider the emulator core choice alongside clocks: a less accurate but faster core at stock clocks often outperforms an accurate core at overclocked clocks, with lower thermals and better stability. Overclocking and core selection are two levers on the same problem; pull the cheaper one first.
Longevity and Honest Tradeoffs
A moderate, well-cooled overclock, validated stable over long sessions, is a reasonable bargain: meaningful performance gains for minimal risk. An aggressive overclock chasing every last megahertz, running hot, needing extra voltage, trades longevity and reliability for diminishing returns. SD card corruption is the most common casualty of unstable overclocks, because a crash mid-write damages the filesystem; keep backups of your RetroPie image, especially as you experiment. And remember that overclocking cannot fix a fundamentally underpowered pairing: if a system needs twice the Pi's stock performance, no safe overclock bridges that gap, and the honest answer is a more capable board or a less demanding core. Overclocking is a headroom tool, not a miracle.
Overclock a RetroPie build the way you would tune anything: cool it properly, step up gradually, validate with real gameplay, and stop at stable. The reward is the demanding systems running the way they should, full speed with clean audio, on hardware that stays reliable for years.
Related Guides
- Overclocking Core Frequencies on RetroPie Consoles: RetroPie turns a Raspberry Pi into a retro gaming console, but some emulated systems demand more CPU than the Pi delivers at stock speeds
- Reducing Audio Latency in RetroPie Emulators: Nothing breaks the spell of a retro game faster than sound that lags the action. You press jump, the character leaves the ground, and the boing
- Reducing GPIO Input Lag on Retro Emulators: Input lag is the delay between pressing a button and seeing the result, and on a Raspberry Pi retro gaming build it accumulates from every stage: the
- Setting Refresh Rates to Eradicate Micro-Stutter: Micro-stutter, the barely-perceptible but maddening irregularity in scrolling and motion, ruins retro gaming on the Raspberry Pi more thoroughly than