
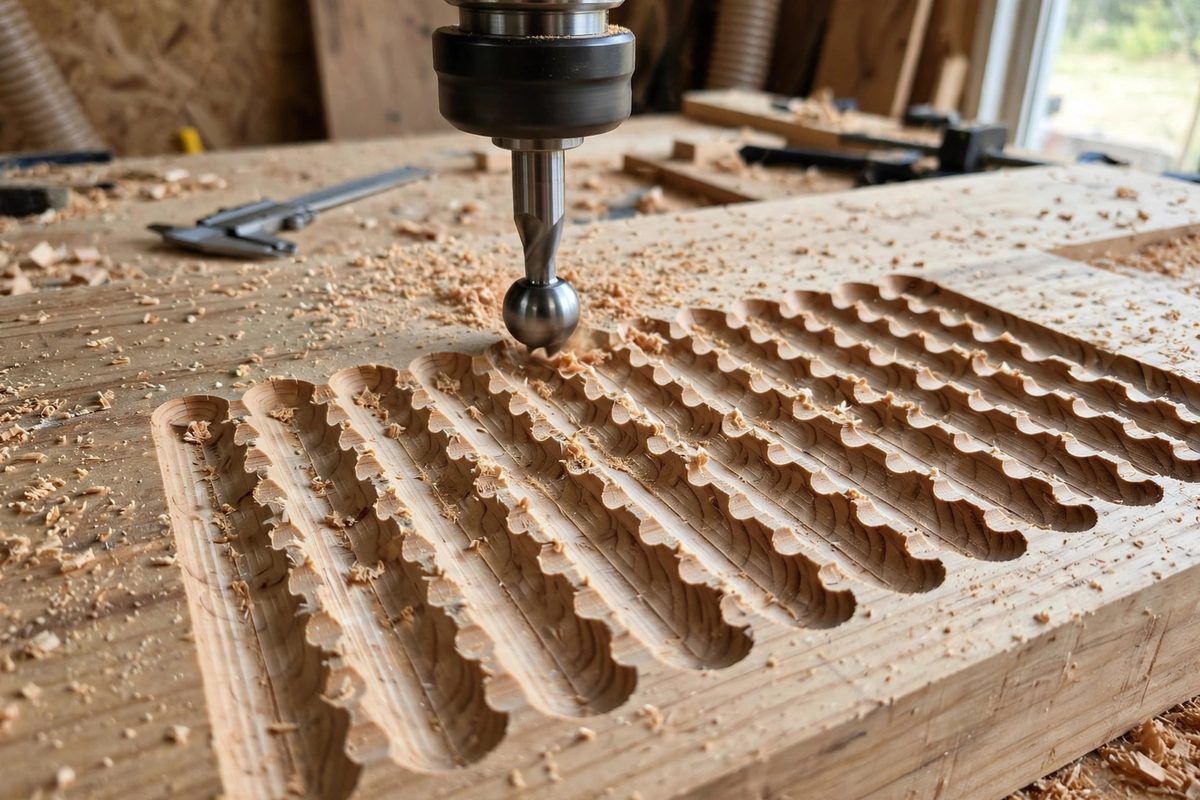
A ball-nose end mill carving a 3D relief leaves a series of parallel grooves, and between adjacent grooves sits a ridge: the scallop. Scallop height, the height of that ridge above the groove bottoms, is the direct measure of the surface's smoothness. Big stepovers leave tall scallops and a visibly ridged surface; small stepovers leave tiny scallops that sand out easily or disappear entirely. The math relating stepover, tool radius, and scallop height lets you choose the stepover deliberately instead of guessing, trading machining time against finishing work with open eyes.
The Geometry of the Scallop
Picture the ball-nose tool's spherical tip cutting two adjacent parallel passes. Each pass carves a circular arc into the surface; where the arcs intersect, they form the scallop ridge. The geometry is straightforward: for a tool of radius R and a stepover distance s, the scallop height h follows approximately h = s² / (8R), valid when the stepover is small relative to the tool radius. Double the stepover and the scallop quadruples; double the tool radius and the scallop halves.
This relationship is the whole game. It tells you that stepover is the dominant variable (squared effect) and that larger tools are inherently smoother (linear effect). A small stepover with a large ball-nose produces a surface that may need no sanding; a large stepover with a small tool produces a washboard.
Choosing Scallop Height for the Job
The target scallop height follows the part's purpose. A relief that will be heavily sanded and finished can tolerate taller scallops, since the sanding removes them; the stepover can be generous and the machining fast. A relief that must look good directly off the machine, or one with fine detail where sanding would destroy the carving, needs tiny scallops and the small stepovers (and long cycle times) they require.
As a practical matter, scallops below about a thousandth of an inch are generally invisible to the eye and insignificant to the touch on wood; the finishing passes for fine work aim in this neighborhood. Rougher work, destined for heavy sanding, might accept five or ten times that. The math converts your surface requirement into a stepover number; the requirement comes from the part, not the formula.
Working the Formula Backwards
Given a target scallop height h and a tool radius R, the stepover is s = √(8Rh). Plug in the numbers: for a quarter-inch ball-nose (R = 0.125") and a target scallop of 0.001", the stepover is √(8 × 0.125 × 0.001) ≈ 0.032", about a thirty-second of an inch. That is a fine finishing pass, and it will take a while on a large relief; the math is honest about the cost of smoothness.
- Use the tool's actual radius; worn or resharpened tools cut smaller than nominal.
- Remember the formula assumes a flat surface; on steep slopes the effective scallop geometry changes.
- Stepover is usually expressed as a distance, but some CAM systems use percent of tool diameter; convert carefully.
- The formula gives the theoretical scallop; tool deflection and machine vibration add their own texture on top.
Slopes, Steep Walls, and Constant Scallop
On sloped surfaces, a constant horizontal stepover produces varying scallop heights: on steep walls, the same horizontal step leaves taller scallops because the surface distance between passes grows. Advanced CAM toolpaths offer constant-scallop strategies that vary the stepover with the slope, tightening it on steep areas to hold the scallop height uniform. For reliefs with dramatic topography, constant-scallop toolpaths produce visibly more even surfaces than fixed-stepover ones.
Where the CAM does not offer constant scallop, the workaround is region-based stepovers: program the steep areas as separate operations with finer stepovers. It is more setup work, but the surface quality difference on steep relief features justifies it.
Time Versus Finish: the Real Trade
Halving the stepover doubles the number of passes and roughly doubles the machining time, while quartering the scallop height. This square-root economics means the last increments of smoothness are the most expensive: going from visible ridges to near-perfect costs far more time than going from rough to decent. Spend that time where the part's function or appearance demands it, and accept taller scallops where sanding or the viewing distance forgives them.
Roughing passes, which hog out the bulk material before finishing, should use the largest stepover the tool and machine handle efficiently; their scallops are entirely removed by the finishing pass. Only the finishing stepover needs the scallop math; roughing answers to a different optimization.
Pick the scallop height the part needs, solve for the stepover, and accept the cycle time honestly. The math does not make the machining faster, but it makes the choice deliberate, and deliberate choices finish better than guesses.
Related Guides
- Adaptive Clearing Stepover Limits for Hardwoods: Adaptive clearing, the high-efficiency toolpath that keeps constant cutter engagement by flowing around the part, transformed roughing on CNC
- Trochoidal Milling Chip Thinning Controls: Trochoidal milling cuts slots and pockets with a rolling circular toolpath instead of plowing straight ahead, and it exists for one reason: chip
- Helical Ramp Angle Limitations in Hard Alloy Slotting: Cutting a slot in hard alloy, titanium, hardened steel, or nickel alloy, usually starts with getting the tool into the material, and helical ramping
- Adaptive Clearing Engagement Limits for Hard Maple: Adaptive clearing keeps the cutter engaged at a constant, controlled amount no matter how the geometry changes, and hard maple is the material that