
Driving hundreds of nails with a heavy framing nailer is a forearm workout, and a stiff trigger multiplies the effort on every single shot. Adjusting the trigger pull weight, where the tool allows it, cuts fatigue and improves placement accuracy without changing how the tool actually drives nails.
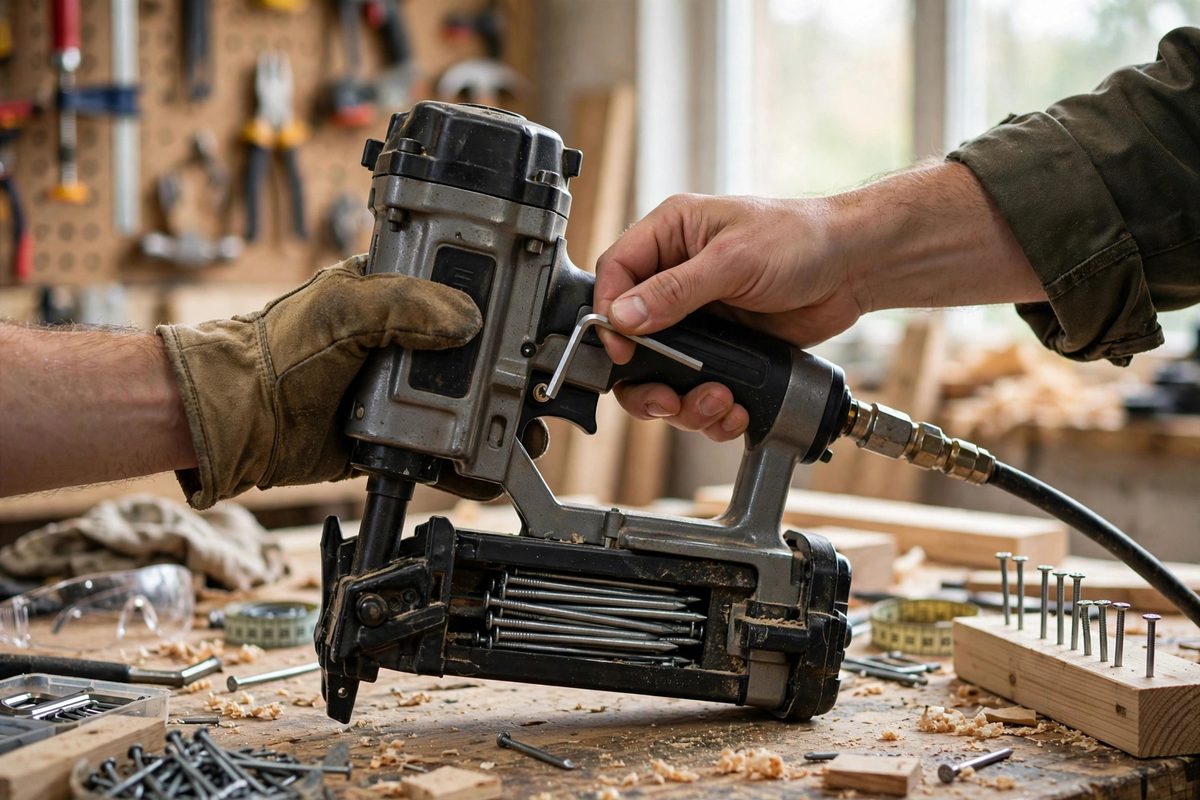
Why trigger weight matters on heavy nailers
Trigger pull is a force you exert thousands of times a day, and on a heavy tool the trigger hand is already working to steady the nailer. A heavy trigger makes you yank, and yanking moves the nose off the mark at the moment of firing; nails land crooked or the tool double-fires. Lighter pull lets the finger fire the tool without disturbing the aim. Over a full day of framing, the fatigue difference is real, and tired hands make mistakes with tools that fire projectiles.
What is adjustable and what is not
Not every nailer offers a trigger adjustment. Some tools have a screw or adjustment that sets the trigger spring tension or the sear engagement; others are fixed by design. Check the manual for your specific tool before touching anything: the manual will say whether adjustment is supported and how far it can go. Never grind, bend, or modify trigger internals beyond the designed adjustment range. The trigger is a safety-critical part, and improvised changes can create a tool that fires unexpectedly.
Making the adjustment
Where adjustment is provided, it is usually a matter of turning a screw to change spring tension or sear engagement, then testing. Disconnect the tool from air or remove the battery first, every time you open the trigger area. Make small changes, reassemble, reconnect, and test-fire into scrap. You are looking for the lightest pull that still gives a crisp, positive break with no creep and, critically, no tendency to fire from a bump or from resting pressure. If the trigger feels vague or the tool fires when it should not, you went too far; back it out immediately.
Trigger modes and their interaction
Many framing nailers offer bump-fire and sequential modes, and the trigger behaves differently in each. Sequential mode, which requires the nose to be depressed before the trigger does anything, is the safer setting and the one to use whenever accuracy matters. Adjust the trigger in the mode you actually use, because the feel and the safety behavior differ. For overhead work or awkward positions, sequential mode's deliberate two-step action prevents the accidental discharges that a light trigger in bump mode invites.
Safety checks after any change
After adjusting, run the full safety check before the tool goes back to work. With the tool connected and pointed safely, press the trigger without depressing the nose: nothing should happen. Depress the nose without touching the trigger: nothing should happen. Then fire normally into scrap and confirm the nail seats and the tool cycles correctly. Repeat the no-fire checks. A trigger adjustment is only successful if every safety function still works exactly as designed.
When the trigger cannot be adjusted
If the tool has no designed adjustment, do not force one. Options are to adapt technique, such as repositioning the grip so the trigger finger works in its strongest range, to schedule breaks that let the hand recover, or to consider a different tool whose trigger suits your hand. Grip tape or an aftermarket trigger shoe, where available for the model, can change the feel without changing the mechanism. The tool's safety design is not the place for improvisation.
Adjust only within the designed range, disconnect power before opening the trigger, and verify every safety function afterward. A lighter, crisper trigger on a heavy nailer is a real upgrade when it is done without compromising what keeps the tool safe.
Related Guides
- Elastomeric Handle Bushings for Heavy Rotary Hammers: A heavy rotary hammer delivers punishment in both directions: the bit hammers the concrete, and the concrete hammers back through the handles into
- Vibration Dampening Grips for Angle Grinders: Angle grinders are among the highest-vibration tools in the shop, and the vibration goes straight into the operator's hands through the side handle
- Elastomeric Palm Grips for Orbital Sander Vibration: Orbital sanders vibrate by design: the pad orbits thousands of times per minute, and that motion couples into the user's hand as high-frequency
- Anti-Vibration Counterweights for Rotary Tool Grips: Anyone who has run a rotary tool for an hour knows the feeling: the buzz travels up through your fingers, into your wrist, and by the end of the