
Scant miters, mitered seams sewn just shy of the drawn line to account for the thread and fabric taken up in the fold, are the precision joints of patchwork: quilt borders, binding corners, and striped sashing all depend on them. But a perfectly sewn miter still looks wrong if the grain direction of the two pieces fights at the seam. Fabric grain has a visible texture and a directional stretch, and misaligned grain at a miter reads as a mistake even when the sewing is flawless.
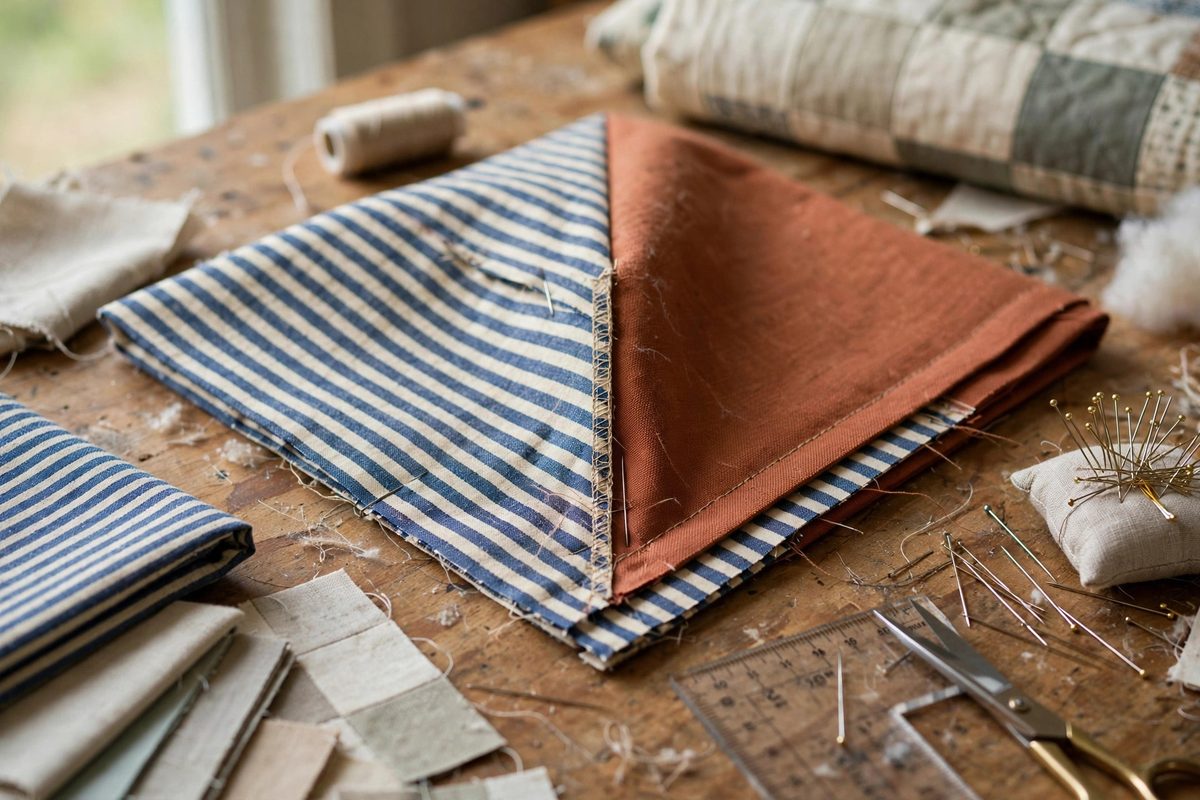
How grain shows at a seam
Woven fabric is not visually uniform: the warp and weft threads catch light slightly differently, printed patterns have an up and down, and stripes or plaids have an obvious direction. At a mitered joint, two edges meet at 45 degrees, so the grain of one piece runs at a right angle to the grain of the other unless you plan otherwise. When both pieces show the same directional feature, like a stripe, the eye expects the stripe to turn the corner continuously. If one piece's stripes run with the seam and the other's run across it, the corner looks broken. Grain alignment is about managing what the eye expects.
Planning the miter before cutting
Decide the grain behavior at the design stage. For border miters on a quilt, the classic choice is to run the border fabric's lengthwise grain along the border on all four sides; at each corner miter, the two border strips meet with their grains at 90 degrees to each other, which is correct and expected for a mitered frame. For striped or directional fabric, cut the pieces so the pattern continues around the corner: this usually means cutting one strip with the pattern running one way and the adjacent strip mirrored. Mark the right side and the pattern direction on every piece before you sew; once cut, a directional strip looks identical from the wrong side.
The scant part of the miter
A miter sewn exactly on the drawn 45-degree line finishes slightly short once the seam is pressed open, because the fold consumes a thread's width of fabric. Sewing a scant miter means shifting the seam a thread or two toward the seam allowance, so the finished joint lands exactly on the corner. Test on scraps of your actual fabric: sew the miter, press, and check whether the corner point lands where the drawn lines cross. Adjust by a thread width at a time. Heavy fabrics need a more generous scant allowance than fine ones, since the fold eats more.
Stabilizing bias edges
Miter seams are cut on the bias, and bias stretches. Handle mitered pieces minimally after cutting, and consider a light starch or a strip of stay tape on the seam allowances of large miters like border corners. When pressing a miter open, press straight down rather than dragging the iron, which distorts the bias. If a mitered corner will bear stress, as in a bag or a garment, trim and grade the seam allowances to reduce bulk, and the joint will lie flatter and last longer.
Checking the finished corner
A good mitered corner has three qualities: the point is sharp, the seam lies flat, and the grain or pattern behaves intentionally on both sides. Check all three before moving on, because a miter buried under subsequent construction is miserable to fix. If the point is blunt, the scant allowance was too generous; if the seam puckers, the bias stretched during sewing and the piece needs restitching with less handling. Unpick, adjust, resew: miters reward the second attempt.
Align the grain with intent, sew the miter a thread scant, and press without stretching. The corner will look inevitable, which is exactly what a miter should look like.
Related Guides
- Quarter Inch Seam Allowance Trueing for Scant Patchwork: Patchwork accuracy lives or dies on the seam allowance. A block made of twenty pieces, each sewn a thread's width too wide, finishes noticeably
- Trueing Seam Intersections in Complex Kaleidoscope Quilts: Kaleidoscope quilts live or die at their intersections. Dozens of seams converge at single points, and if those points do not match, the kaleidoscope
- Balancing Floating Bobbin Tension for Fine Silk Quilt: Silk quilts demand the best of every technique: the fabric is unforgiving of puckering, the sheen shows every irregularity, and the fine threads
- Matching Diagonal Seam Intersections in Star Blocks: Star blocks are the showpieces of patchwork: radiating points, crisp intersections, geometric precision that reads as skill. The make-or-break detail