
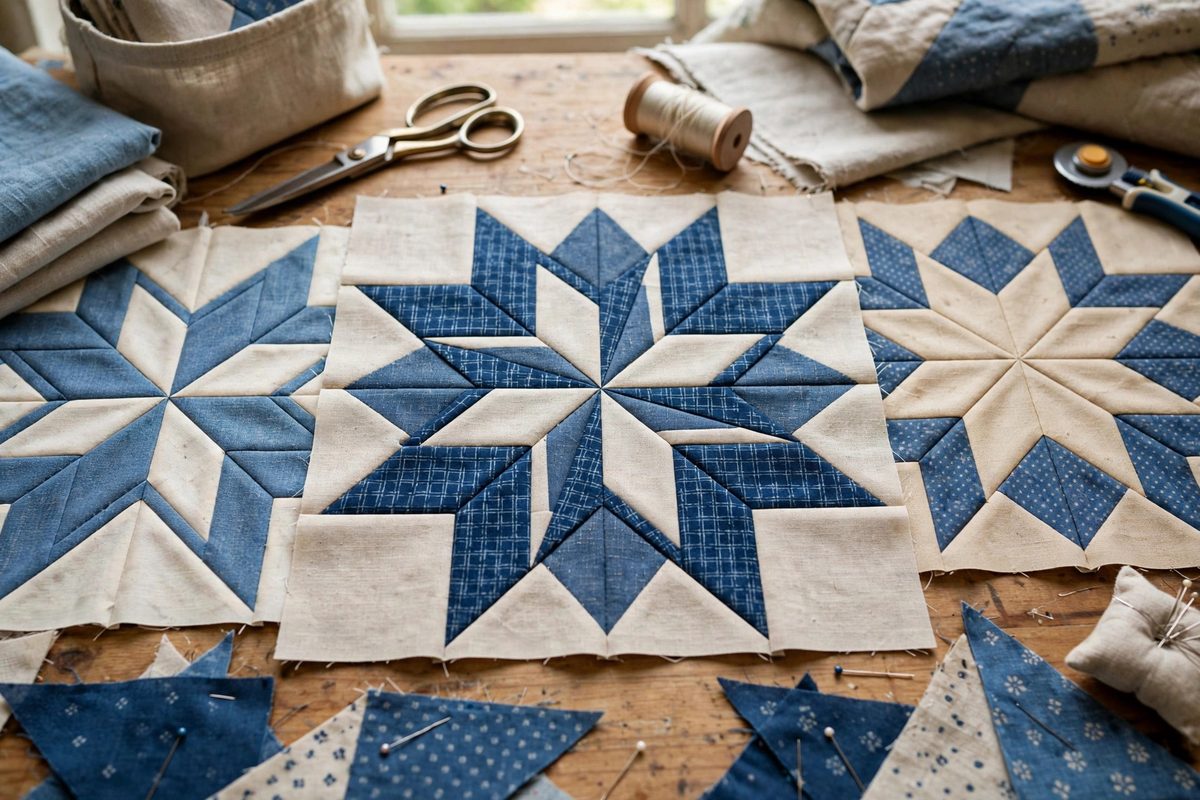
Star blocks are the showpieces of patchwork: radiating points, crisp intersections, geometric precision that reads as skill. The make-or-break detail is where the diagonal seams meet at the star's points and center. When those intersections match, the star looks machined; when they drift by even a thread or two, the eye catches it instantly. Matching diagonal seam intersections is a discipline of accurate piecing, careful pressing, and pinning strategy.
Why Star Points Expose Every Error
A star block concentrates many seam intersections into small areas: typically eight points meeting at the center and each point's tip formed by diagonal seams crossing. Each intersection multiplies the error of the seams that form it: a seam that is off by a hair at each end produces a point that is off by a visible amount where they cross. And the geometry is unforgiving because the eye is drawn to the star's center and points first: they are the focal features, so imperfections there dominate the viewer's impression of the whole block. Accurate star blocks are therefore the benchmark of piecing precision: if your intersections match here, they match everywhere.
Cutting Accuracy Comes First
No amount of careful sewing fixes inaccurate cutting. Star points are usually triangles or diamond shapes cut on the bias or with diagonal edges, and a cutting error changes the seam angle, which moves the intersection. Use a sharp rotary cutter, a reliable ruler, and cut precisely on the lines: measure twice, cut once is literal here. For the critical diagonal pieces, consider cutting slightly oversized and trimming to exact size after piecing (the trim-after method): it trades a little fabric for guaranteed dimensions. Consistent seam allowance is equally critical: a scant quarter-inch on one seam and a generous one on the next shifts every downstream intersection. Test your seam allowance on scraps and adjust until it is exactly right, then maintain it religiously.
Pressing for Intersection Accuracy
Pressing determines where the seam allowance sits, which determines where the intersection lands. For star blocks, press seams to facilitate nesting: press adjoining seams in opposite directions so the seam allowances butt against each other at the intersection, locking the pieces in alignment. This nesting is the quilter's secret weapon for matching points: when the seam allowances nest, the pieces almost align themselves, and a pin through the nested intersection holds them exactly. Press with a dry iron and a light touch first, check the alignment, then set the seam: pressing aggressively before verifying can bake in a misalignment. For the center intersection where many seams meet, consider pressing the final seams open to reduce bulk: a bulky center will not lie flat no matter how accurately it is sewn.
Pinning Strategy at the Intersections
Pin where it matters: at every diagonal intersection, place a pin precisely through the seam lines on both pieces, perpendicular to the seam, so the pin itself verifies the alignment. Pin the intersections first, then the ends, then ease any fullness between: this order prioritizes the critical matches. For the star's center, where many points converge, pin meticulously and sew slowly: this is the highest-value inch of stitching in the block. Some quilters hand-baste the center intersection before machine sewing: it takes a minute and guarantees the match. Remove pins as you sew rather than sewing over them: a pin deflected by the needle shifts the intersection at the worst moment.
Sewing the Intersections
Sew with the nested or pinned intersection coming under the needle in a controlled manner: slow down, keep the pieces flat, and do not let the feed dogs shift the top layer. If your machine tends to push the top fabric ahead, use a walking foot or reduce presser foot pressure. Backstitch minimally at intersections: bulky backstitching adds lump exactly where flatness matters most. After sewing, check the intersection before pressing: open the seam and look. If it is off, unpick now: the seam ripper is part of precision piecing, not an admission of failure. A star block with one unpicked and resewn intersection beats a finished block with a visible miss.
Trimming and Squaring the Block
After the block is pieced, square it to the exact unfinished size, centering the star within the trim: a block trimmed off-center looks wrong even with perfect intersections. Measure through the center, not just the edges, to confirm the block is square and the star is centered. If the block is consistently coming out small, the seam allowance is the culprit: adjust and retest. Accurate blocks make accurate quilts: the intersections you match in each star compound into a quilt top that lies flat and looks professional.
Cut accurately, press to nest, pin the intersections first, sew deliberately, and unpick without shame when needed. Matching diagonal seam intersections is not talent; it is procedure followed patiently. The star block rewards it with points sharp enough to impress.
Related Guides
- Trueing Seam Intersections in Complex Kaleidoscope Quilts: Kaleidoscope quilts live or die at their intersections. Dozens of seams converge at single points, and if those points do not match, the kaleidoscope
- Quarter Inch Seam Allowance Trueing for Scant Patchwork: Patchwork accuracy lives or dies on the seam allowance. A block made of twenty pieces, each sewn a thread's width too wide, finishes noticeably
- Aligning Grain Direction in Scant Miters: Scant miters, mitered seams sewn just shy of the drawn line to account for the thread and fabric taken up in the fold, are the precision joints of
- Balancing Floating Bobbin Tension for Fine Silk Quilt: Silk quilts demand the best of every technique: the fabric is unforgiving of puckering, the sheen shows every irregularity, and the fine threads