
The intermediate frequency (IF) transformers in a vintage superheterodyne radio are the tuned circuits that give the set its selectivity and much of its gain. When a radio is deaf, distorted, or picks up stations across the whole dial at once, misaligned IF transformers are a prime suspect, especially in sets that have been "repaired" by well-meaning hands. Aligning them is a core vintage-radio skill: methodical, satisfying, and transformative when done right.
What IF transformers do
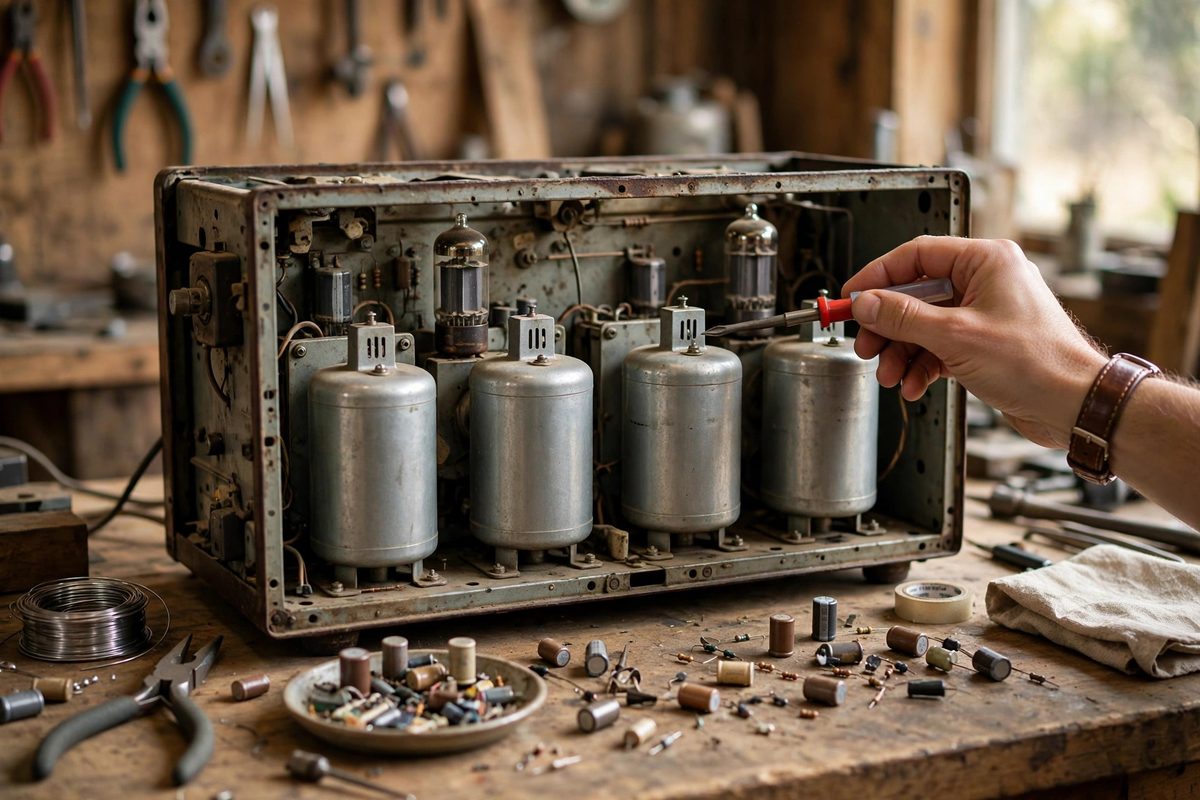
A superheterodyne converts every received station to a fixed intermediate frequency, commonly 455 kHz in AM broadcast sets, then amplifies and filters at that frequency. The IF transformers are tuned LC circuits, each with adjustable cores (slugs), cascaded between the IF amplifier stages. Their tuning determines the passband: correctly aligned, they pass 455 kHz with maximum gain and reject everything else; misaligned, gain collapses and the set goes deaf, or the passband shifts and distorts. There are usually two or three IF cans, each with one or two adjustable slugs, aligned in a specific sequence.
Preparation before touching a slug
Never align until the radio is electrically sound: replace failed capacitors, verify tubes and voltages, and confirm the set actually works, however poorly. Aligning a radio with a bad capacitor just tunes around the fault. Use a proper non-metallic alignment tool; a steel screwdriver detunes the slug while you adjust it and can crack the fragile ferrite core. Connect the signal generator to the correct injection point per the service manual (usually the mixer grid through a dummy antenna), set it to the IF frequency modulated at 400 Hz, and connect an output meter or scope across the speaker. Work with the volume at a moderate level.
The alignment sequence
Align from the last IF transformer back toward the first (output toward input), peaking each slug for maximum output indication. This order matters: each stage's tuning affects the loading of the previous one, so working backward keeps each adjustment valid. Adjust each slug slowly through its peak; the peak is usually sharp, and overshooting is easy. If a slug peaks at the very end of its travel, something else is wrong (wrong capacitor value, shorted turn), and forcing it masks the fault. Repeat the sequence two or three times; the adjustments interact slightly, and iteration converges on the true alignment.
Reading the results
Proper IF alignment shows as a sharp, symmetric peak on each slug and a healthy increase in overall gain: weak stations come up, selectivity tightens so adjacent stations separate, and audio distortion on strong stations decreases. If peaking the slugs produces little change, the IF stages may have deeper problems: open windings, shorted capacitors in the cans, or a dead IF tube. Do not keep turning slugs hoping for improvement that is not there; diagnose instead. And record the final slug positions or at least confirm they sit near mid-travel; a set that aligns only with slugs at extremes is telling you about component drift.
Safety around vintage chassis
Vintage radios often have live chassis designs with no power transformer isolation: the chassis can be at line potential. Use an isolation transformer whenever working on an unknown set, keep one hand in your pocket around high voltage, and discharge filter capacitors before touching anything. IF alignment is low-voltage work, but the chassis around you may not be. Respect the set's age and its design assumptions; it was built in an era with different safety expectations.
Sound set first, proper tools, back-to-front sequence, iterate to convergence. Aligned IF transformers wake a sleeping radio like nothing else.
Related Guides
- Reforming Electrolytic Capacitors in Tube Radios: A tube radio that has sat silent for decades often has electrolytic capacitors whose internal oxide layer, the dielectric that makes the capacitor
- Replacing Wax Paper Capacitors in Antique AM Receivers: Every antique AM radio contains wax paper capacitors, and after half a century or more, essentially all of them are bad. They leak DC, drift in
- Realigning Multi-Gang Air Variable Tuning Capacitors: The tuning capacitor is the heart of a vintage radio's dial, and when its gangs fall out of alignment the radio tunes deaf: stations drift