
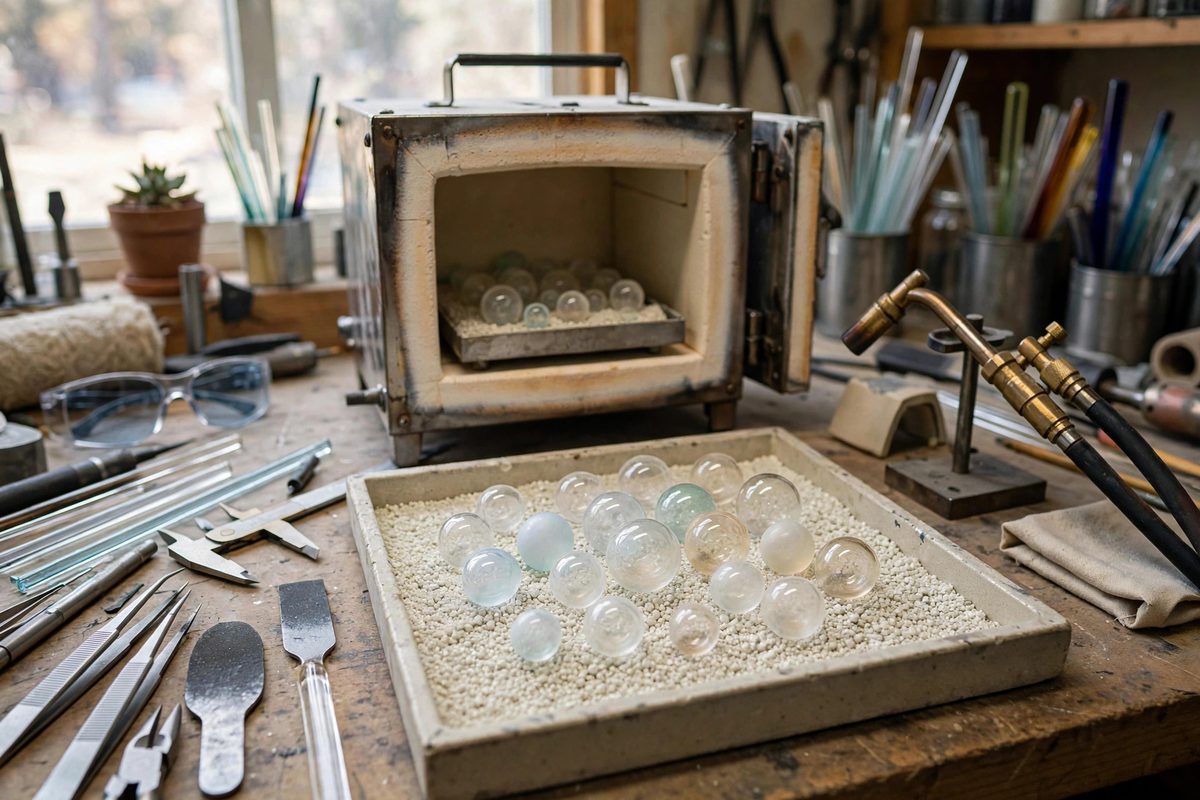
Hollow glass beads look delicate and behave structurally like tiny pressure vessels, which means their annealing demands respect. A solid bead cools into a fairly forgiving mass; a hollow bead has thin walls, an enclosed air pocket, and stress gradients running in two directions at once. Annealing, the controlled cool-down that lets internal stresses relax, is what keeps a hollow bead from cracking weeks after it leaves the torch. The soak schedule, the hold at the annealing temperature before the slow ramp down, is where that relaxation actually happens.
Why Hollow Beads Stress Differently
In a solid bead, heat soaks through the whole mass fairly evenly, and stresses distribute through a continuous body of glass. A hollow bead has an inner surface and an outer surface cooling at different rates, with the trapped air inside acting as insulation that keeps the inner wall hot while the outer wall cools. The two walls pull against each other, and the stress concentrates at the thinnest points, usually the ends where the bead meets the mandrel.
That enclosed air pocket adds a second hazard: as the bead cools, the air inside contracts, creating a slight vacuum that pulls the soft walls inward. If the bead is annealed too quickly, the walls set while stressed, and the bead can implode or crack later when temperature changes flex it. Proper annealing lets the whole structure settle into a relaxed state before the glass locks up.
Setting the Annealing Temperature
The annealing point is the temperature where glass is just soft enough for internal stresses to relax but stiff enough to hold its shape, roughly around the strain point plus a margin. For common soft glass used in lampworking, this sits in the low 900s Fahrenheit; for borosilicate, it is up near 1050. The exact number depends on the glass manufacturer's specification, and that spec sheet is the authority, not shop lore.
Get the beads into the kiln at or near the annealing temperature as quickly as practical after forming. A bead left cooling on the mandrel at room temperature starts building stress immediately, and while a short bench-cool before kiln entry is normal, letting hollow beads sit and cool fully before annealing defeats the purpose. The kiln should be hot and waiting when the bead comes off the flame.
Soak Time by Wall Thickness
Soak time scales with the thickest glass the heat must penetrate, which for a hollow bead means the wall thickness, not the bead diameter. Thin-walled hollow beads (walls around a millimeter) need only a modest soak, roughly twenty to thirty minutes at temperature, because the heat equalizes quickly. Thicker walls, or beads with heavy encasement layers, need longer, up to an hour or more, since the soak must fully equalize temperature through the thickest section.
When annealing a batch of mixed beads, set the soak for the thickest-walled bead in the kiln. Under-soaking the heavy beads to save time on the thin ones is a false economy; the thin ones suffer nothing from a longer soak, while the thick ones crack without it. The kiln does not care how long the easy pieces wait.
The Ramp Down: Slow and Steady
After the soak, the kiln ramps down through the strain point region slowly, and this is where most annealing failures actually occur. Rushing the cool-down reintroduces the very stresses the soak just relieved. A typical ramp for soft-glass hollow beads runs about one to two degrees per minute through the critical range, then faster once safely below the strain point.
- Do not open the kiln to peek during the ramp; the thermal shock of cold air on hot beads can crack them instantly.
- Keep the kiln reasonably full or use thermal mass; an empty kiln swings temperature faster and less evenly.
- Let the kiln cool to near room temperature before unloading; warm beads handled roughly can still pick up stress.
- Record the schedule that works and repeat it exactly; annealing rewards consistency.
Troubleshooting Cracked Hollow Beads
Cracks that appear days or weeks after annealing point to insufficient soak or too-fast ramp, not to a forming error. If beads consistently crack at the mandrel ends, the ends are the thinnest and cool fastest; a longer soak and slower ramp through the upper range usually fixes it. If beads implode, the walls were too thin for the size, and no schedule fully compensates for a structural problem.
Check the kiln's actual temperature with a separate thermocouple if problems persist. Kiln controllers drift, and a kiln annealing fifty degrees cool never truly relaxes the glass. The schedule is only as good as the temperature it actually delivers.
Hollow beads reward the patient annealer. Set the right temperature, soak for the thickest wall, ramp down slowly, and keep the kiln shut until it is done. The beads that survive are the ones that were never asked to hurry.
Related Guides
- Surface Flame Chemistry for Borosilicate Rods: A lampworking torch burns fuel gas with oxygen, and the ratio between them determines the flame's chemistry: oxidizing, neutral, or reducing. That
- Oxygen Propane Flame Chemistry for Heavy Quartz Tubing: Heavy-wall quartz tubing demands more heat than standard borosilicate, and the oxygen-propane flame is the workhorse for the job. But brute heat is
- Boro Flame Oxidizing Ratios to Stop Surface Scumming: Borosilicate glass worked in a reduction flame develops a scummy, metallic-looking surface film that ruins clarity and muddies colors. The fix is