
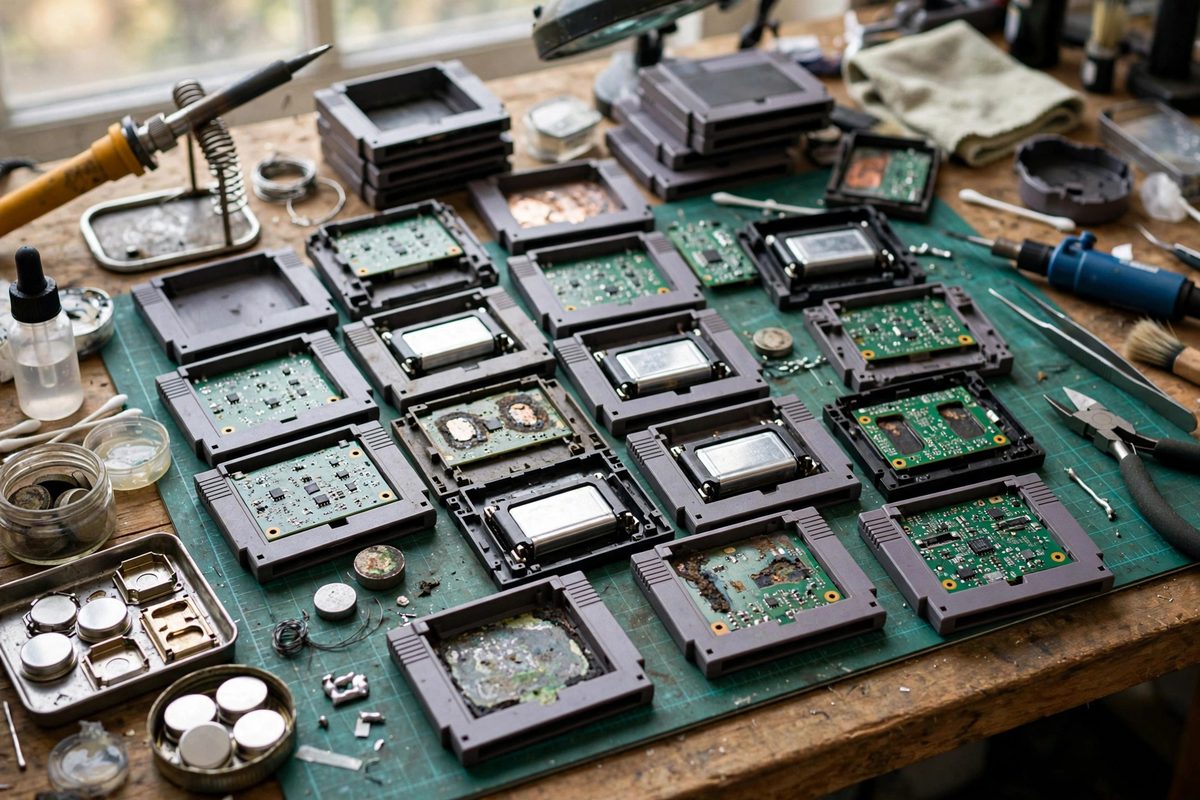
Countless retro game cartridges keep their saves alive with a small battery soldered to the PCB, usually a CR2032 or equivalent. After thirty years, those batteries are long dead, and with them the saves. Worse, old batteries can leak and corrode the board. Retrofitting a proper battery holder, so the next replacement is a two-second swap instead of a soldering job, is the lasting repair. Here is how to do it without damaging the board.
Why holders beat soldered cells
The original manufacturers soldered batteries directly because it was cheap and the batteries were expected to outlast the product's commercial life. They did not. A soldered cell forces every future replacement to be a desoldering operation on an aging board, with all the pad-lifting risk that entails. A coin-cell holder with through-hole or SMT mounting turns battery replacement into a consumer task: pop the old cell out, pop a new one in. For a cartridge you intend to keep playable for decades, the holder pays for itself on the first change.
Removing the old battery safely
Desolder the dead battery with care: old boards have fragile pads and traces. Use flux, adequate heat, and desoldering braid or a pump; do not pry the battery while solder still holds it, since that lifts pads. Inspect for leakage damage before proceeding: battery electrolyte corrodes traces and vias, and damaged traces need repair (jumper wires or trace rebuilding) before the new holder goes in. Neutralize any corrosion residue and clean the area thoroughly; corrosion left in place continues spreading under the new installation.
Choosing and fitting the holder
Select a holder for the correct cell size, usually CR2032, with a mounting style that suits the board: through-hole holders are sturdiest and simplest to solder. Check the holder's footprint against the available board space; some cartridges are tight, and the holder must clear the cartridge shell when closed. Verify polarity: the holder's positive terminal must connect to the pad that was the battery's positive side. Getting this backward powers the SRAM's backup circuit in reverse, which at best does not work and at worst damages the chip. Double-check with the board's silkscreen or a schematic before soldering.
Soldering and testing
Solder the holder with the same care as any PCB work: clean pads, flux, enough heat for good flow, no bridging. Use lead-free or leaded solder as you prefer, but be consistent and thorough. After soldering, install a fresh cell and test: power the cartridge, create a save, power off for several minutes (or longer), and confirm the save persists. Also verify the cartridge shell closes properly with the holder installed; a holder that prevents the shell from closing is a failed retrofit. If the shell interferes, a lower-profile holder or slight shell relief may be needed.
Long-term care
Even with a holder, check the cell every few years; coin cells eventually die and, rarely, leak. Note the installation date on the cartridge label or in your records so the next replacement is scheduled, not discovered after saves are lost. Store cartridges sensibly; heat accelerates battery drain and leakage risk. The holder makes the cartridge maintainable indefinitely, which is the whole point of the repair.
Desolder gently, repair any corrosion, fit the right holder with correct polarity, test the save, and date the cell. The saves will outlive us all.
Related Guides
- Bypass Capacitor Soldering on Retro Memory Boards: Retro memory boards fail in subtle ways: random glitches, corrupted saves, crashes that come and go with temperature. Often the culprit is not a dead
- Reflowing Cold Solder Joints on ROM Chip Pins: A vintage game cartridge that boots intermittently, shows garbled graphics, or needs a ritualistic wiggle to work often suffers from cold solder
- Electrolytic Capacitor ESR Testing in Vintage Cartridges: Some vintage game cartridges, particularly those with save batteries, audio circuitry, or special coprocessor chips, contain small electrolytic