
A vintage game cartridge that boots intermittently, shows garbled graphics, or needs a ritualistic wiggle to work often suffers from cold solder joints on the ROM chip pins: connections that look soldered but never properly bonded. Decades of thermal cycling, the endless expansion and contraction of heating and cooling, crack these weak joints until they conduct only when the stars align. Reflowing, remelting the joint so it bonds correctly, is the permanent fix. It is delicate work on irreplaceable chips, but the technique is straightforward and the success rate is high.
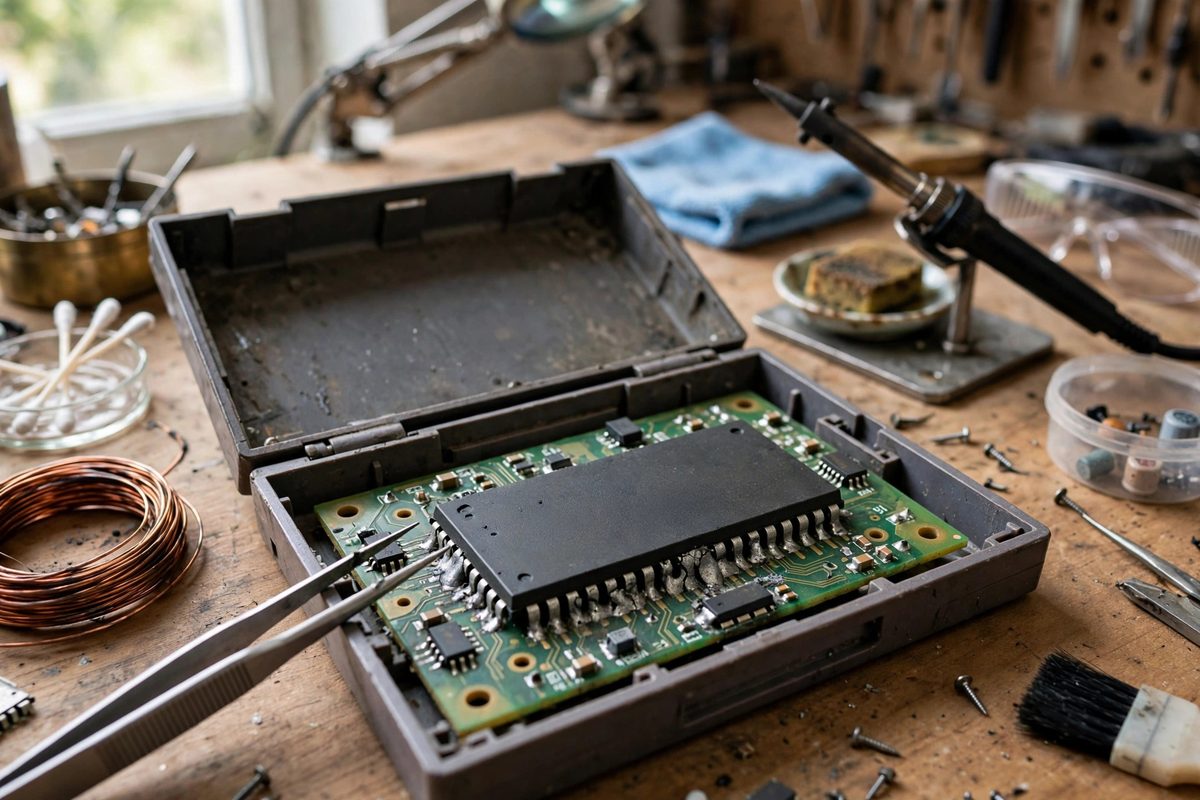
Recognizing cold joints
A good solder joint is smooth, shiny, and concave, flowing like a tiny Hershey's Kiss from pin to pad. A cold joint is dull, grainy, lumpy, or cracked, sometimes with a visible ring around the pin where the solder never wetted it. Under magnification, the difference is obvious; to the naked eye, cold joints often pass as fine, which is why intermittent cartridges get misdiagnosed. The failure mechanism is mechanical fatigue: each power cycle expands and contracts the joint microscopically, and a joint that never properly alloyed with the pin and pad develops hairline cracks that open and close with temperature. Tapping the cartridge or flexing the board temporarily closes the cracks, which is the classic symptom. If a cartridge works when pressed in a certain spot and fails otherwise, suspect cold joints before suspecting dead chips.
Preparation and tools
You need a temperature-controlled soldering iron with a fine tip, quality rosin-core solder, liquid flux, desoldering braid for cleanup, magnification, and good lighting. The flux is the secret weapon: it cleans oxidation during heating and lets the solder wet the surfaces properly, which is exactly what failed the first time. Clean the board around the ROM chip with isopropyl alcohol first; decades of grime interfere with heat transfer and inspection. Ground yourself against static discharge, since ROM chips are CMOS devices that ESD can kill silently; a grounded wrist strap is cheap insurance on an irreplaceable Mask ROM. Photograph the board before you start, both for reference and because documentation is part of good repair practice.
The reflow technique
Apply a small amount of liquid flux to the suspect pins. Heat the iron to a moderate temperature, hot enough to melt solder quickly but not so hot it lifts pads, and touch the tip to the pin-and-pad junction while feeding a tiny amount of fresh solder. The goal is to see the existing solder go fully liquid, flow, and settle into a smooth concave fillet; the fresh solder and flux ensure proper wetting this time. Work pin by pin, spending only a second or two on each; lingering overheats the chip and risks lifting the delicate cartridge pads. For a whole ROM chip, work systematically down one side and then the other, letting each joint cool before moving on. Drag soldering, drawing the iron slowly along a row of pins with flux, can reflow an entire side efficiently once you have the touch, but practice on scrap boards first. Inspect every joint under magnification afterward: each should be shiny, smooth, and fully wetted to both pin and pad, with no bridges between adjacent pins.
Cleaning up and testing
After reflowing, clean the flux residue with isopropyl alcohol and a soft brush; rosin flux left on the board attracts moisture and looks unprofessional. Check for solder bridges with magnification and a multimeter's continuity mode, since a bridge between adjacent ROM pins creates exactly the kind of bizarre failure you are trying to fix. Then test the cartridge thoroughly: not just a boot, but extended play, because thermal intermittents reveal themselves as the board warms up. If the cartridge now works reliably through a long session, the repair is done. If problems persist, the fault lies elsewhere: failing capacitors, trace damage, or a genuinely dead chip, each a different repair.
Safety and the limits of reflow
Soldering safety is standard but worth stating: ventilate the fumes, wash hands after handling solder (vintage cartridges predate lead-free, so assume lead), and never leave a hot iron unattended. Electrically, keep the iron's temperature moderate and your contact time short; lifted pads on a cartridge board are difficult to repair and easy to cause. Know when reflow is not the answer: joints that are physically broken with lifted pads, traces eaten by battery corrosion, and chips with internal failures all need different treatment. Reflow fixes bad wetting and fatigue cracks; it does not resurrect dead silicon. Applied to the right problem, though, it is the highest-percentage repair in cartridge restoration.
Flux the pins, melt each joint until it flows smooth and shiny, inspect under magnification, and test with a long play session. Most "dead" cartridges are just tired joints waiting for thirty seconds of proper heat.
Related Guides
- Battery Holder Retrofitting on Memory Save PCBs: Countless retro game cartridges keep their saves alive with a small battery soldered to the PCB, usually a CR2032 or equivalent. After thirty years
- Electrolytic Capacitor ESR Testing in Vintage Cartridges: Some vintage game cartridges, particularly those with save batteries, audio circuitry, or special coprocessor chips, contain small electrolytic
- Bypass Capacitor Soldering on Retro Memory Boards: Retro memory boards fail in subtle ways: random glitches, corrupted saves, crashes that come and go with temperature. Often the culprit is not a dead