
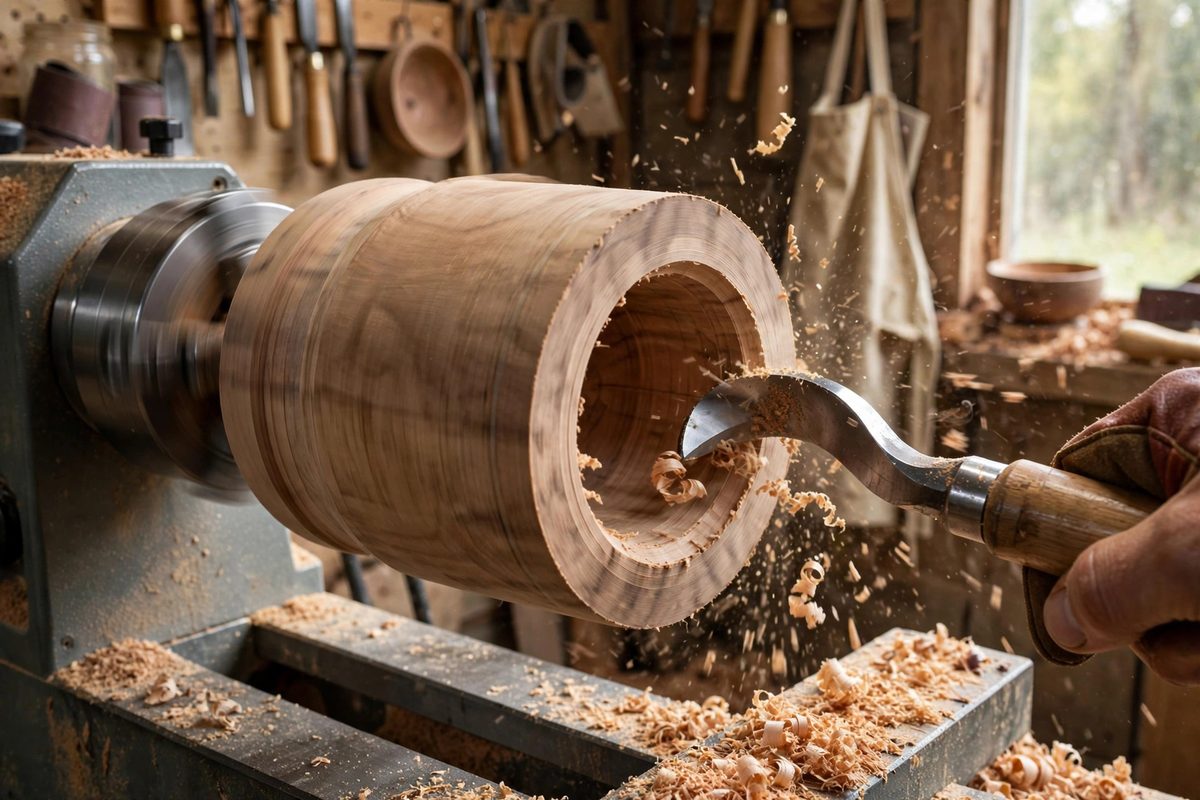
Hollowing end grain on the lathe, boring into the end of a spinning blank to make a box, goblet, or hollow form, is where bevel rubbing either saves you or betrays you. The bevel, the ground surface behind the cutting edge, is meant to ride on the wood and guide the cut. On end grain, where the tool meets the fibers head-on, the bevel's contact with the wood is the difference between a controlled shearing cut and a catch that digs the tool into the work. Understanding the mechanics of that contact is the key to hollowing without fear.
What Bevel Rubbing Actually Does
When the bevel rubs the wood just behind the cutting edge, it does three things: it limits the depth of cut, because the tool cannot advance deeper than the bevel allows; it steadies the tool against vibration and chatter; and it burnishes the surface slightly, leaving a cleaner cut. The cutting edge does the severing, but the bevel does the governing. A tool cutting without bevel contact is ungoverned, and ungoverned tools catch.
The contact must be the bevel, not the heel. If the tool is presented too flat, the heel of the bevel drags and the edge cannot reach the wood; too steep, and the edge digs while the bevel floats free. The sweet spot is the bevel rubbing along its length with the edge just engaging, a presentation you learn by feel and confirm by the quality of the cut.
Why End Grain Is Different
On side grain, the tool slices fibers along their length, which is forgiving. On end grain, the tool meets the fiber ends head-on, like chopping the end of a bundle of straws. The fibers resist, then release suddenly, which is why end grain hollowing is prone to catches: the tool loads up against the fiber ends, the resistance builds, and then something gives, either the fibers or the tool's position.
Bevel rubbing manages this by keeping the cut shallow and continuous. With the bevel governing the depth, each fiber end is severed in a thin, controlled shaving rather than being torn in a deep, grabbing cut. The bevel is essentially a depth stop that rides the surface, and on end grain that depth stop is what stands between you and a catch.
Tool Presentation for Hollowing
Present the gouge with the flute open toward the direction of cut and the bevel in contact with the wood just cut. As you sweep the tool through the hollow, the presentation angle must change continuously to keep the bevel rubbing: the hollow's curve means a fixed tool angle rubs correctly at one point and digs or floats at another. This continuous adjustment is the skill of hollowing, and it is learned at slow speed with light cuts.
- Keep the tool rest close to the work; a long overhang amplifies every catch.
- Cut from the center outward on the initial boring, then shape the walls on the return.
- Lighten the cut as the wall thins; thin walls flex and grab.
- Listen to the cut: a clean shearing sound means the bevel is governing; scraping or chattering means it is not.
Reading Catches Before They Happen
A catch announces itself in the moments before it happens: the tool starts to vibrate, the cut sound changes from shearing to scraping, or the bevel contact feels like it is slipping. These are signals to stop advancing, re-establish bevel contact, and take a lighter pass. Turners who catch frequently are usually pushing past these warnings, not suffering random accidents.
The most common catch in hollowing comes from dropping the tool handle, which raises the cutting edge and loses bevel contact in one motion. Keep the handle position disciplined, especially when reaching deep into the hollow where leverage works against you. If the handle drops, the edge digs; there is no exception.
Sharpening for Bevel Performance
A clean, consistent bevel grinds more predictably than a faceted or dubbed one. Grind the bevel to a single clean surface at the appropriate angle for the tool, and hone the edge so the transition from bevel to cutting edge is crisp. A wire edge or a rounded-over bevel changes the contact geometry and makes rubbing unpredictable.
Different hollowing tools want different bevel angles: spindle gouges, bowl gouges used for hollowing, and dedicated hollowing tools each have their geometry, and each rubs correctly only when presented at its own angle. Learn each tool's angle separately rather than assuming one presentation fits all.
Rub the bevel, govern the depth, and let the edge shear the fiber ends in thin, controlled passes. End grain hollowing rewards the turner who trusts the bevel's mechanics, and it punishes the one who tries to muscle through. The bevel is the brake; use it.
Related Guides
- Shear Scraping Outside Curves on End Grain Goblets: An end grain goblet, turned with the grain running vertically through the form, presents the turner with end grain across the entire outside curve
- Bevel Edge Angle Consistency on Turned Bowls: The bevel on a turning gouge, the ground surface just behind the cutting edge, is the turner's autopilot: when the bevel rubs the wood, it steadies
- Bevel Skew Angle Dynamics in Roughing Gouges: The roughing gouge is the first tool to touch most spindle blanks, hogging square corners into cylinders. Its bevel angle and the skew of that bevel