
Brushed polyurethane almost never dries into the flawless surface you want. There are always brush marks, dust nibs, and orange peel to deal with. Pumice and rottenstone, the old-school abrasive powders of the furniture trade, let you level those imperfections and build a deep, even sheen that no brush alone can produce.
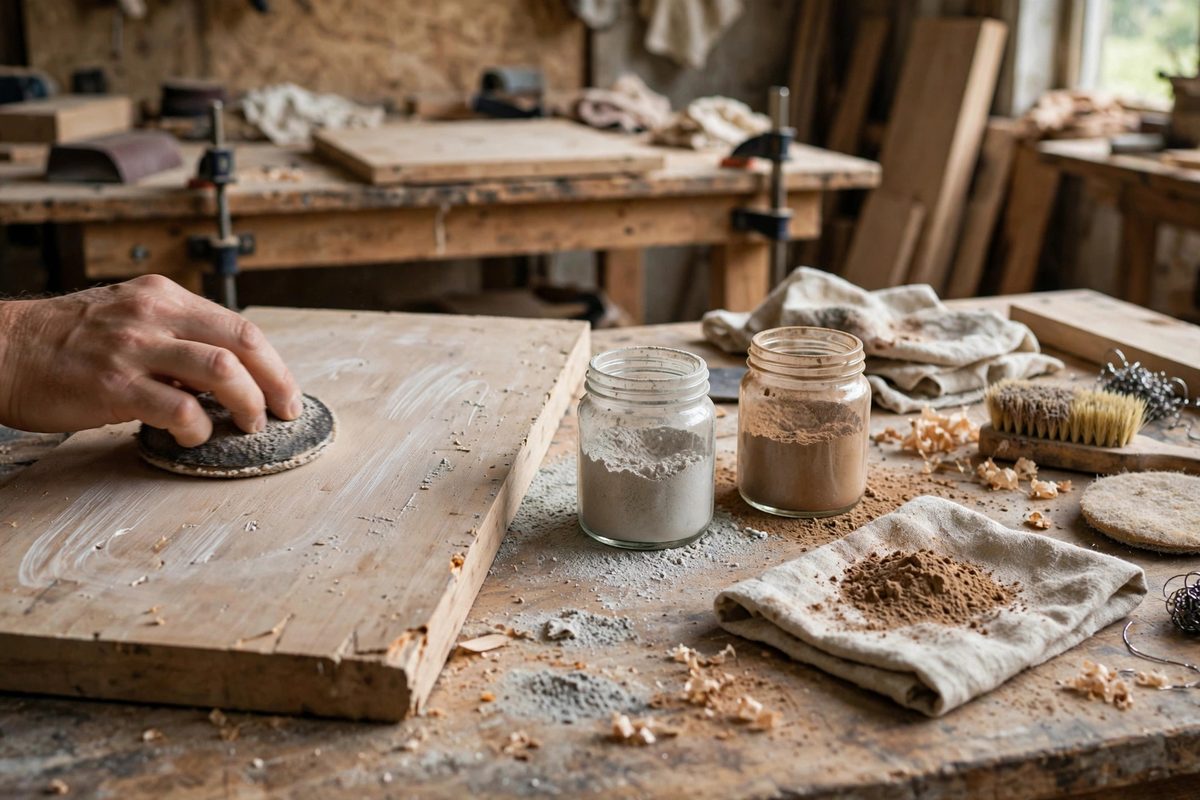
What pumice and rottenstone actually are
Pumice is ground volcanic glass, graded in sizes; the grades used for rubbing finishes are fine enough to cut polyurethane without leaving visible scratches. Rottenstone is a still finer natural abrasive, traditionally used after pumice for the final polish. Used in sequence, they work like sandpaper in very fine grits, but with an advantage: the powder conforms to the surface and cuts evenly across broad panels. The result is a leveled finish with a satin to semi-gloss sheen that looks hand-rubbed rather than sprayed.
Building enough film first
You cannot rub out a finish that is too thin. Plan on at least three full coats of polyurethane, with a light scuff sand between them, so the final coat has real film thickness to work with. The rubbing process removes a small amount of material as it levels; if the film is thin, you will cut through to bare wood at edges and high spots. Let the final coat cure fully before you start. A week of curing is a reasonable minimum in normal shop conditions, because polyurethane that is still soft gums up instead of cutting cleanly.
Lubricants and the rubbing technique
The powders are always used with a lubricant. Mineral oil or a light paste wax vehicle is the traditional choice; water works but can raise issues on oil-based finishes that are not fully cured. Work with a felt pad or a wadded cloth, sprinkle a little powder on the surface or the pad, and rub with the grain in long, even strokes covering the whole panel. Keep the pressure moderate and even; the goal is uniform leveling, not aggressive cutting. On large surfaces like table tops, divide the top into zones and finish each before moving on, overlapping slightly.
Working through the sequence
Start with pumice on a felt block. It removes the high spots, the nibs, the brush marks, and leaves the surface uniformly dull with a very fine scratch pattern. Wipe the surface clean, then move to rottenstone on a softer pad with fresh lubricant. Rottenstone refines the pumice scratches and begins to bring back the sheen. The degree of polish depends on how long you work it: stop early for a satin look, keep going for a higher gloss. Each stage must fully remove the scratches of the stage before it, so do not rush the transition.
Edges, corners, and the cut-through risk
Edges and corners are where film is thinnest and where rubbing pads naturally cut hardest. Ease off the pressure there, or rub the flat areas first and finish the edges with lighter strokes. If you see a dull spot that looks different from the surrounding finish, check it: a cut-through means the topcoat is gone and the remedy is another coat and more curing time before you try again. Prevention beats repair here, since every coat adds another week of waiting.
Cleaning up and waxing
When the sheen is even, wipe the surface thoroughly with mineral spirits to remove every trace of oil and powder, then let it dry. Many makers follow the rottenstone step with a coat of paste wax buffed to a shine; the wax fills microscopic pores in the rubbed surface and deepens the look. The final result should be a surface that reads as one continuous sheen, with no patches of differing gloss.
A rubbed polyurethane finish is slow work, but it is the difference between a coating and a finish. Build the film, let it cure, level with pumice, polish with rottenstone, and protect the edges. The table top that comes off the felt pad will look like it was made by someone who cared.
Related Guides
- Spray Viscosity Tuning for Two-Part Polyurethane Coats: Two-part polyurethane lays down a hard, chemical-resistant film that furniture makers love, but it only sprays well within a narrow viscosity window
- Hardwax Oil Penetration on Dense Hardwoods: Hardwax oils promise the best of both worlds: the natural look and repairability of an oil with the protection of a wax film. On dense hardwoods like
- Film Thickness Control in Sprayed Conversion Varnish: Conversion varnish, the catalyzed finish of professional cabinetry, earns its reputation for hardness and chemical resistance only when applied at
- Wet Sanding Pre-Catalyzed Lacquer to Mirror Luster: Pre-catalyzed lacquer is the finish of choice when you want durability with a fast build, but straight off the gun it usually carries a fine