
Your airless sprayer used to lay down a smooth, even fan, and now it pulses: the pattern surges and fades with every pump stroke, leaving stripes on the wall. Before you blame the pump or the tip, look at the packings. Worn or dirty packings let pressure leak past the piston on every stroke, and that pressure loss shows up directly as a pulsing spray pattern. Cleaning and conditioning the packings fixes this more often than any other single maintenance task.
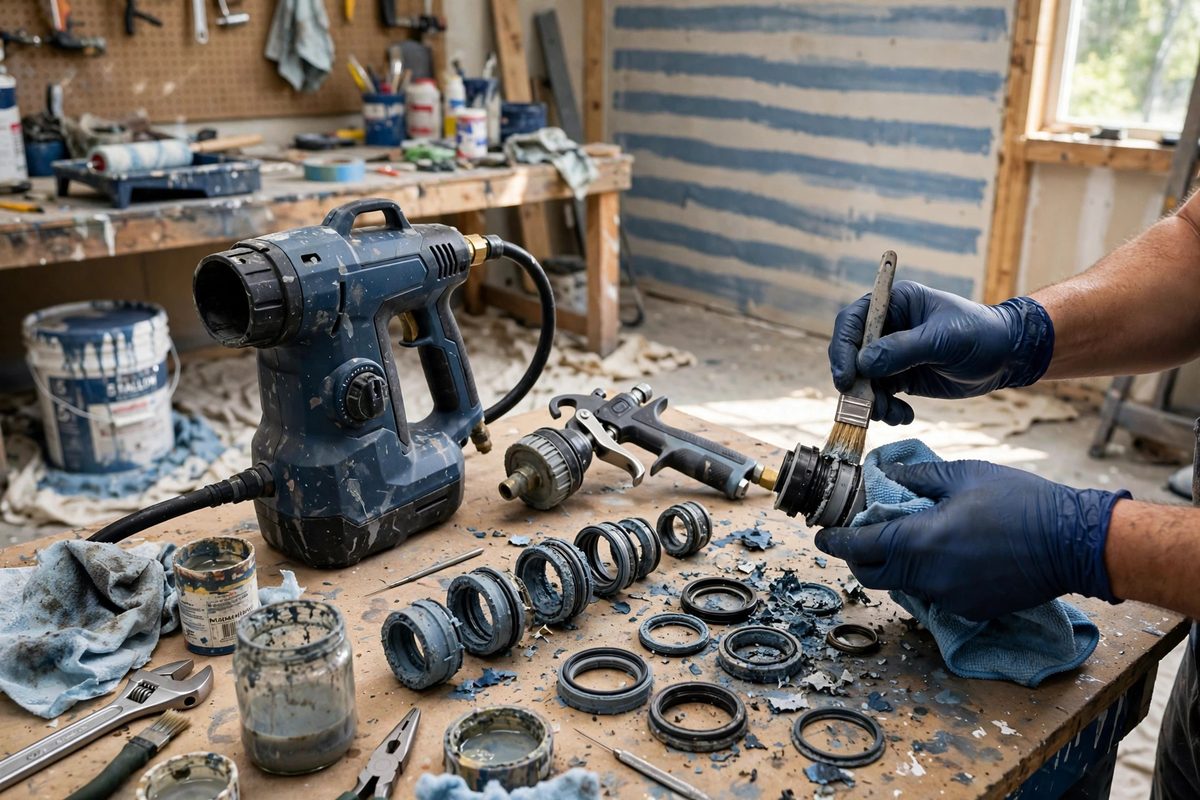
What Packings Do in an Airless Pump
An airless pump builds pressure with a piston sliding inside a cylinder, and the packings are the seals around that piston that keep high-pressure paint on the business side. On the intake stroke the packings seal so the cylinder fills; on the pressure stroke they seal so the paint is forced out through the hose instead of leaking back past the piston. When packings are clean and pliable, nearly all the piston's effort becomes spray pressure. When they are caked with dried paint, hardened, or scored, some of every stroke leaks backward, and the pressure at the tip rises and falls with the piston, which is exactly the pulsing you see in the fan.
Recognizing Packing-Related Pulsing
Packing problems have a signature. The spray pulses in rhythm with the pump strokes rather than randomly, the pump seems to work harder or cycle faster to hold pressure, and you may see paint weeping from the top of the pump where the piston rod exits. A worn spray tip causes a different problem (a widening, fuzzy fan), and a clogged filter causes pressure drops that come and go with debris, so match the symptom before tearing into the pump. Rhythmic pulsing plus weeping at the rod is the classic packing diagnosis. Catching it early matters because a leaking packing lets abrasive paint pigments grind against the piston rod and cylinder, turning a cleaning job into a parts replacement.
Safe Disassembly and Cleaning
Relieve the pressure first, every time: trigger the gun into a bucket with the pump off until the gauge reads zero, because an airless system holds thousands of PSI and a slip during disassembly can inject paint through skin, which is a medical emergency. Remove the pump section according to the manufacturer's procedure, keeping the parts in order as they come out. Soak the packing assembly in the appropriate solvent or water, depending on the paint, and work the dried material out with a soft brush. Never use metal picks or wire brushes on the packing faces or the piston rod: scratches become leak paths. Inspect the packings for cracks, flat spots, and hardening; pliable, intact packings can go back in, but brittle or deformed ones should be replaced.
Conditioning and Reassembly
Clean packings still need lubrication to seal and to survive the next job. Apply the manufacturer's recommended packing lubricant or throat seal liquid to the packings and the piston rod before reassembly: this fluid sits above the packings and keeps them wet during operation, which dramatically extends their life. Reassemble in the correct order and orientation, because packings are directional: the sealing lips must face the pressure side, and a reversed packing will leak immediately. Torque the packing nut to the specified setting, or snug plus a fraction of a turn if you are working without a spec: too loose and it leaks, too tight and it drags on the rod and wears prematurely.
Breaking In and Testing
After reassembly, prime the pump and run it up to pressure with the gun triggered into a bucket, watching the gauge for steady pressure. New or freshly cleaned packings sometimes need a few minutes of running to seat fully, so give it a short break-in before judging the result. Then spray a test pattern on cardboard: a steady, even fan with no rhythmic surging means the packings are sealing. If pulsing persists after a proper cleaning and reassembly, the piston rod or cylinder itself may be scored beyond what packings can seal, and that is a rebuild or replacement decision.
Preventing the Next Packing Failure
Packings die from dried paint and dry running. Flush the system thoroughly after every use, keep throat seal liquid topped up during long spray sessions, and never let the pump run dry or sit with paint curing in it overnight. A few minutes of proper cleanup after each job is the difference between packings that last for years and packings that fail mid-project.
Pulsing is the pump telling you its seals are leaking. Clean the packings, lubricate them, seat them correctly, and test the fan. It is routine maintenance, not a mystery, and it keeps the sprayer doing what you bought it for: laying down paint so evenly you forget the machine is there.
Related Guides
- Airless Spray Tip Orifice Sizing for Latex: An airless sprayer turns tip selection into paint engineering: the tip's orifice size and fan width determine how much paint flows, how finely it
- Straining Latex Paint to Eliminate Gun Clogging: A spray gun that sputters, spits, or clogs mid-coat turns a fast job into a slow one. Most of those clogs are not gun problems; they are paint
- Wet Film Gauge Thickness Audits for Acrylic Enamels: Acrylic enamel, the workhorse coating for trim, doors, and cabinetry, delivers its hardness, washability, and durability only at the specified dry
- Atomization Pressure Calibration for HVLP Clear Coats: Clear coat is where a paint job is won or lost, and atomization is where clear coat is won or lost. The spray gun's job is to break the liquid into