
Crown molding has to die into something at the end of a run: a wall, a cabinet, or a return that folds the profile back on itself. A return termination, where the molding turns a corner and ends against the wall, is the cleanest finish, but it demands a compound miter scribed to fit reality, not theory. Walls are never perfectly square, and the scribe is what absorbs that.
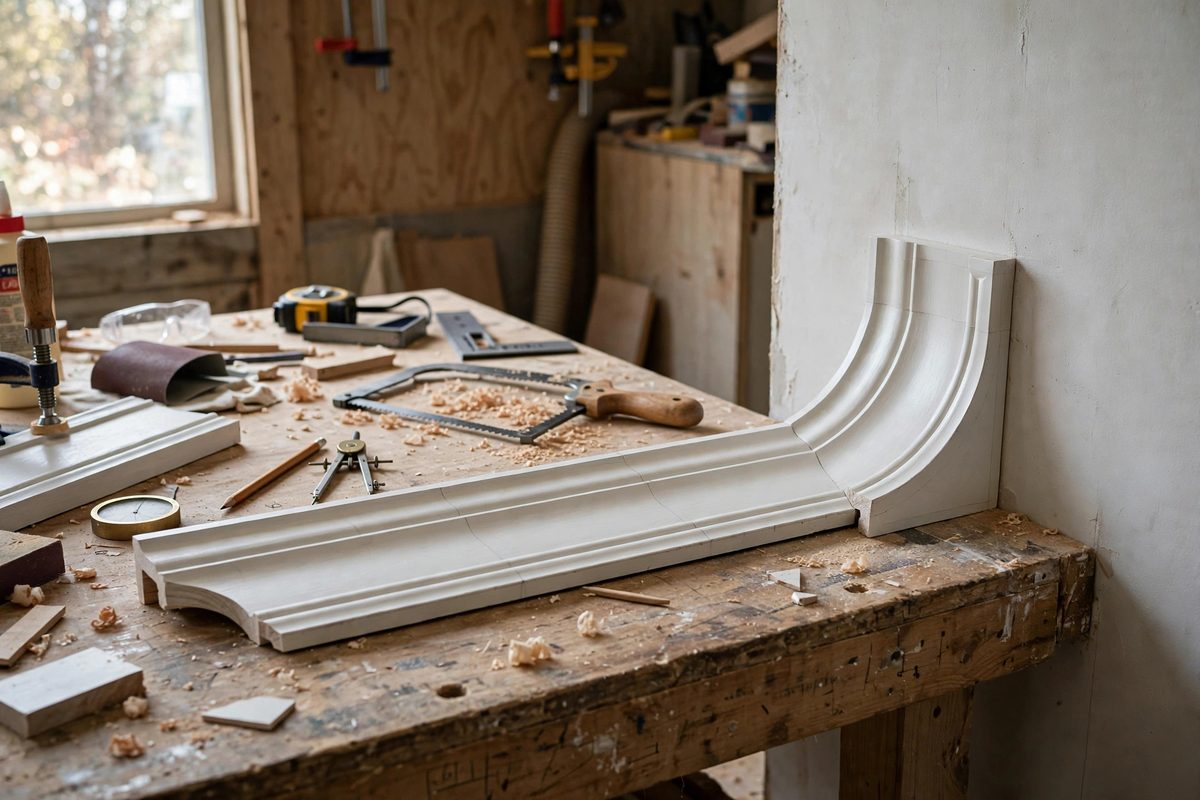
Understanding the Return
A return takes the crown's profile around a corner, typically ninety degrees, and runs it back to the wall so the molding ends with its full profile visible rather than a raw cut end. The return piece is short, which makes it fiddly, and its miter must match both the main run's angle and the actual wall corner. Because the return is so visible, right at the termination point where the eye naturally lands, any gap or misalignment shows plainly. This is finish work where sixteenths matter.
Cutting the Compound Miter
Crown sits at a compound angle, tilted against both wall and ceiling, so its miter is cut with the saw set to both a miter angle and a bevel angle. For a square corner, the settings are standard and well documented; for the out-of-square corners real rooms have, adjust from the measured angle rather than the theoretical one. Cut the main run first, then cut the return piece with the complementary angle. Always cut returns slightly long and sneak up on the fit; a return cut short is scrap, while a return cut long can be trimmed. Test-fit the return against the main run before any fastening.
Scribing to the Wall
The wall end of the return rarely meets a flat surface. Scribe the return's back edge to the wall's actual contour: hold the fitted return in position, mark where the wall deviates, and trim to the line with a coping saw, file, or sander. The scribe only needs to remove small amounts; if the gap is large, the corner angle measurement was wrong and recutting beats scribing. A well-scribed return sits tight to the wall along its full back edge with no caulk needed, though a thin bead of paintable caulk forgives the last whisper of a gap.
Coping Versus Mitering Inside Corners
Where the return meets the main run at an inside corner, coping the return's end to the main run's profile often fits better than a miter, because the cope accommodates the wall's irregularities. Cut the return's miter first to establish the angle, then back-cut along the profile line with a coping saw, removing everything behind the profile's face. The coped end nests against the main run's shaped face and stays tight even as the wood moves seasonally. Miters open with movement; copes stay closed. On painted crown the difference is longevity.
Fastening and Finishing
Fasten the return with brads into solid backing, pre-drilling near the mitered end to prevent splitting the short piece. Glue the miter joint itself; the glue does the structural work while the brads just hold position. Fill nail holes, sand the joint flush if needed, and caulk the wall and ceiling lines before painting. The finished return should read as if the molding simply decided to end there, with no evidence of the measuring, cutting, and scribing that made it happen.
Measure the real corner, cut the compound miter long, cope the inside joint, scribe the wall end, and fasten with glue doing the work. The crown will terminate cleanly, and the termination will look inevitable rather than constructed.
Related Guides
- Scribing Apron Miters Against Out-of-Plumb Walls: A window or door apron that looks crisp on the bench and sloppy on the wall almost always lost the fight at the scribe line. Walls lean, corner beads
- Coping Inside Corner Joints on Baseboard Trim: Inside corners in baseboard look simple until you try to miter one: two 45-degree cuts that meet perfectly in theory and gap in practice, because
- Back-Relief Kerfing on Wide Hardwood Architrave Moulds: Wide hardwood architrave, the trim casing around doors and windows, looks substantial and beautiful, but wide solid stock moves with humidity and