
Inside corners in baseboard look simple until you try to miter one: two 45-degree cuts that meet perfectly in theory and gap in practice, because walls are never perfectly square and wood never stops moving. The professional solution is the coped joint. One piece runs straight into the corner; the other is cut to match the first piece's profile, so the two nest together like a jigsaw. A coped joint tolerates out-of-square corners, hides seasonal movement, and looks tight from every angle. It is the mark of trim carpentry done right.
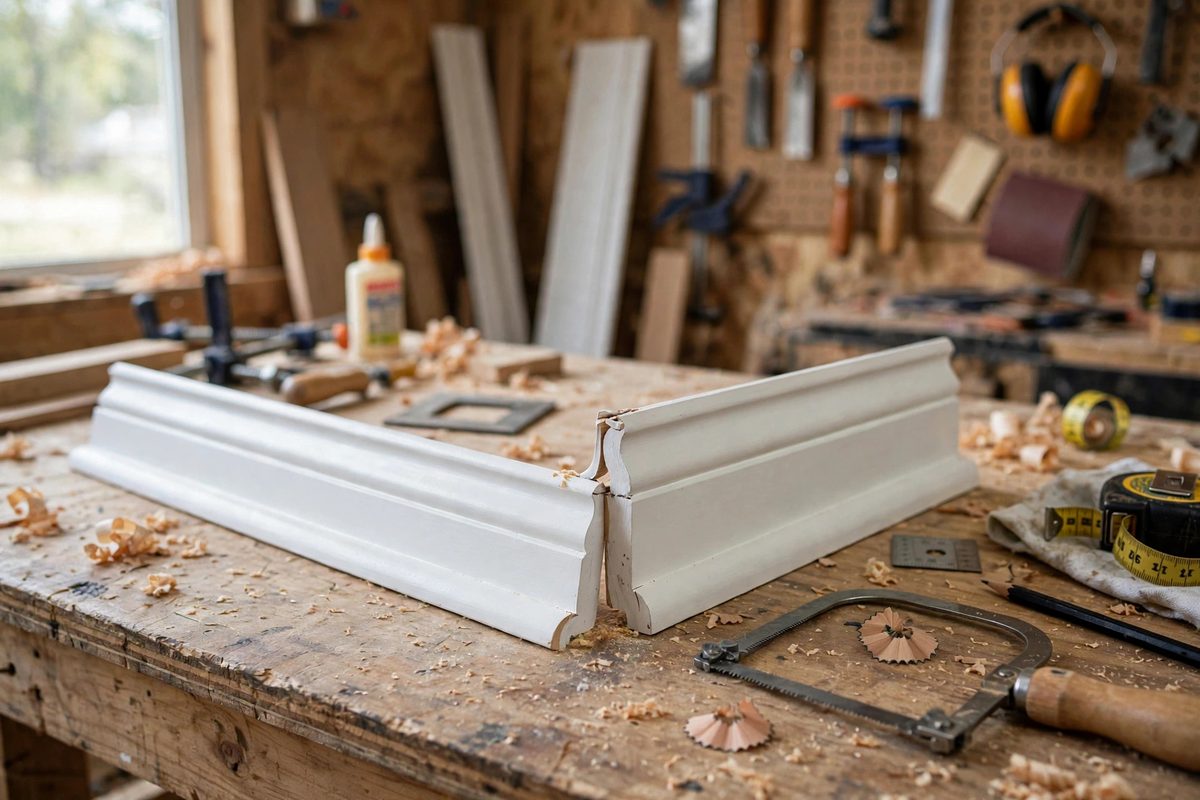
Why coped beats mitered on inside corners
A mitered inside corner depends on both walls meeting at exactly 90 degrees and both pieces staying exactly where they were cut. Neither condition holds in real houses: framing is approximate, drywall mud builds up unevenly, and wood shrinks and swells with the seasons. When a mitered inside corner opens, it opens as an ugly wedge gap that no caulk truly hides. A coped joint works differently: the coped piece's shaped end presses against the face of the square-cut piece, so small angle errors just change where the pieces touch, not whether they touch. Seasonal shrinkage pulls the coped piece tighter against its mate instead of opening a gap. The joint is self-concealing in exactly the ways a miter is self-revealing. Outside corners still get mitered, since there is no face to cope against, but every inside corner in quality trim work is coped.
Cutting the cope
Start by mitering the end of the baseboard at 45 degrees, as if for a mitered corner; this miter cut exposes the profile and gives the coping saw its starting line. Then, with a coping saw, cut along the profile line where the miter meets the face of the trim, following the curves and details of the profile. The trick is to back-cut slightly: angle the saw so it removes a little more material behind the face than at the face itself. This back-cut means only the very front edge of the cope touches the mating piece, so the joint closes tightly even if the wall behind is irregular. Take your time on the detailed parts of the profile; the long straight sections cut quickly, but the small beads and coves define whether the joint looks crisp. A sharp coping saw blade with fine teeth cuts cleanly; a dull blade tears the profile and the joint shows it.
Fitting and fine-tuning
Test-fit the coped piece against the square-cut piece in position. The coped end should nest against the mating profile with no visible gap along the face. Where it does not touch, mark the high spots, the places where wood meets wood prematurely, and relieve them with the coping saw, a file, or sandpaper. This is iterative: fit, mark, relieve, fit again. The back-cut gives you margin, so small adjustments close the joint without re-cutting. Check the fit at the top and bottom of the baseboard separately; walls often lean, and a cope that fits at the top may gap at the bottom until relieved. When the joint closes along its full height, it is ready for installation. Do not force a poor cope with nails; the nails will hold the gap open permanently, while a well-fit cope needs only enough fastening to keep it in place.
Installation sequence
Install the square-cut piece first, running it fully into the corner. Then fit the coped piece against it. This order matters: the cope is cut to match the installed piece's actual profile in its actual position, not a theoretical one. Nail the baseboard to the studs, not just to the drywall, keeping nails clear of the coped joint itself so the joint can move microscopically with the seasons. A tiny bead of caulk along the top edge where baseboard meets wall finishes the installation, but the coped joint itself should need no caulk; if it does, the cope needs more fitting, not more filler. Work around the room in a consistent direction so each coped piece meets an already-installed square piece.
Tools and safety
The essential tools are a miter saw for the initial 45, a coping saw with sharp fine blades, and files or sandpaper for fitting. Keep spare coping saw blades on hand; they break, especially in dense hardwoods, and a fresh blade cuts straighter than a tired one. Standard trim safety applies: eye protection at the miter saw, secure the workpiece, keep fingers clear of the blade path, and support long baseboard stock so it does not tip the saw or bind the blade. The coping itself is hand work and safe, but unhurried: the joint rewards patience and punishes rushing.
Miter at 45 to expose the profile, cope along it with a slight back-cut, fit iteratively until it nests without gaps, and install square piece first. The coped inside corner is a small masterpiece of practical geometry, and it stays tight long after mitered corners have given up.
Related Guides
- Scribing Apron Miters Against Out-of-Plumb Walls: A window or door apron that looks crisp on the bench and sloppy on the wall almost always lost the fight at the scribe line. Walls lean, corner beads
- Back-Relief Kerfing on Wide Hardwood Architrave Moulds: Wide hardwood architrave, the trim casing around doors and windows, looks substantial and beautiful, but wide solid stock moves with humidity and
- Compound Miter Scribing for Crown Return Terminations: Crown molding has to die into something at the end of a run: a wall, a cabinet, or a return that folds the profile back on itself. A return