
A window or door apron that looks crisp on the bench and sloppy on the wall almost always lost the fight at the scribe line. Walls lean, corner beads bulge, and plaster drifts out of plumb over a few feet. The apron, cut with perfect miters, meets a wall that is anything but perfect, and the gap at the back of the miter tells the story. Scribing lets the back edge of the trim follow the wall while the face keeps its tight miter geometry. It is the difference between trim that looks installed and trim that looks fitted.
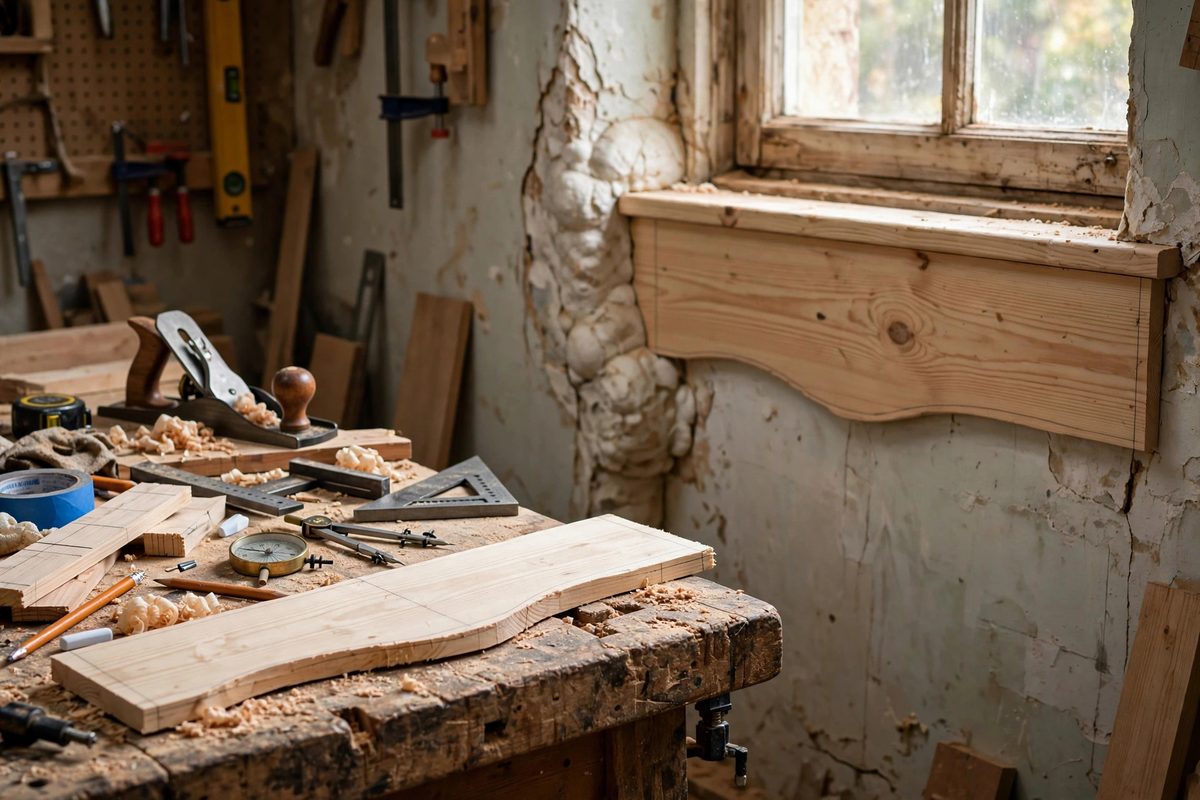
Why Walls Are Rarely Plumb at the Apron
A wall can lean a quarter inch over the height of a window opening and still pass inspection, because drywall and framing tolerances were never written for finish carpentry. Corner beads add another twist: the mudded buildup at an outside corner often swells the last few inches beyond the plane of the field. When the apron back lands on that swell, it pivots, opening the miter at the front.
That is why the problem shows up worst at the miter joints between the apron and the side casing. The casing may already be forced to bridge a lean, and the apron has to meet both the casing and the wall. Understanding that the wall is the variable, not your cuts, keeps you from chasing the wrong fix. You are not recutting the miter to some odd angle; you are removing material from the back of the apron so the face sits where it belongs.
Reading the Wall Before You Scribe
Hold the apron in position and look at the back edge from above. Wherever the wall pushes the trim outward, that is where material must come off. A small set of dividers or a compass with a pencil becomes the measuring tool: set the points to the widest gap, rest one point against the wall, and walk the other along the back of the apron to mark the removal line.
For long aprons, check plumb along the full length, not just the ends. A wall that bellies in the middle will push the apron off the sill line and open the miters at both ends even though each end measured fine on its own. Mark the high spots with light pencil on the wall itself so you can see the pattern before you start removing wood.
Scribe Line Technique for the Back Edge
Set the compass to transfer the gap, not to draw a decorative line. The pencil point traces the contour of the wall onto the back of the apron, and the line tells you exactly where wood stands between the trim and full contact. Take the material off with a block plane, belt sander, or coping saw, depending on how much has to go. Work to the line but not past it; the scribe line is the wall's actual position, so overshooting leaves a gap you cannot get back.
- Set the compass points once to the maximum gap and do not change the setting mid-scribe.
- Keep the compass points perpendicular to the wall so the transfer is honest.
- Remove material gradually, test-fitting often, because a second pass costs minutes and a cut past the line costs the apron.
- Scribe the back of the apron, never the face: the miter geometry on the face must stay exactly as cut.
Protecting the Miter During the Fit
The miter is the show face, so every handling step should assume it chips if looked at wrong. Back-cut the relief lightly with a block plane before test fitting so the knife edge of the scribe line does not crush against the wall and push the miter open during the trial. Dry-fit the apron with the side casing in place, because the casing position is part of the geometry the miter must close against.
If the miter still shows a hairline after a good scribe, check whether the casing itself needs shimming out from a recessed wall. Often the apron is fine and the casing is tipped; shimming the casing at its outer edge tips it back into the plane the apron expects. Fix the foundation before blaming the trim.
Cutting Order That Saves Rework
Cut the miters first, scribe second. The temptation to scribe the stock to the wall and then cut the miters leads to miters measured from a wall-contoured edge, which is circular error. The miter angles come from the opening: measure the casing faces, cut the apron to length with its miters, then scribe the back to the wall.
One more sequence matters: fit the head casing and side casings before the apron, and nail them home only after the apron is fitted. The apron closes against the side casings, so they need to be in their final position, but leaving the nails out until the apron is scribed lets you nudge everything into a shared plane before committing.
When the Wall Is Too Far Gone
Scribing handles the ordinary drift of a few sixteenths to a quarter inch. When the wall leans more than that along the apron's run, the back of the apron starts to look hollowed out and the top edge tips visibly out of level with the sill. At that point, shimming the apron out from the wall is the better answer: a thin, tapered shim behind the back edge stands the apron plumb, and the resulting gap at the wall gets covered by a small bead of paintable caulk.
There is no shame in the caulk-and-shim route; it is the standard answer on old plaster walls that lean half an inch. The test is the sight line from across the room. If the apron face reads straight and the miters are tight, the fit is right, whatever happened behind the trim.
Scribe the back, protect the miter, and let the wall be wrong while the trim is right. That is the whole craft of it: the wall gets its way on the hidden side, and the visible side stays perfect.
Related Guides
- Compound Miter Scribing for Crown Return Terminations: Crown molding has to die into something at the end of a run: a wall, a cabinet, or a return that folds the profile back on itself. A return
- Coping Inside Corner Joints on Baseboard Trim: Inside corners in baseboard look simple until you try to miter one: two 45-degree cuts that meet perfectly in theory and gap in practice, because
- Back-Relief Kerfing on Wide Hardwood Architrave Moulds: Wide hardwood architrave, the trim casing around doors and windows, looks substantial and beautiful, but wide solid stock moves with humidity and