
Crank journals live on clearances measured in thousandths, and the dial bore indicator is the tool that reads them. But the indicator only tells the truth if it is calibrated correctly before each measuring session. A mis-set indicator produces confident, precise, wrong numbers, which is worse than no measurement at all.
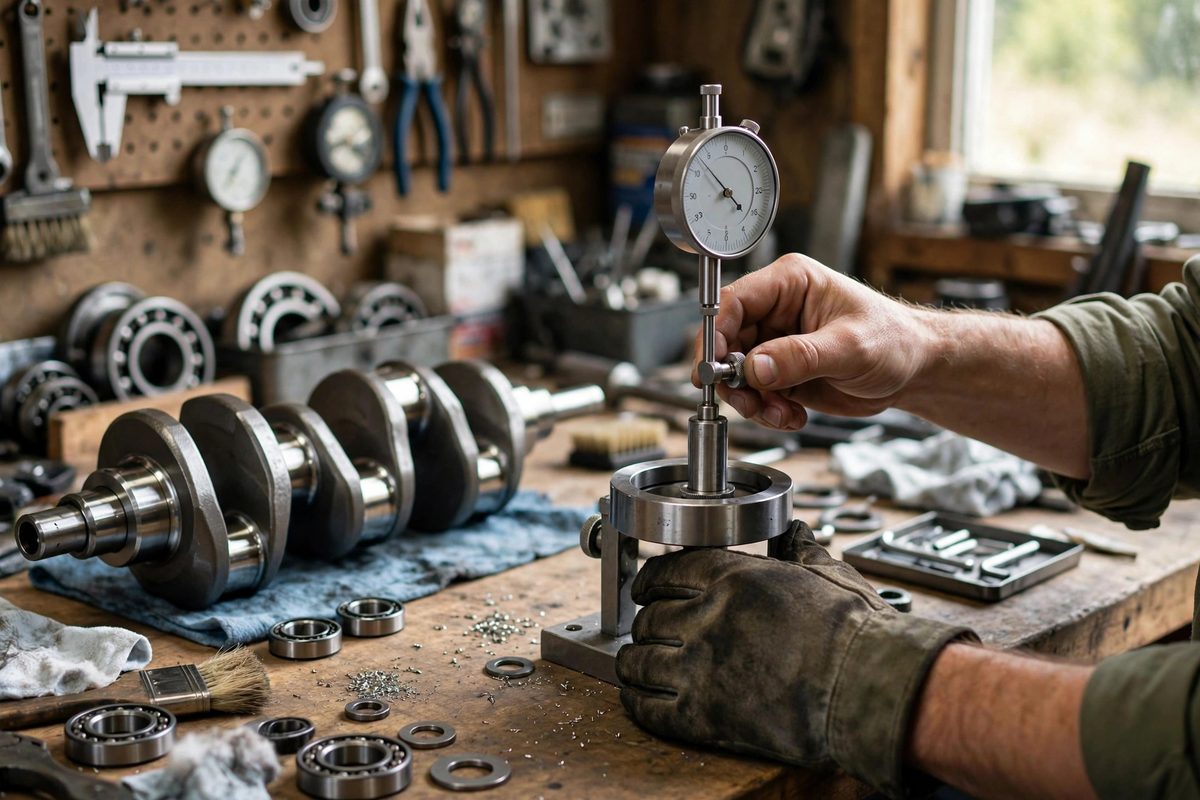
How the Indicator Reads
A dial bore indicator does not measure absolute size; it measures deviation from a reference setting. You set the indicator to a known dimension, usually with a micrometer, and the dial then shows how much the bore differs from that setting. This means every error in the reference transfers directly into every reading. The indicator's job is comparison, and the comparison is only as good as the standard you set it against. Understand this and the calibration procedure makes sense: you are not zeroing the tool, you are teaching it what size looks like.
Setting With a Micrometer
Measure the crank journal with an outside micrometer first, using proper micrometer technique: clean anvils, gentle ratchet pressure, and a reading taken at the same temperature as the measuring session. Then set the bore indicator in the micrometer's anvils, rocking it gently to find the minimum reading, which is the true diameter point. Lock the indicator's bezel so zero, or your chosen reference mark, aligns with the needle at that minimum. The rocking motion matters: without it you set the indicator to a chord rather than the diameter, and every subsequent reading inherits the error.
Measuring Technique on the Journal
With the indicator set, place it in the bore or across the journal and rock it through the measurement plane to find the extremes. On a crank journal, measure in at least two planes, along the crank axis and across it, and at several positions along the journal length. This reveals taper and out-of-round, the two conditions that kill bearings. Keep the indicator perpendicular to the measured surface; tilting the tool reads a longer chord and understates the true size. Develop a consistent touch: the indicator's spring pressure is light, and forcing the tool distorts the reading.
Temperature Discipline
Steel expands with heat, and at the tolerances of crank journals, the heat from your hands matters. Handle micrometers and indicators minimally, let the parts and tools equalize to the same room temperature, and do not measure a journal fresh off the grinder or out of a hot wash tank. A journal that measures correctly hot will be undersized cold, and the bearing clearance you think you have is not the clearance the engine gets. Measure everything at the same stable temperature and the numbers become trustworthy.
Verifying the Setup
After setting the indicator, verify it against a known standard before measuring the critical parts. A gauge ring or a second micrometer setting gives you a check reading; if the indicator does not repeat the known size, something moved. Recheck the setting periodically during a long measuring session, because bezels slip and micrometers drift. The few minutes spent verifying save the hours spent explaining why the bearings failed. Trust the tool only after the tool has proven itself, every session.
Calibrate against a careful micrometer reading, rock to find the true diameter, measure in multiple planes, respect temperature, and verify before trusting. The dial bore indicator rewards discipline with numbers you can build an engine on.
Related Guides
- Plastigauge Clearance Checks on Crank Bearings: Crankshaft bearings live on a film of oil thinner than a human hair, and the thickness of that film is set by the clearance between the bearing and
- Piston Ring End Gap Filing for Thermal Growth: Piston rings seal the combustion chamber, but they are split rings with a gap at their ends, and that gap is a critical dimension. Too small and the
- Connecting Rod Side Clearance Sizing on Crankshaft Pins: When two connecting rods share a single crankshaft pin, as they do on most V8s, the side clearance between them is a small measurement with large