
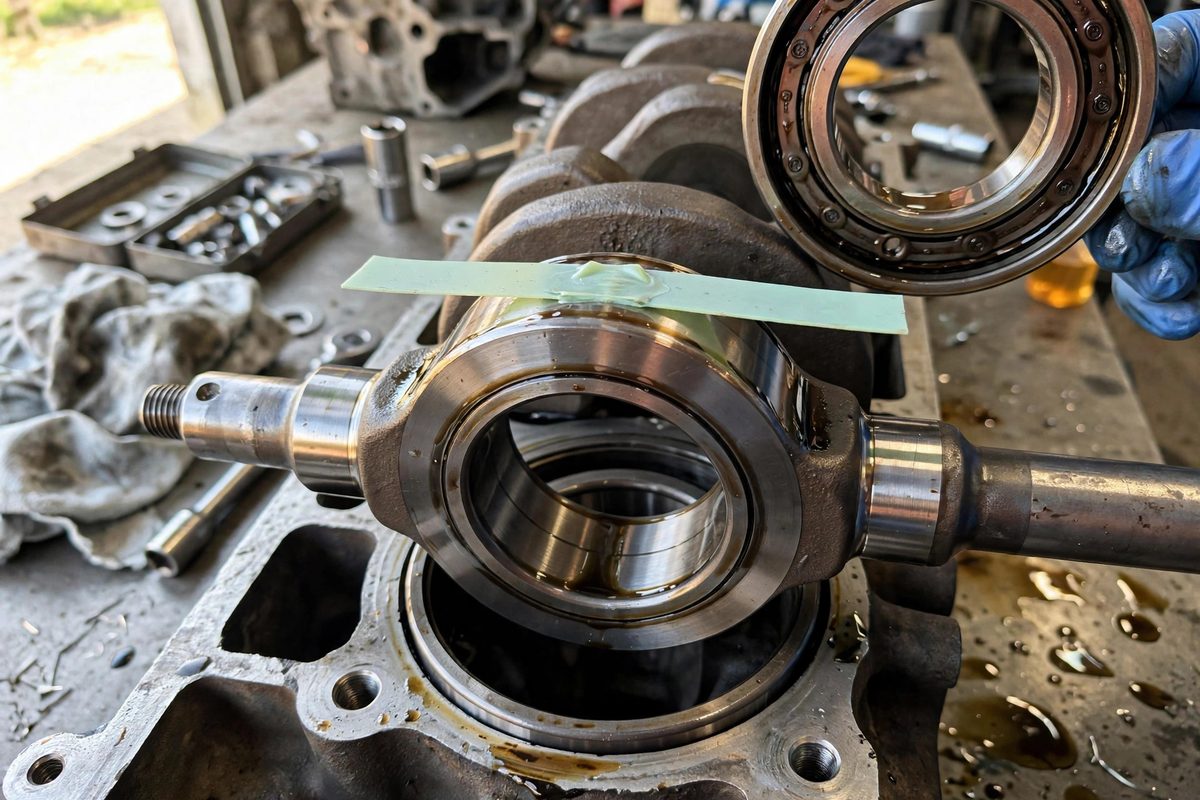
Crankshaft bearings live on a film of oil thinner than a human hair, and the thickness of that film is set by the clearance between the bearing and the journal: too tight and the oil cannot flow, too loose and the oil pressure collapses. Measuring that clearance accurately during an engine rebuild is non-negotiable, and Plastigauge is the classic method. A thin plastic thread squashed between the bearing and journal spreads to a width that reads directly as clearance. It is cheap, simple, and trusted by professional builders, provided you use it with discipline.
Why bearing clearance is critical
Engine bearings are hydrodynamic: the spinning journal drags oil into the clearance space and rides on the resulting pressure wedge, never actually touching the bearing surface. This only works within a clearance window. Too little clearance and the oil film cannot establish itself; the bearing runs hot, wipes, and fails, sometimes within minutes. Too much clearance and oil flows through too easily, dropping oil pressure across the whole engine and allowing the journal to hammer the bearing under load. The target clearances are specified by the engine manufacturer, and as rough shop wisdom, many builders work around a thousandth of an inch of clearance per inch of journal diameter, adjusting to spec. Plastigauge tells you where you actually are in that window, which is information you cannot get by feel.
Preparing for an honest measurement
Plastigauge measures the assembled clearance, so the assembly must be exactly as it will run: clean, dry, and torqued to specification. Clean the journal and bearing surfaces thoroughly; any oil, assembly lube, or debris in the clearance changes the reading. This is the step beginners resist, because slathering everything in assembly lube feels like proper engine building, but Plastigauge must be used on dry surfaces or it lies. Install the bearings, set the crankshaft in place, and lay a strip of Plastigauge across each journal, parallel to the crankshaft axis. Use the correct Plastigauge range for the expected clearance; the product comes in different diameter threads color-coded to measurement ranges. Cut the strip to span the bearing width without hanging over the edges.
Torquing and reading
Install the main caps or rod caps in their correct positions and orientation, and torque the fasteners to the manufacturer's specification in the proper sequence. Do not rotate the crankshaft after torquing; turning smears the Plastigauge and ruins the reading. Then remove the caps carefully, lifting straight off without sliding, and read the flattened Plastigauge against the gauge card included in the package. Match the width of the flattened strip to the printed scale, reading at the widest point. Record every journal's clearance; a rebuild log with all clearances is both a quality record and a diagnostic tool if problems arise later. Compare each reading to spec: consistent readings across all journals indicate a straight crank and good machining, while one outlier points to a specific problem with that journal or bearing.
Interpreting results and correcting
If a clearance is too tight, the usual causes are an undersized journal, an oversized bearing, debris, or a cap installed incorrectly; verify before assuming the parts are wrong. If too loose, suspect a worn journal, the wrong bearing size, or a stretched rod. Bearing sizes come in standard and undersize increments, and selecting the right combination of journal grind and bearing size is how clearances get dialed in; this is normal engine building, not a crisis. What you must not do is mix bearing halves creatively or sand bearings to adjust clearance; the bearing's crush, its slight oversize that holds it in the bore, is part of the design, and improvising here creates failures. If clearances will not come into spec with correct parts, the crankshaft needs professional measurement and likely regrinding.
Cleanliness and final assembly
After measuring, remove every trace of Plastigauge from the journals and bearings; the flattened plastic wipes away, but check the oil holes and grooves where bits can hide. Then assemble for real with assembly lube, torquing everything to spec in sequence. The Plastigauge session is a rehearsal that also happens to be the measurement; treat it with full assembly discipline, because a sloppy Plastigauge check is worse than none, giving false confidence. Keep the gauge cards with the build records. And observe the standard engine-building safety habits throughout: torque wrenches calibrated and used properly, fasteners clean and undamaged, and no shortcuts on rod bolts, which are the most highly stressed fasteners in the engine.
Dry surfaces, correct strip, torqued to spec, no rotation, read against the card, record everything. Plastigauge is simple enough to use carelessly and important enough to use carefully; the difference is entirely in the discipline.
Related Guides
- Dial Bore Indicator Calibration on Crank Journals: Crank journals live on clearances measured in thousandths, and the dial bore indicator is the tool that reads them. But the indicator only tells the
- Connecting Rod Side Clearance Sizing on Crankshaft Pins: When two connecting rods share a single crankshaft pin, as they do on most V8s, the side clearance between them is a small measurement with large
- Piston Ring End Gap Filing for Thermal Growth: Piston rings seal the combustion chamber, but they are split rings with a gap at their ends, and that gap is a critical dimension. Too small and the