
A miter fence that is off by half a degree will ruin a picture frame, a segmented turning, or any joint where small errors multiply across multiple pieces. Eyeballing the angle scale on the fence is not good enough for precision work: the stamped markings are coarse, the pointer can be bent, and the detents wear. A dial indicator turns miter fence calibration from guesswork into measurement, letting you set angles to a small fraction of a degree and verify they stay put.
What the Dial Indicator Measures
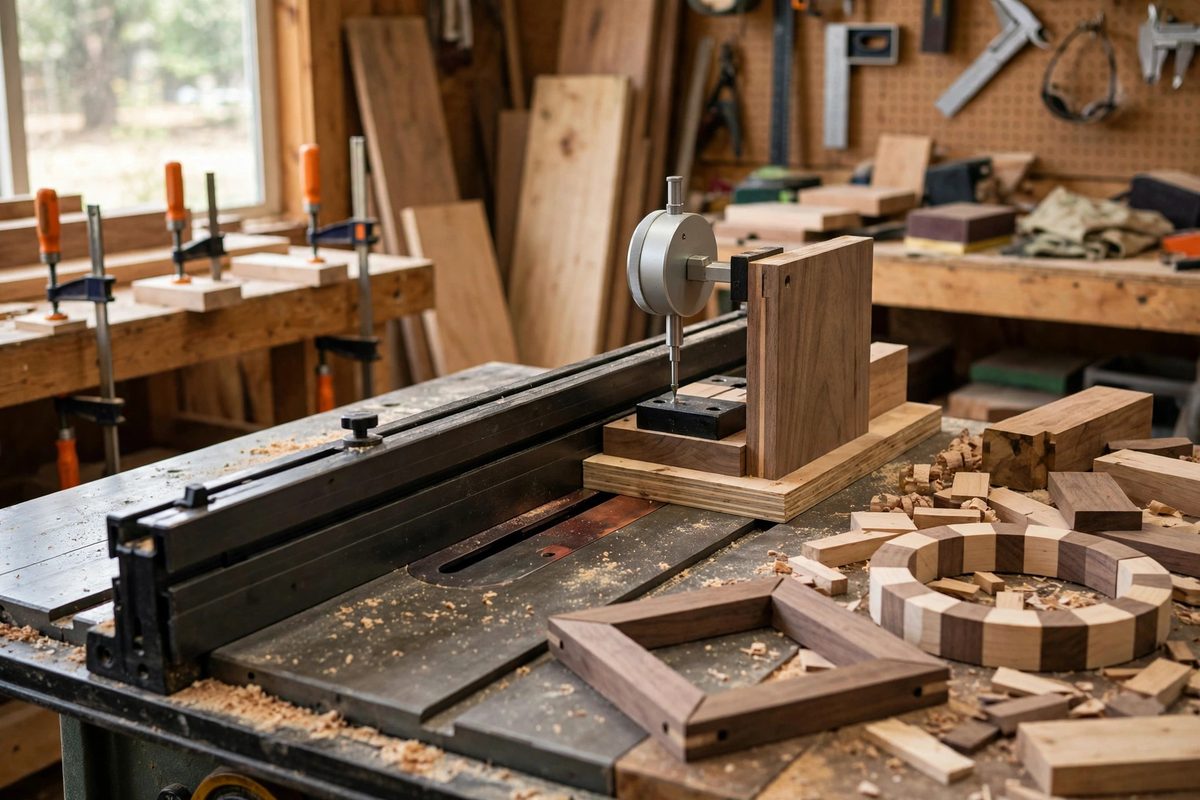
A dial indicator reads tiny linear movements, typically down to a thousandth of an inch, and that is exactly what you need to check an angle. Mount the indicator so its plunger rides against the face of the miter fence, then slide the whole assembly along the miter slot: any angular error in the fence shows up as the needle moving, because the fence face drifts toward or away from the plunger as you travel. The reading tells you not just that the fence is off, but by how much and in which direction, which is the information you need to correct it. For angle settings other than 90 degrees, the same principle applies with a bit of trigonometry, or you can use the indicator to compare against a known-accurate reference.
Setting Up the Indicator on the Saw
Mounting needs to be rigid: any flex in the mount reads as error. A magnetic base on the table works if the table is cast iron and flat, or you can clamp a simple arm to the miter gauge bar itself so the indicator travels with the fence. Position the plunger roughly perpendicular to the fence face and preload it slightly so the needle sits mid-range, giving you room to read movement in both directions. Make sure the miter bar fits the slot without slop: a loose bar lets the fence rock, and you will chase readings that change every time you touch the fence. Shim or adjust the bar until it slides smoothly with no side play before you measure anything.
Calibrating the 90-Degree Stop
Start with the fence set to its 90-degree stop. Run the indicator along the fence face and note the total needle movement over the travel length. If the needle does not move, the fence is square to the slot. If it drifts, adjust the stop in the direction the reading indicates: the needle tells you which end of the fence is high, so you know which way to move the stop. Adjust in small increments and re-measure after each change, because it is easy to overshoot. When the needle stays put across the full travel, lock the stop and verify once more. That locked stop is now your trustworthy reference for every square cut.
Setting Precise Miter Angles
For angles like 45 degrees, you have two approaches. The first is to set the fence by its scale, then measure and correct: use the indicator to check the fence against the slot at the new angle, compute the error, and adjust. The second, and more accurate for critical work, is to use gauge blocks or a precision angle reference: set the fence against the reference, then confirm with the indicator. Either way, the indicator is doing the same job, turning the fence's coarse scale into a fine measurement. For segmented work where the same angle repeats across many pieces, verify the setting has not drifted after the first few cuts: vibration loosens things.
Checking Fence Straightness and Repeatability
The indicator also reveals problems beyond angle. Run it along the fence face and watch for local bumps or dips: a fence that is bowed or has a damaged face will show needle movement even when the angle is correct, and no angle setting fixes a crooked fence. Check repeatability by swinging the fence away and returning it to the detent several times, measuring each time: a worn detent or a loose pivot will give you a different reading on every return, which means the fence cannot be trusted for precision work until the mechanism is repaired. Knowing the fence is unreliable is valuable information: it tells you to fix the fence rather than fight the symptoms.
Keeping the Calibration Honest
Calibration is not permanent. Recheck the 90-degree stop whenever the saw has been moved, after heavy ripping sessions that vibrate everything, and any time your joints stop closing cleanly. Keep the indicator and its mount stored where they will not get knocked around, because a bent plunger or a sticky movement makes every reading suspect. And remember that the miter slot itself is the reference: if the slot is worn or the table has shifted relative to the blade, calibrating the fence to the slot still leaves the cut off. Check blade-to-slot alignment as part of the same maintenance session.
A dial indicator does not make your saw more accurate; it reveals how accurate it already is and tells you exactly what to fix. Use it to set the stops, verify the angles, and check the fence itself, and your miter cuts will close the way precision work demands.
Related Guides
- Zero Clearance Insert Tolerances on Saws: A zero-clearance insert is the throat plate with a slot cut by the blade itself, so the opening matches the blade exactly and the workpiece is
- Dovetail Router Jig Finger Offset Spacing Precision: A dovetail router jig cuts both sides of the joint, tails and pins, using a template with fingers that guide the router. The critical dimension is
- Balancing Flywheel Weight in Custom Hand Crank Jigs: A hand-cranked jig with the right flywheel feels like it powers itself: one push and it carries smoothly through the hard part of the stroke. The
- Micro-Adjustable T-Track Stops for Crosscut Sleds: A crosscut sled is only as accurate as its stop block. The sled guarantees a square cut; the stop guarantees the length, and on a good sled the stop