
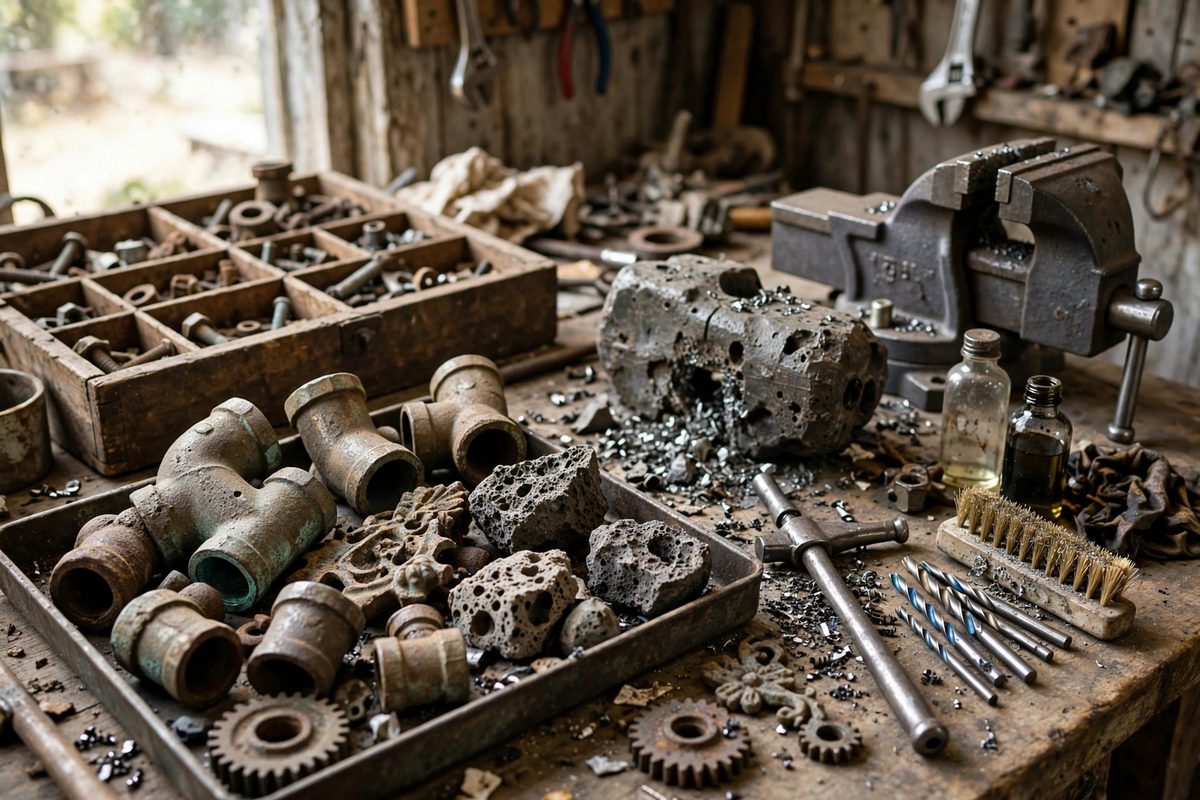
Cast metal objects, the old hardware, plumbing fittings, and found fragments that end up in assemblage work, are wonderful as mixed media beds and miserable to drill. Cast metal is full of surprises: porosity, hard spots, inclusions, and grain structure that changes across a single piece. Drilling and tapping it successfully is less about force and more about reading the material and adjusting, because the casting that looks solid may hide a void exactly where you planned the hole.
What makes cast metal different from bar stock
Wrought or extruded metal has a consistent grain and predictable hardness. Cast metal cooled in a mold, which means the outside skin is often harder than the interior, the interior may contain tiny gas pockets, and the grain is random rather than aligned. A drill bit that cuts the skin cleanly can suddenly grab when it breaks into softer interior metal, or chatter violently when it hits a hard inclusion.
This unpredictability is why assemblage drilling goes wrong most often at the breakthrough. The bit punches through the back of the casting into a void or through a thin section, grabs, and either snaps or tears a ragged hole. Planning for breakthrough, with the workpiece supported and the feed eased off near the exit, prevents most of the damage.
Drilling technique for castings
Start every hole with a center punch mark, deep enough that the drill cannot wander on the hard outer skin. Cast surfaces are often slightly rounded or textured, and a drill started on an unmarked casting will skate. Use a slow speed and firm, steady feed; high speed work-hardens many cast alloys and generates heat that softens the bit before it softens the work.
Peck drilling, withdrawing the bit frequently to clear chips, matters more in cast metal than in bar stock because the chips are irregular and pack into the flutes. Packed flutes stop cutting and start rubbing, which heats the hole and work-hardens the walls. A drop of cutting oil helps, though for pieces that will be patinated or painted afterward, keep oil off any surface that needs to take a finish, or clean it thoroughly with solvent before finishing.
For holes that will be tapped, drill to the correct tap drill size for the thread and go a little deeper than the needed thread depth. Cast metal threads are weaker than threads in wrought metal, so give the tap as much engagement length as the piece allows.
Tapping cast metal without breaking the tap
Tapping is where cast metal extracts its revenge, because taps are brittle and castings are inconsistent. Use a sharp tap, preferably new, and turn it in small increments: a quarter to half turn forward, then back off to break the chip. This feels slow, but it is faster than extracting a broken tap from a finished assemblage piece.
Choose coarse threads over fine ones. A coarse thread has more material at its root and tolerates the porosity of cast metal far better; fine threads in a casting strip out under modest load. If the piece is thin, consider a through-hole with a nut on the back instead of a tapped thread at all. A tapped thread in thin cast metal is a promise the material cannot keep.
When a tap does bind, stop immediately. Back it out, clear the hole, check whether you hit an inclusion, and consider opening the hole slightly or switching to the nut-and-bolt approach. Forcing a bound tap is how taps break, and a broken tap in a one-of-a-kind found object is usually the end of that object.
Safety and the realities of found metal
Wear eye protection; cast metal throws sharp, irregular chips. Clamp the workpiece solidly, because a grabbing drill will spin a hand-held casting and the edges are unforgiving. Work in ventilation if the metal is old, painted, or of unknown alloy: old castings can carry lead paint, and some alloys produce unpleasant fumes when heated.
Test unknown metal before committing. A file test on a hidden spot tells you roughly how hard the casting is, and a magnet tells you whether you are dealing with iron or a non-ferrous alloy, which changes speeds and expectations. A minute of testing saves a ruined piece.
Designing the bed around the fastener
The most reliable approach is to design the mixed media bed so the fastener works with the casting rather than against it. Through-bolts with washers spread load across porous metal. Rivets suit thin castings that would not hold a thread. Adhesive plus a mechanical fastener covers the case where the casting is too irregular for either alone. The hole you drill is only as good as the joint it serves, so choose the joint first and let it dictate the drilling plan.
Cast metal rewards patience and punishes hurry. Slow speeds, sharp tools, frequent chip clearing, coarse threads, and a backup plan for every hole will get fasteners into the most uncooperative found objects.
Related Guides
- Mechanical Fastener Cleats for Mixed Media Art: Mixed media assemblage lives or dies by its joins. Glue alone fails on heavy, dissimilar materials: wood to metal, plaster to canvas, found objects
- Fastening Heavy Cast Iron Hardware to Wood Panels: Assemblage art often marries heavy cast iron hardware, old hinges, brackets, gears, escutcheons, to wood panels, and the joint between them carries
- Epoxy Putty Mechanical Anchors on Found Metal: Assemblage lives on found metal: rusted gears, bent brackets, weathered hardware, each with a history and a surface that no adhesive trusts. Epoxy