
Mixed media assemblage lives or dies by its joins. Glue alone fails on heavy, dissimilar materials: wood to metal, plaster to canvas, found objects to box constructions. Screws and bolts split thin substrates, and nails rust or work loose. A cleat, a small block or strip that bridges two parts and carries the fasteners, solves the mismatch by giving every screw something solid to bite into while spreading the load across a wider area. Cleats are the unglamorous hardware that keeps ambitious assemblages hanging on the wall instead of falling off it.
What a Cleat Does
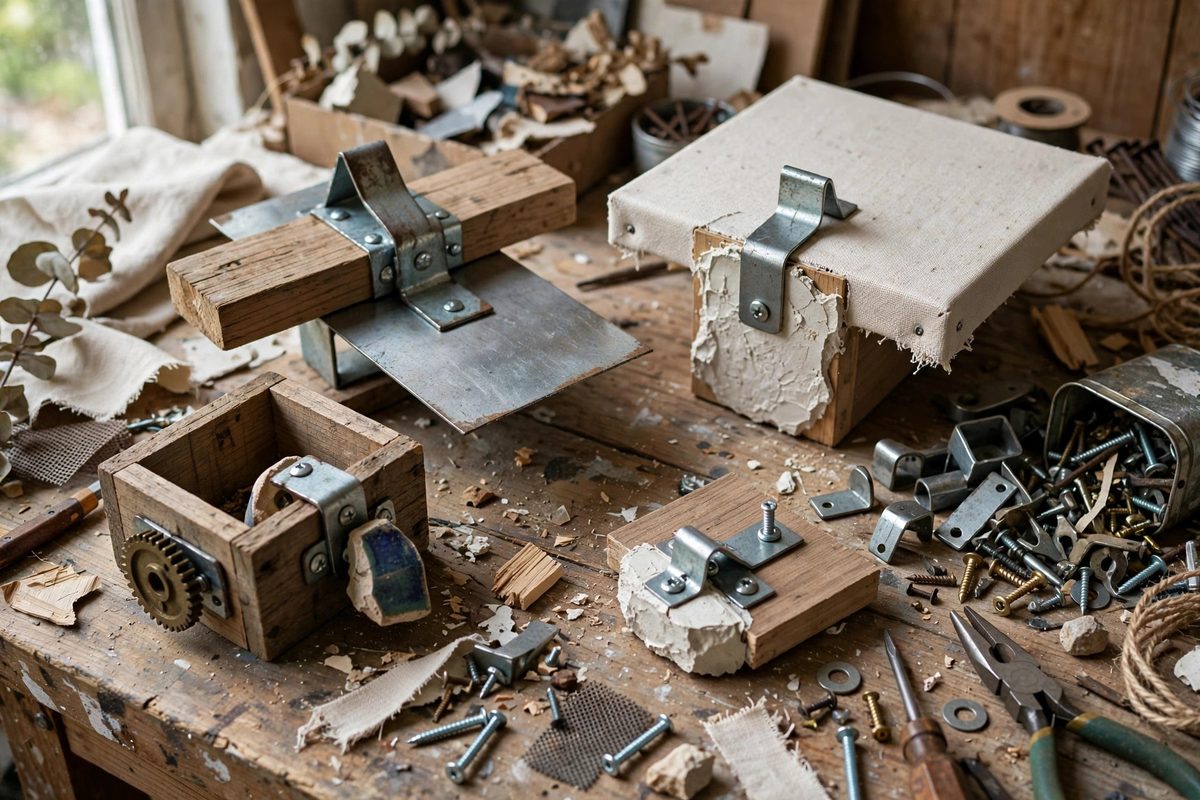
A cleat is a mounting block fixed to one component, which the second component then fastens to. Instead of driving a screw directly into a fragile or awkward piece, you drive it into the cleat, which is already bonded to that piece over a broad area. The physics are straightforward: a screw driven into a thin panel concentrates all its holding force at one point, inviting cracks and pull-through. A cleat glued or bonded to the panel first distributes that same force across the full contact area of the cleat. The screw's job becomes simply holding two solid things together, which is what screws do well. Cleats also solve the dissimilar-materials problem: bonding a wooden cleat to a wooden panel is easy and reliable, and then the metal bracket or found object screws into the cleat, never touching the wood directly.
Cleat Types for Studio Use
The simplest cleat is a block: a short length of wood or MDF, bonded to the substrate with adhesive, taking one or two screws. It works for small, light attachments. For heavier loads, a French cleat, two interlocking beveled strips, lets an assemblage hang on a wall with enormous strength and makes it removable for transport; the mating bevels wedge together under gravity and the load spreads along the full strip length. Keyhole cleats, a block with a routed keyhole slot, serve for pieces that need to lift off a wall screw for maintenance or display changes. Standoff cleats hold an element away from the surface at a fixed gap, creating shadow lines and depth, useful for layered panels and relief work. Match the cleat to the load path: blocks for small shear loads, French cleats for hanging weight, standoffs for spacing.
Bonding the Cleat First
The cleat-to-substrate bond is the foundation, and it must be stronger than the forces the assembly will ever see. On porous materials like wood, plaster, and canvas-board, a good wood glue or PVA with full clamping pressure gives a bond stronger than the substrate itself. On sealed, painted, or non-porous surfaces, scuff the area first and use an adhesive suited to the material, epoxy for metal and glass, construction adhesive for masonry-like textures. Give every bond a full cure before loading it; a cleat glued this morning and screwed this afternoon is a failure waiting to happen. The contact area matters more than the adhesive's headline strength: a cleat with broad, flat contact on a prepared surface outperforms a small cleat with a premium adhesive. Size cleats generously. A block that looks oversized is usually just right.
Fastener Selection Into the Cleat
Once the cleat is bonded, choose fasteners for the job they actually do. Wood screws with a proper pilot hole are the default for attaching components to a wooden cleat; the pilot prevents splitting and lets the threads bite fully. Machine screws with nuts or threaded inserts suit metal cleats and allow disassembly, which matters when a piece needs to travel or be repaired. Keep fasteners short enough that they cannot poke through the substrate behind the cleat; a screw tip breaking through the back of a panel is both a failure and a hazard. For found objects with irregular shapes, position the cleat so the fastener lands on a solid part of the object, not a thin flange or a corroded section. When in doubt, two small fasteners beat one large one: redundancy means one failure does not drop the component.
Designing for the Wall
Hanging hardware deserves the same engineering as the internal joins, because the wall is where gravity has the final vote. Heavy assemblages should hang from two points, not one, so the piece cannot rotate and the load splits. French cleats excel here: the wall-side strip anchors to studs or solid blocking, the piece-side strip bonds to the assemblage, and the bevels lock together. Check the total weight and anchor the wall side accordingly; a cleat rated for the piece means nothing if the wall anchors are in drywall alone. For gallery display, consider making the hanging system part of the design: a visible cleat, cleanly finished, reads as intentional craft rather than hardware-store improvisation. And always test the full hanging assembly before the piece leaves the studio, loaded as it will hang, because discovering a weak joint during installation is the most expensive time to learn.
Cleats are not elegant, but they are honest. They admit that glue has limits, that dissimilar materials need an intermediary, and that gravity always wins unless you plan for it. Build the cleat first, bond it well, and the rest of the assemblage can be as wild as your imagination.
Related Guides
- Drilling and Tapping Cast Metals for Mixed Media Beds: Cast metal objects, the old hardware, plumbing fittings, and found fragments that end up in assemblage work, are wonderful as mixed media beds and
- Epoxy Putty Mechanical Anchors on Found Metal: Assemblage lives on found metal: rusted gears, bent brackets, weathered hardware, each with a history and a surface that no adhesive trusts. Epoxy
- Fastening Heavy Cast Iron Hardware to Wood Panels: Assemblage art often marries heavy cast iron hardware, old hinges, brackets, gears, escutcheons, to wood panels, and the joint between them carries