
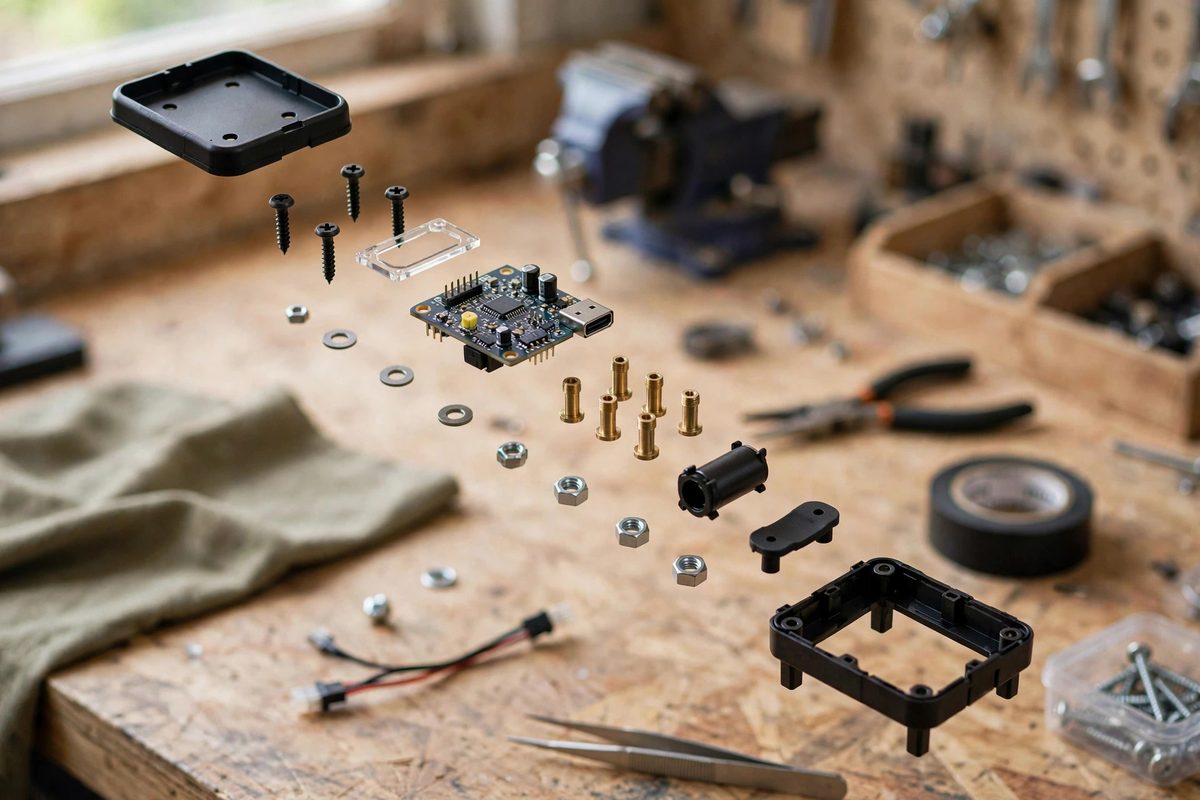
An exploded view is the clearest way to show a maker how a hardware kit goes together: every part floats along its assembly axis, spaced so nothing hides behind anything else, and the eye reads the whole sequence in one glance. But exploded views fail silently. A part drawn slightly off axis or a fastener placed on the wrong side of a plate confuses readers more than no diagram at all. A short set of rules keeps every exploded illustration honest.
One Assembly Axis Per Group
Explode parts along the axis they actually travel during assembly. A bolt goes straight through its holes, so its line of parts runs along the bolt's own centerline. When a subassembly joins the main body from a different direction, give that group its own axis and its own dashed centerline, offset so the two groups do not visually collide. Mixing parts that install along two different axes onto a single line is the most common exploded-view error, and it tells the reader to do something physically impossible.
Order Parts in True Assembly Sequence
Reading from the fastener end inward (or from left to right, following your drawn arrow), the parts must appear in the exact order they stack up in real life. Washer before lock washer before nut, in the order they slide onto the bolt. If two parts install simultaneously or in either order, you may show them on separate offset lines with a note. Check your sequence by assembling the actual kit while looking at your drawing: if your hands have to skip a step to match the page, the drawing is wrong.
Spacing That Communicates, Not Just Separates
Explosion distance should scale with part size. Large plates need wide gaps so their thickness reads clearly; small screws need only a modest offset or they scatter visually. Keep gaps consistent within a group, and never let two parts from different groups overlap in the projection plane, because overlapping parts read as assembled and defeat the purpose. A good rule of thumb: the gap between two parts should be at least the thickness of the larger part, so each piece has visual room to be itself.
Fasteners Shown True, Not Schematic
Draw fasteners with their real thread direction, head style, and length proportions, especially in kit documentation where the builder matches the drawing to a bag of hardware. A socket head cap screw that is drawn as a hex bolt sends the builder hunting for a part that is not in the kit. Show screw length proportional to the stack it passes through; the tip should visually reach its destination, roughly, even in exploded form. Number each distinct fastener type and tie it to a bill of materials with quantities.
Reference Axes and Grounding
Every exploded view needs a visual anchor: a dashed centerline for each assembly axis, and ideally one part drawn in its final resting orientation, shaded or outlined to show it as the base. Without an anchor, the reader cannot tell which direction the floating parts are supposed to converge. Light dashed lines connecting each part back to its axis help when the explosion is complex, but keep them thin and uniform so they do not compete with the parts themselves.
Views and Notes That Earn Their Place
Stick to one consistent isometric angle (the standard 30-degree dimetric used in most CAD exports reads well) across every exploded view in your document, so readers build familiarity. Add notes only where a part has an orientation that matters: "chamfer faces down," "teflon side toward bushing," "torque to 8 Nm." Anything else belongs in the written steps, not on the drawing. One final check before publishing: print the view at the size readers will actually see it, and verify that the smallest part is still recognizable and its leader line still lands on it.
A disciplined exploded view does the teaching that paragraphs cannot: it shows space, order, and fit in a single image. Follow the axis rule, explode in true sequence, keep fasteners honest, and your kit documentation will answer questions before anyone has to ask them.
Related Guides
- Vector Callout Standards for Exploded Assembly Guides: An exploded assembly guide shows how parts fit together by drawing them separated along their assembly axes, and callouts are what connect each
- Isometric Dimensioning Rules for Shop Blueprints: An isometric drawing shows a part in three dimensions on a single sheet, which makes it the fastest way to communicate a design to someone who has to
- Drafting Orthographic Projections for Shop Tool Cribs: A shop tool crib, the storage system that holds the shop's shared tooling, needs to be built right the first time; rebuilding storage is pure
- Callout Typography Hierarchy in Workshop Technical PDF: Technical PDFs for the workshop, assembly guides, machine manuals, project plans, live or die by their callouts: the labels, notes, and annotations