
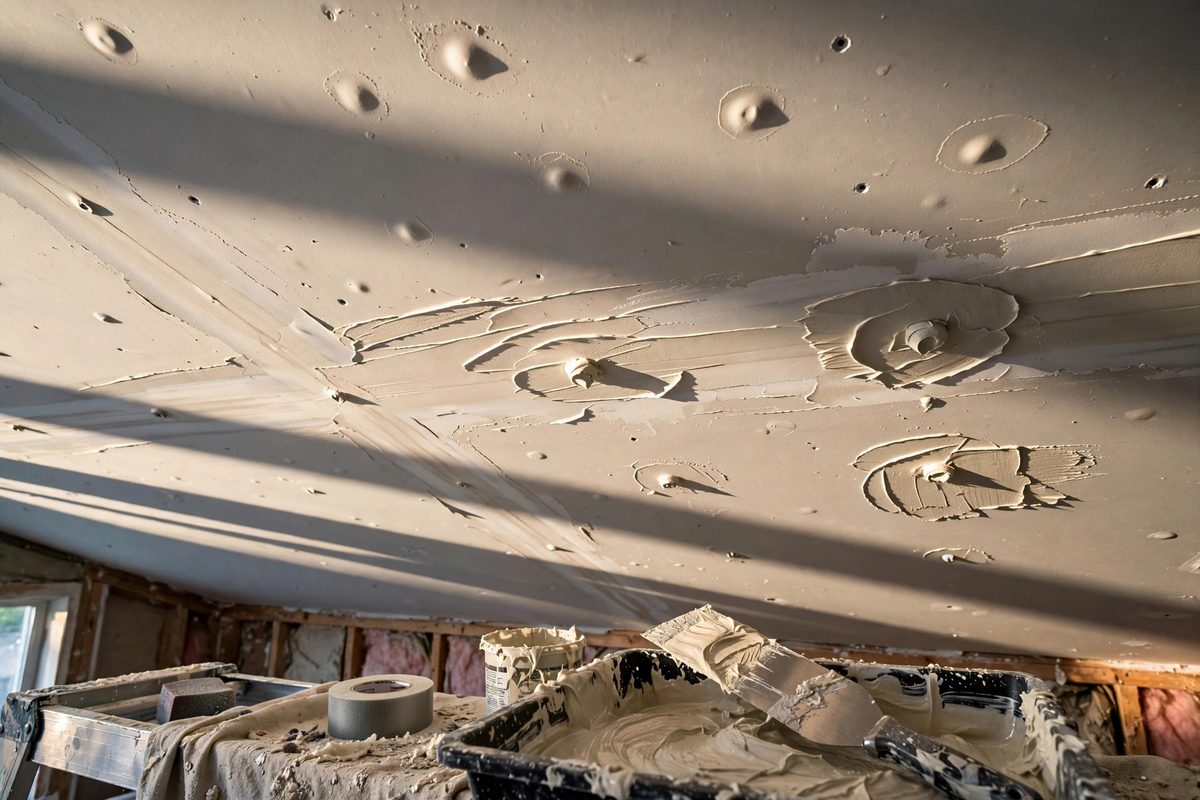
Ceiling screw heads are unforgiving. Light rakes across a ceiling at a low angle, and every poorly finished screw shows up as a bump, a dip, or a flashing spot that catches the eye. High-build joint compound can bury recessed screws in fewer coats than standard mud, but only if you feather it properly: the trick is making a slightly raised patch of mud disappear into the surrounding ceiling so the eye reads one continuous flat surface.
What High-Build Mud Is and Why It Helps
High-build compounds are formulated to go on thick and shrink less than standard all-purpose mud, which means they can fill a recessed screw dimple nearly flush in a single pass where regular mud would need two or three coats, each shrinking back into the dimple as it dries. The trade-off is that thick mud is harder to feather to a true zero edge, and a thick patch with a hard edge will show worse than a thin patch done well. Use high-build for the fill, and think of the feathering as a separate skill that makes the thickness invisible.
Setting the Screws Correctly First
No amount of mud fixes a screw that is set wrong. The screw head should sit just below the paper surface, creating a shallow dimple without tearing the paper. A screw left proud will push through the mud and show as a bump no matter how carefully you coat it; a screw driven too deep breaks the paper, and the mud has nothing solid to grip, so the patch will eventually crack or pop. Run a drywall knife or your fingertip across the screw before mudding: you should feel a slight dip, not a bump and not a crater. Fix the bad ones now, because mud only hides geometry, it does not create it.
The First Coat: Fill Without Building a Mountain
Load a six-inch knife and press mud firmly into the dimple, filling it just past flush. The pressure matters more than the amount: you want the mud packed into the recess with no air trapped under it, and the blade should ride on the surrounding ceiling so the fill is level with the surface, not mounded. With high-build mud, resist the temptation to lay it on thick beyond the dimple; extra thickness outside the screw area is just more feathering work later. Wipe the knife clean and make one final pass to flatten the fill. If the dimple is deep, a second tight coat after the first dries will finish the fill without building a wide mound.
Feathering: The Wide, Light Touch
Feathering means tapering the edge of the mud so it fades from full thickness over the screw to nothing over the surrounding ceiling, typically spread over several inches on each side. Switch to a wider knife, ten or twelve inches, for this. Hold the knife nearly flat and use light pressure, letting the blade flex and ride on the high spots while the mud thins at the edges. The goal is a patch you cannot feel with your fingertips: run your hand across it and the transition should be undetectable. Work in thin, overlapping passes rather than one heavy skim; each pass extends the feather a little further out. Thick edges and visible ridges come from too much pressure on the knife edge or too steep an angle, both of which scrape the mud off the middle and pile it at the sides.
Sanding and the Final Check
Let the mud dry completely before sanding; high-build mud that looks dry on top can still be soft underneath, and sanding too early tears the surface. Sand with light pressure using fine grit, and sand the feathered edges more than the center: the center over the screw should stay nearly untouched, because sanding it thin exposes the fill and starts the cycle over. After sanding, wipe the dust and check your work with a work light held at a low angle to the ceiling, the same raking light that will expose every flaw later. Any bump, ridge, or edge you can see in that light will be visible in the finished ceiling, so touch it up now with a thin skim and re-sand.
Priming to Kill Flashing
Even a perfectly feathered patch can flash, showing as a dull spot through the paint, because fresh mud absorbs paint differently than the surrounding ceiling. A coat of primer over the patches equalizes the absorption before the finish coats go on. Spot-prime the screw patches, or prime the whole ceiling if you are doing extensive work, and the finished surface will read as one uniform material instead of a constellation of dull dots.
Set the screws right, fill tight, feather wide and light, sand the edges, and prime before paint. Ceilings punish shortcuts, but they reward this sequence with a surface that disappears into the room instead of demanding attention.
Related Guides
- Feathering High-Build Mud Over Recessed Ceiling Joints: Ceiling drywall joints are the most unforgiving surface in a house. Raking light from windows and fixtures throws every ridge and hollow into relief
- Fiberglass Mesh Placement on High Stress Wall Ceilings: Ceilings crack. Gravity, framing movement, and temperature swings all pull at drywall joints overhead, and some spots crack no matter how carefully
- Level Five Drywall Skim Coat Blade Selection: A Level 5 finish, the thin skim coat over the entire drywall surface, is what makes walls look flawless under critical lighting: glossy paint, large
- Paper Tape Embedding Pressure to Prevent Bubble Blisters: Bubble blisters under drywall paper tape, the raised ridges and pockets that appear along a joint after the mud dries, are almost always an embedding