
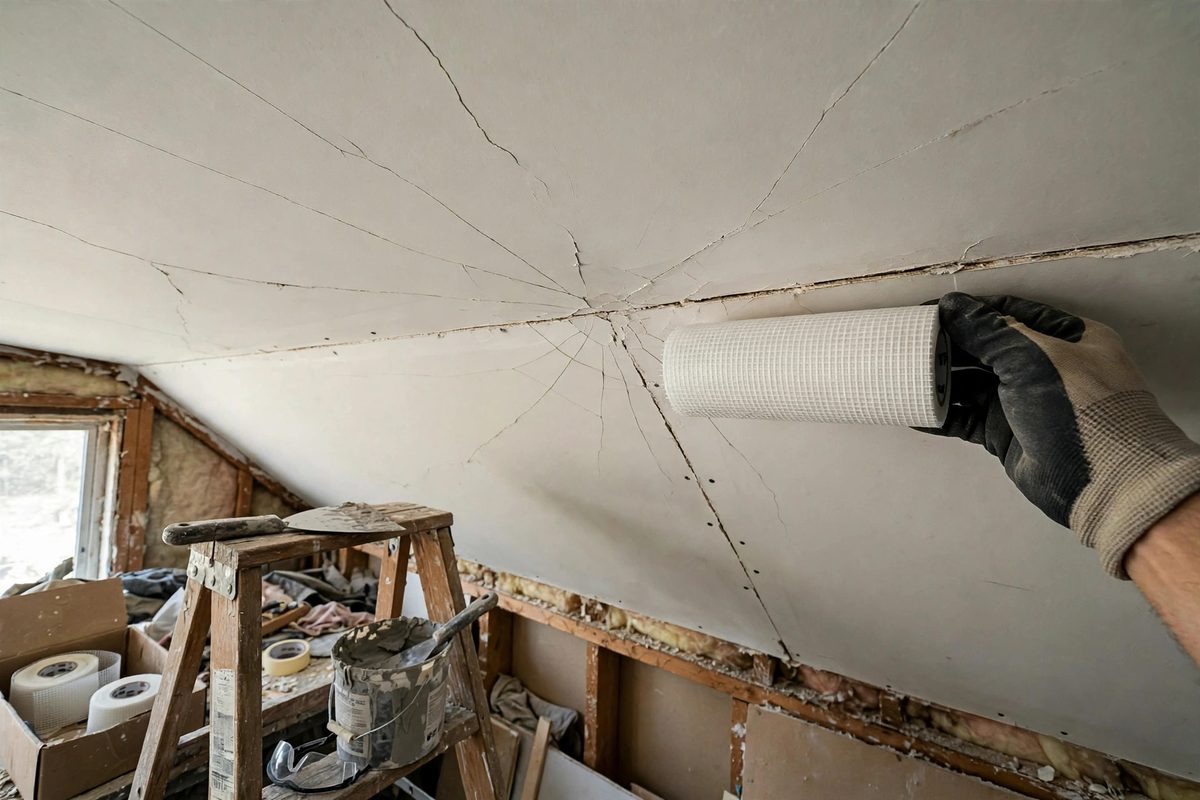
Ceilings crack. Gravity, framing movement, and temperature swings all pull at drywall joints overhead, and some spots crack no matter how carefully you tape. Fiberglass mesh tape, used in the right places, turns those predictable cracks into non-events instead of callbacks.
Why ceilings crack where they do
Ceiling joints sit under constant tension from the weight of the drywall itself, and framing moves seasonally as lumber gains and loses moisture. The stress concentrates at predictable locations: butt joints between sheet ends, the joint where ceiling meets wall on long runs, and anywhere the framing changes direction or support. Flat tape joints at these spots hold until the framing moves enough, then they split along the tape edge. Knowing the failure points in advance lets you reinforce exactly where it matters.
Where mesh earns its place
Use fiberglass mesh on the high-stress joints: ceiling butt joints, long ceiling-to-wall intersections, and patches or repairs in ceilings that have already cracked once. Mesh tape distributes stress across its open grid and resists the stretching that splits paper tape, making it the right call where movement is expected. Keep paper tape for the low-stress work: wall field joints, inside corners on walls, and seams where movement is minimal. Using the right tape for the stress level is the whole decision.
The mesh and compound pairing
Fiberglass mesh tape is self-adhesive and thin, which means it relies on the compound for its strength. It pairs best with setting-type compounds, the powder you mix with water, because those harden chemically and lock the mesh in without the shrinkage of drying compounds. Apply a bed of setting compound, press the mesh into it with a knife, and build the coats normally. Drying compound over mesh can shrink back and leave the mesh pattern telegraphing through, especially on ceilings where raking light from windows exposes every flaw.
Technique on the ceiling
Working overhead is its own skill. Cut mesh lengths to fit before you climb the ladder, because handling a long sticky strip overhead is a wrestling match. Press the mesh into the first coat with firm, even pressure and feather the compound out wide; ceiling joints need generous feathering because any ridge shows in raking light. Keep the coats thin. Thick compound on a ceiling is heavy, slow to dry, and cracks from its own shrinkage, which defeats the purpose of the reinforcement. Two or three thin coats beat one heavy one every time.
Ceiling-to-wall intersections
The corner where ceiling meets wall deserves special attention on long runs. Framing movement here is a shear load: the wall and ceiling want to move differently, and the joint pays for it. Mesh tape along the ceiling side of this joint, embedded in setting compound, handles that shear far better than paper tape folded into the corner. For the worst cases, such as cathedral transitions or rooms over unconditioned space, mesh on both sides of the corner is cheap insurance.
When mesh is not enough
Mesh tape manages movement; it does not fix structural problems. If a ceiling crack reopens after proper mesh repair, look upstream: a sagging joist, a missing hanger, or framing that flexes under foot traffic above. Cracks wider than about a quarter inch, or cracks that keep growing, deserve an inspection of the structure before another tape job. Reinforcement is a finishing technique, not a framing solution.
Mesh the high-stress joints, bed it in setting compound, keep coats thin and feathered, and treat repeat cracks as a structural question. A ceiling reinforced this way stays clean through the seasons it was built to survive.
Related Guides
- Feathering High-Build Mud Over Recessed Ceiling Joints: Ceiling drywall joints are the most unforgiving surface in a house. Raking light from windows and fixtures throws every ridge and hollow into relief
- Feathering High-Build Mud Over Recessed Ceiling Screws: Ceiling screw heads are unforgiving. Light rakes across a ceiling at a low angle, and every poorly finished screw shows up as a bump, a dip, or a
- Level Five Drywall Skim Coat Blade Selection: A Level 5 finish, the thin skim coat over the entire drywall surface, is what makes walls look flawless under critical lighting: glossy paint, large
- Paper Tape Embedding Pressure to Prevent Bubble Blisters: Bubble blisters under drywall paper tape, the raised ridges and pockets that appear along a joint after the mud dries, are almost always an embedding