
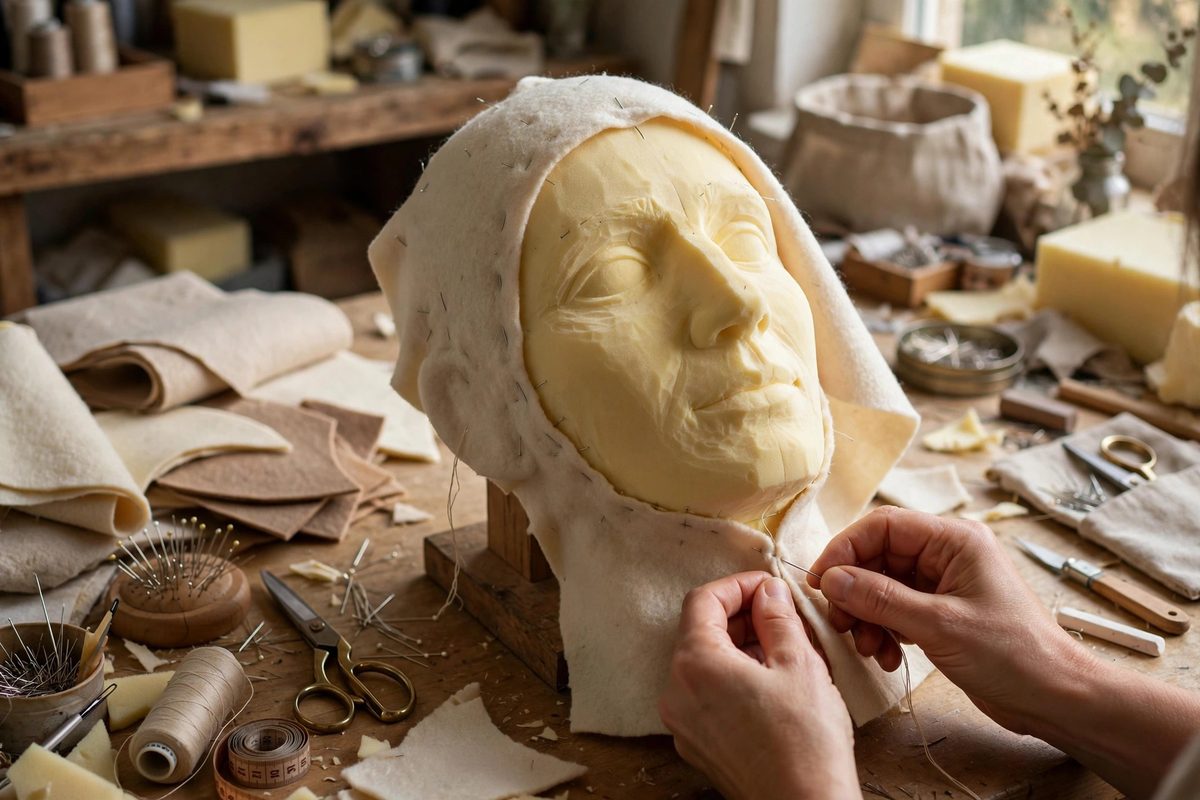
Covering a carved foam puppet head in felt or fleece is where the character's skin comes from, and hidden seams are what make that skin look like one continuous surface instead of a patchwork. The technique is part tailoring and part upholstery: drape the fabric over the form, shape it to the contours, and place the seams where the eye never looks. A well-covered head needs no apology; a badly seamed one distracts from every performance.
Choosing and Preparing the Foam Block
The felt can only look as good as the foam underneath. Carve the head block smooth, with no flat facets or sharp transitions, because fabric draped over a lumpy form telegraphs every bump. Seal the foam lightly if it is very porous; a thin coat of flexible sealer keeps adhesive from soaking in unevenly and gives the fabric a consistent base. Mark the centerline of the face on the foam with a pen before covering, since that reference disappears under the fabric and you will need it to position features later. If the head has deep eye sockets or a pronounced brow, carve those features slightly shallower than the final look, because the fabric and its padding will add a millimeter or two of depth.
Draping the Felt
Work with fabric that has some stretch, like antron fleece or a quality craft felt with give, because a rigid woven will fight every compound curve. Start at the face: lay the fabric over the front of the head, smooth it from the nose outward, and let the excess gather at the back of the head where it will become the seam. Pin as you go, easing the fabric around the cheeks and jaw rather than pulling it drum-tight. Tension is the enemy here; stretched fabric over foam wants to creep back, and it will eventually pull seams open or distort the face. The fabric should lie relaxed against the foam, following the contours with the slack taken up in the seam allowance at the back. For deep eye sockets, press the fabric gently into the socket and hold it with a pin until the adhesive or stitching locks it.
Placing Hidden Seams
The classic hidden seam runs up the back of the head, where the audience never sees it. Trim the excess fabric so the two edges meet along the back centerline, then join them with a ladder stitch or a whip stitch pulled snug so the edges butt together without overlapping. A lapped seam creates a visible ridge; a butted seam disappears. Around the neck opening, turn the raw edge under and stitch it to the body's fabric or glue it to the neck former. For heads with ears or horns added later, plan the seam to pass under those features so the attachment covers any imperfection. The goal is simple: every seam should sit where a shadow, a feature, or the back of the head already hides it.
Adhesive Versus Stitching
Both methods work, and many builders use both. Contact adhesive or a flexible fabric glue gives a smooth, stitch-free bond over large areas like the cheeks and forehead, and it is fast. Stitching gives a stronger, more repairable seam along edges and high-stress areas like the jaw hinge. A reliable combination is to glue the broad drape and stitch the back seam and the neck. Whichever you choose, avoid hot glue on the visible drape: it creates hard lumps that show through the felt and it releases with heat over time. If you glue, apply adhesive to the foam only, let it reach tack, then lay the fabric down progressively, smoothing from the center outward so no air gets trapped underneath.
Finishing and Feature Placement
Once the drape is secure, trim and finish the edges, then locate the facial features using your centerline marks. Eyes, nose, and mouth sit on top of the felt, so small irregularities in the drape around them get covered by the features themselves; use this to your advantage by placing features over your least perfect spots. Steam the finished head lightly to relax the fibers and even out the nap, brushing the felt in one direction for a consistent look. Check the head under stage lighting if you can, because raking light reveals seam ridges and glue lumps that room light hides. Fix them now, while the head is still on the bench, and the puppet will read as a single living surface from the first row to the last.
Drape relaxed fabric over a smooth form, butt the seams at the back of the head, glue the broad areas and stitch the edges, and let the features cover the rest. Hidden seaming is mostly planning: decide where the seam goes before the fabric touches the foam.
Related Guides
- Reticulated Foam Pattern Draping for Puppet Heads: Reticulated foam, the open-cell filter-like foam, is the puppet builder's sculpting medium: it carves like butter, glues easily, and its open
- Foam Latex Pattern Pinning for Muppet Style Hands: The Muppet-style hand, that expressive mitten with a defined thumb that can grip, wave, and gesture, is the workhorse of hand puppetry. Built from
- Antron Fleece Seam Scribing for Seamless Puppet Faces: Antron fleece is the puppet builder's magic fabric: its long pile hides seams that would scream on any other material. But the pile only hides seams
- Antron Fleece Seam Scribing for Seamless Muppet Muzzles: The Muppet look lives or dies on invisible seams: the fleece covering a puppet's muzzle should read as one continuous skin, with no visible stitch