
The Muppet-style hand, that expressive mitten with a defined thumb that can grip, wave, and gesture, is the workhorse of hand puppetry. Built from foam with a fabric skin, it needs to be soft enough to perform for hours, structured enough to hold a shape, and durable enough to survive hundreds of shows. Pattern pinning, fitting the foam pattern pieces together with pins before any glue touches them, is the step that determines whether the hand performs or fights. Foam is unforgiving of bad patterns: once glued, it does not ease like fabric.
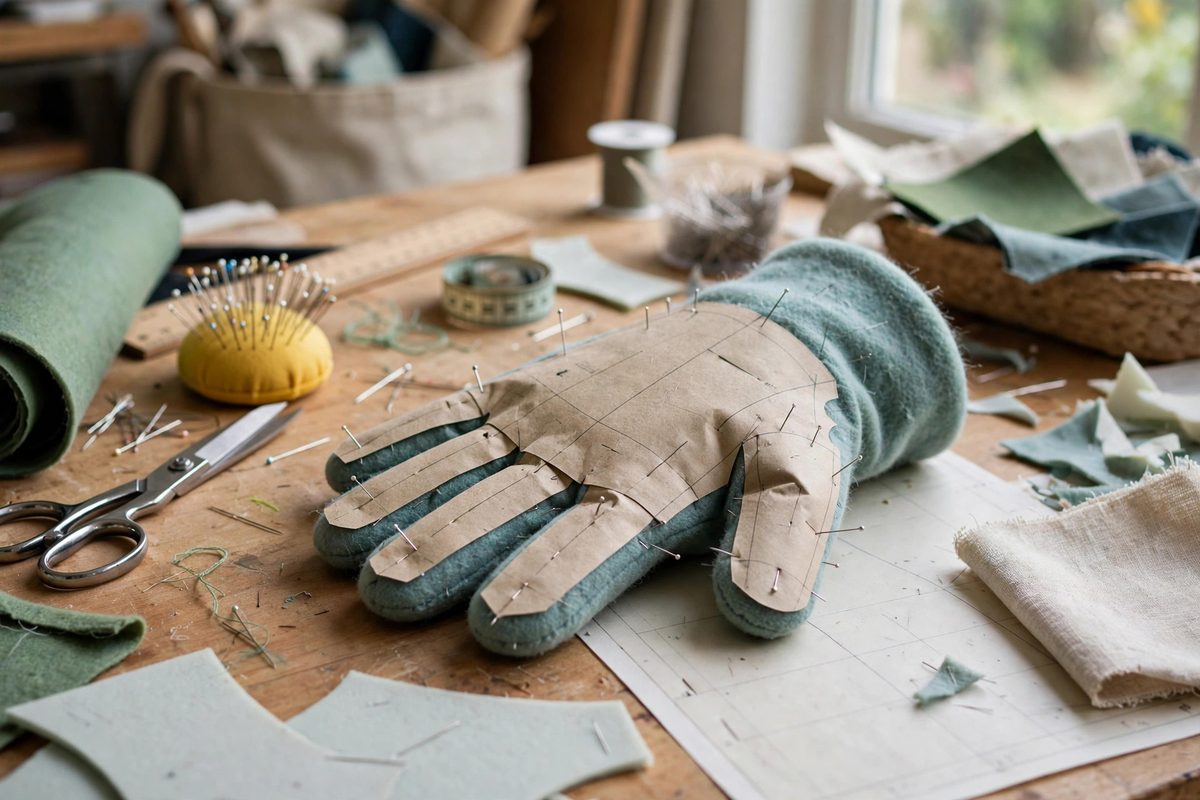
Why foam patterns need pinning, not just cutting
Fabric patterns assume the material will ease, stretch, and conform; foam does none of these willingly. A foam pattern must be geometrically correct before assembly, because every error becomes a pucker, a gap, or a stiff spot in the finished hand. Pinning the pattern pieces together, first in paper or muslin and then in the actual foam, lets you test the three-dimensional result while it is still reversible. This is especially critical for hands, where the thumb's position and angle determine the entire gestural range. A thumb pinned a quarter inch too far forward or rotated slightly wrong produces a hand that cannot convincingly grip; the same error caught at the pinning stage costs thirty seconds to fix.
Developing the hand pattern
Start from the performer's hand: trace it with fingers together and thumb in a natural relaxed position, then develop the pattern pieces from that tracing. A Muppet-style hand typically builds from a palm piece, a back-of-hand piece, and a thumb piece, sometimes with separate finger definition added through stitching or carving rather than separate pattern pieces. Add seam allowances suited to your joining method: butt-glued foam seams need almost no allowance, while lapped seams need more. Cut the pattern in paper first, pin it into a three-dimensional mockup, and put it on the hand. Check the fundamentals: does the thumb oppose the fingers naturally, does the wrist opening fit the performer's wrist with the arm sleeve attached, is there enough length in the palm for the performer's fingers to reach the finger area? Adjust the paper until the answers are yes, then transfer to foam.
Pinning foam: technique and what to check
Pin foam pieces together with long pins placed perpendicular to the seam lines, using enough pins to hold the true curve without distortion. Foam's thickness means pinned seams behave differently than fabric seams: the pins must capture the full thickness or the pieces shift. With the hand pinned, work it through its full range of motion: open, close, grip an imaginary object, wave. Watch for specific failures. Binding at the thumb base means the thumb pattern needs more length or a different angle. Puckering along a seam means the two edges are different lengths and one needs trimming. A palm that bags means excess material to remove. A hand that will not close fully means the pattern is too tight across the knuckles. Fix each issue by re-pinning, not by planning to force it in glue; glue locks in whatever the pins show you.
From pins to permanent assembly
Once the pinned hand performs correctly, mark the pieces: numbered notches or symbols across each seam line so the pieces reassemble in exactly the pinned alignment. Then disassemble and glue. Contact cement is the standard foam adhesive: apply to both surfaces, let it tack up, and press together firmly. The pinned fitting tells you exactly how the pieces meet, so the gluing is execution, not discovery. Work one seam at a time, holding each until the bond sets. For the hand's interior, consider a fabric lining or a partial glove that protects the foam from sweat and gives the performer's hand a comfortable interface; a hand puppet worn for a full show needs that comfort layer. The exterior skin, typically fleece or another puppet fabric, goes over the foam last, fitted using the same pin-first discipline.
Durability details
Hands take more abuse than any other part of a hand puppet: they grip props, gesture constantly, and get stuffed into tight spaces. Reinforce the thumb base and the finger area with an extra layer of foam or fabric on the inside, since these are the flex points that fatigue first. Keep glue out of the flex zones where possible; a bead of contact cement across a bending area creates a stiff spot that concentrates stress at its edges. Inspect hands regularly in a working puppet: foam compresses permanently over time, and a hand that has gone flat and unresponsive needs rebuilding, not coaxing. Build the pattern well once, keep it, and rebuilding becomes a fast, familiar job.
Pin first, perform the pinned mockup through its whole range, mark everything, then glue with confidence. The pinning stage is where a Muppet-style hand learns to move; the glue just makes the lesson permanent.
Related Guides
- Reticulated Foam Pattern Draping for Puppet Heads: Reticulated foam, the open-cell filter-like foam, is the puppet builder's sculpting medium: it carves like butter, glues easily, and its open
- Antron Fleece Seam Scribing for Seamless Muppet Muzzles: The Muppet look lives or dies on invisible seams: the fleece covering a puppet's muzzle should read as one continuous skin, with no visible stitch
- Felt Draping and Hidden Seaming on Foam Head Blocks: Covering a carved foam puppet head in felt or fleece is where the character's skin comes from, and hidden seams are what make that skin look like one
- Antron Fleece Seam Scribing for Seamless Puppet Faces: Antron fleece is the puppet builder's magic fabric: its long pile hides seams that would scream on any other material. But the pile only hides seams