
A vernier scale lets a machinist read a dial to a fraction of its smallest division, turning a coarse graduation into a precise measurement with no electronics. Graduating your own vernier scales onto milling machine dials, whether restoring an old machine or building a custom fixture, is a satisfying blend of mathematics and careful handwork. The math is exact and beautiful; the execution demands patience and method. This guide covers the vernier principle, the layout calculations, and the practical work of cutting graduations that read true.
How the vernier multiplies precision
A vernier scale works by deliberate near-coincidence. The main scale has divisions of some spacing, and the vernier scale has divisions spaced slightly differently, such that a certain number of vernier divisions spans a slightly different length than the same number of main divisions. Wherever the two scales align, the vernier's zero sits at a fractional position between main divisions, and the aligned vernier line tells you the fraction. The classic metric vernier divides nine millimeters into ten vernier divisions, giving readings to a tenth of a millimeter; the least count, the smallest readable fraction, equals the main division spacing divided by the number of vernier divisions. Understanding this relationship is prerequisite to laying out a scale, because every dimension of the graduation derives from it.
Choosing the least count and the layout
Start from what the dial must resolve. If the milling dial's main graduations represent a given table movement per division, choose a least count that is a useful fraction of it, commonly a tenth. The vernier then needs as many divisions as the denominator of that fraction, and the vernier's total span must equal the main scale span of one fewer (or one more) division, depending on the direct or retrograde vernier design. Compute the exact vernier division spacing from these numbers and lay it out with drafting precision before cutting anything. The layout math must be exact to within a small fraction of the least count across the whole vernier span, because any layout error becomes a reading error everywhere. Double-check the arithmetic by an independent method; a misplaced decimal here ruins the entire dial.
Preparing the dial blank
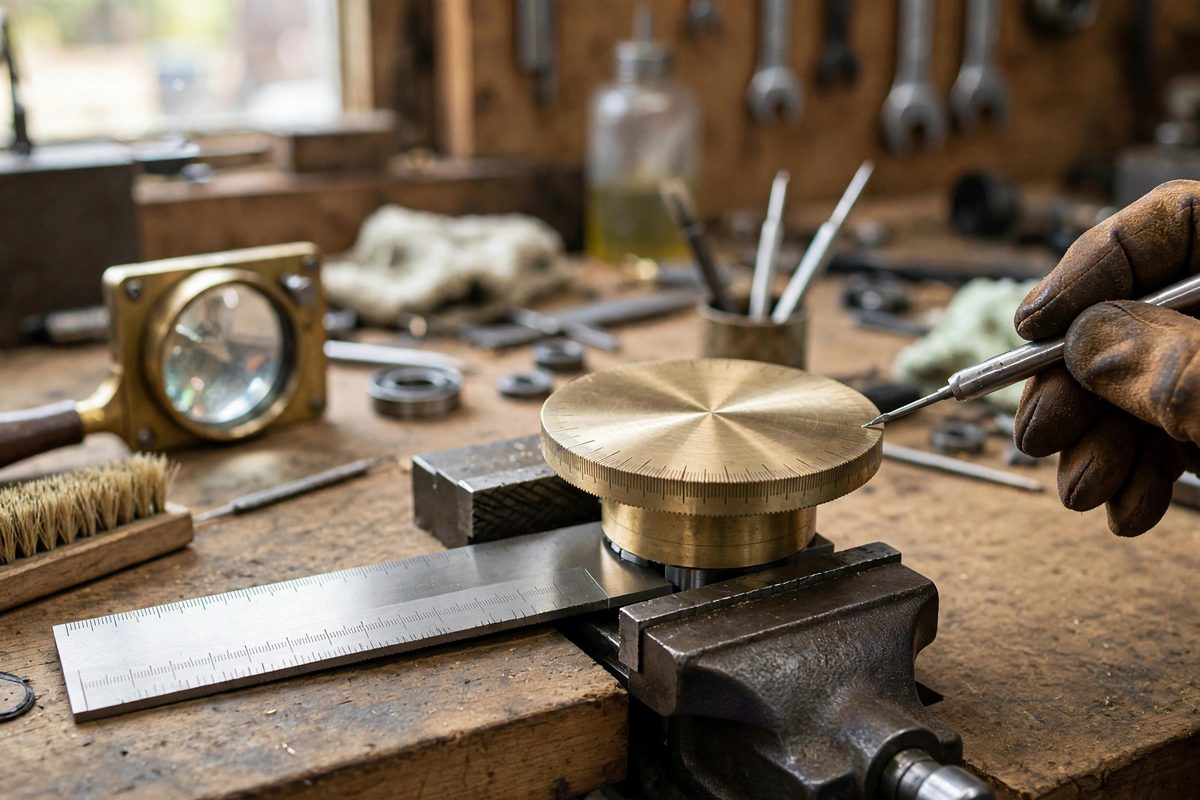
The dial blank must be round, true, and finished to its final diameter before graduation, since any later machining moves the scale relative to the machine's zero. Turn and face the blank, polish the graduation surface to a fine finish, and consider a darkened or blued surface if the graduations will be filled with a contrasting compound for readability. Mount the blank on a dividing head or a rotary table with verified accuracy; the angular positioning of each graduation depends entirely on this setup. Indicate the blank for runout and correct it, because an eccentric dial makes every graduation eccentric, producing a periodic reading error that no vernier math can fix. The metrology adage applies: the scale is only as true as the setup that cut it.
Cutting the graduations
Cut graduations with a sharp, narrow engraving tool or a properly ground graver, taking light, consistent cuts. Depth consistency matters as much as position: uneven depth makes some lines read bold and others faint, which the eye interprets as positional error. Index through the divisions methodically, cutting the main scale first, then the vernier, and verify position periodically against the layout rather than trusting the count. Number the major divisions clearly; an unnumbered dial is a puzzle, not an instrument. For the vernier lines, keep them slightly shorter than the main scale lines so the two scales are visually distinct at a glance. After cutting, fill the lines with a contrasting lacquer or wax, then wipe the surface clean so the filler remains only in the cuts. The filled lines should read crisply at arm's length under shop lighting.
Verifying the finished scale
Verification closes the loop between math and metal. Check the dial against a known standard, such as gauge blocks or a calibrated indicator, at multiple points around the full rotation, not just near zero. Plot the errors; a good dial shows small random deviations, while a flawed one shows systematic patterns, a once-per-revolution sine wave pointing at eccentricity, or a progressive drift pointing at a layout or indexing error. The vernier reading itself should be checked: set the dial to positions that should read exact vernier coincidences and confirm the alignment. If errors exceed the intended least count, diagnose before accepting; a dial that cannot be trusted to its own least count is worse than a coarser dial that can.
When to build versus buy
Graduating dials by hand is deeply educational and occasionally necessary for restorations or custom builds, but it is slow work with demanding tolerances. Commercial dials and digital readouts exist for good reason. Take on hand graduation when the learning is the point, when the dial is unobtainable, or when the machine's character demands it. For production accuracy on a working mill, a manufactured dial or a DRO is the pragmatic choice. There is no shame in this division of labor; the hand-graduated dial teaches you what precision costs, which makes you a better judge of every measuring instrument you will ever use.
A vernier scale is mathematics made readable: choose the least count, compute the exact division spacing, prepare a true blank, cut with consistency, and verify against standards. The result is a dial that resolves finer than its own graduations, built by understanding rather than by electronics.
Related Guides
- Milling Precision Sine Plate Angles for Lathe Work: A sine plate is one of the most elegant tools in the shop: two precision cylinders a known distance apart, a hinged plate, and a stack of gauge
- Standardizing Vernier Caliper Calibration Plates: A vernier caliper is only as trustworthy as its last calibration check, and the check needs a reference: a calibration plate, a piece of known
- Machining Precision Sine Bars for Shop Angle Checks: A sine bar is one of the most elegant measuring tools in the shop: a simple bar with two precision cylinders that turns angle measurement into height
- Laser Cut Slide Rules for Logarithmic Math Kits: Before calculators, engineers multiplied with slide rules: logarithmic scales that turn multiplication into addition of lengths. A laser-cut slide