
A sine bar is one of the most elegant measuring tools in the shop: a simple bar with two precision cylinders that turns angle measurement into height measurement, using nothing but trigonometry. Machining your own sine bar is a rite of passage that teaches precision work while producing a tool you will use for years.
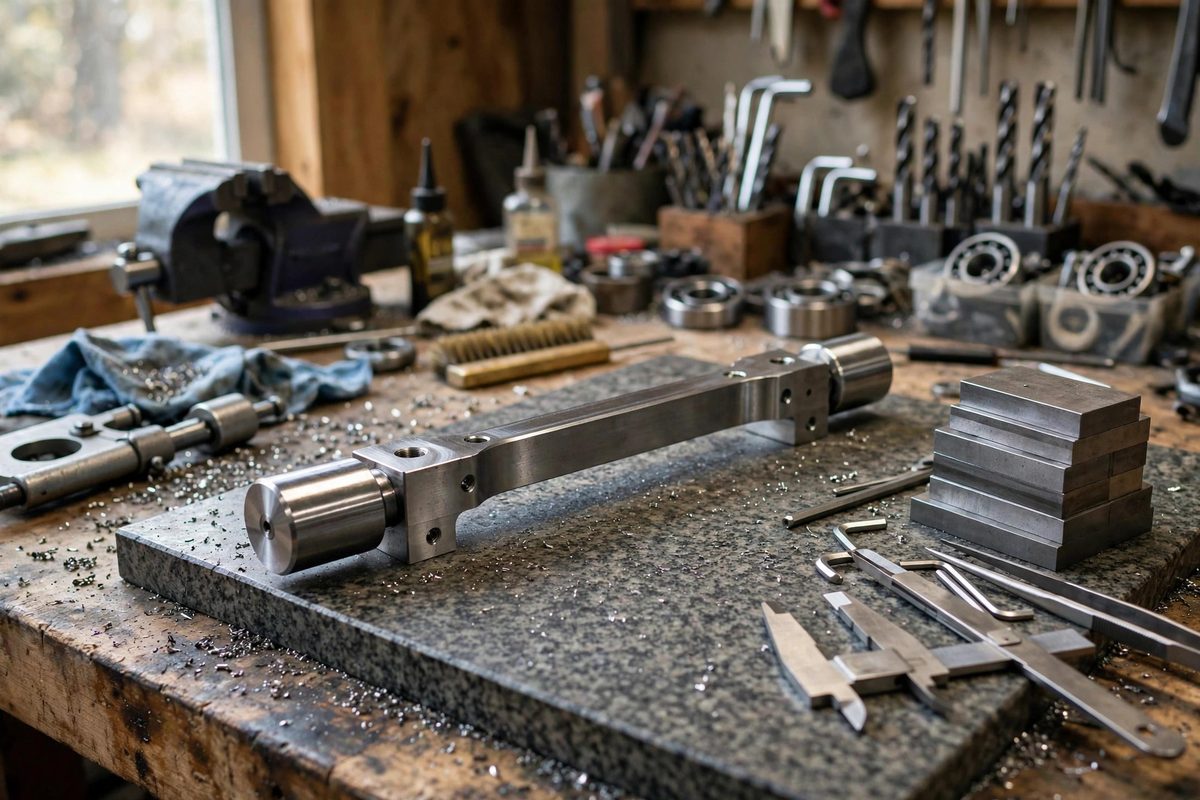
The principle in brief
A sine bar has two cylinders of equal diameter, spaced a known distance apart, typically five or ten inches. Set one end on a gauge block stack of height H, and the bar tilts to an angle whose sine equals H divided by the cylinder spacing. Measure the height with a stack of gauge blocks or a micrometer, and you know the angle to minutes of arc. The tool's accuracy lives entirely in three things: the cylinders being equal in diameter, the spacing being exact, and the bar's top surface being parallel to the line through the cylinder centers.
Choosing the size and material
A five-inch sine bar is the practical shop size: large enough for real work, small enough to handle and to need only modest gauge block stacks. Make the body from a stable tool steel or a good grade of mild steel you can harden, and the cylinders from drill rod or bearing stock. The cylinders are the precision elements, so start with stock that is already round and consistent. Everything else about the bar is a frame to hold those cylinders in exactly the right relationship.
Machining the body
Mill the body flat and square, with the top surface as the reference. Bore or ream the cylinder seats so the cylinders press in with a light interference fit; the seats must be the same depth and on the exact center spacing. Drill and ream in one setup without moving the work, because any repositioning introduces the spacing error that ruins the tool. If your mill's positioning is questionable, bore the seats with the same setup and measure the result rather than trusting the dials. The bar's accuracy is made or broken in this single setup.
Fitting the cylinders
The cylinders must be identical in diameter to within the tolerance you want from the tool. Turn or grind them as a pair, measuring both with the same micrometer, and aim for a difference you cannot detect. Press them into the seats so they sit at equal height above the body, then verify: the top surface of the bar should be parallel to a line tangent to both cylinder tops. Stone or lap the top surface after assembly if needed. This verification step is the difference between a sine bar and a bar with two cylinders in it.
Using the finished bar
To check an angle, set the bar on a surface plate, stack gauge blocks under one cylinder to the calculated height, and place the workpiece against the bar's top surface. A dial indicator swept along the work reveals any deviation from the set angle. For setting an angle, such as tilting a vise on the mill, the bar becomes the reference: adjust until the indicator reads constant. Keep the gauge block math handy; a small chart of common angles and their block stacks, taped inside the bar's storage box, turns the tool from a project into a habit.
Care and storage
Precision tools die from neglect. Wipe the bar and cylinders with a lightly oiled cloth after use, store it in a fitted box where the cylinders cannot get knocked, and never use the bar as a clamp, a pry, or a setup block for heavy work. Check the cylinder spacing and equality periodically against your gauge blocks; a sine bar that has been dropped is a sine bar that needs re-verification. Treated well, the bar you machined will outlast your memory of making it.
Bore the seats in one setup, fit equal cylinders, verify against the top surface, and keep the math close at hand. The sine bar you build yourself will check angles more honestly than the angle gauge you bought.
Related Guides
- Milling Precision Sine Plate Angles for Lathe Work: A sine plate is one of the most elegant tools in the shop: two precision cylinders a known distance apart, a hinged plate, and a stack of gauge
- Graduating Precision Vernier Scales on Milling Dials: A vernier scale lets a machinist read a dial to a fraction of its smallest division, turning a coarse graduation into a precise measurement with no
- Laser Cut Slide Rules for Logarithmic Math Kits: Before calculators, engineers multiplied with slide rules: logarithmic scales that turn multiplication into addition of lengths. A laser-cut slide
- Standardizing Vernier Caliper Calibration Plates: A vernier caliper is only as trustworthy as its last calibration check, and the check needs a reference: a calibration plate, a piece of known