
A vernier caliper is only as trustworthy as its last calibration check, and the check needs a reference: a calibration plate, a piece of known dimension against which the caliper is verified. Standardizing that plate, its dimensions, material, handling, and the procedure around it, turns calibration from a vague ritual into a meaningful verification. For school shops, maker spaces, and home metrology, a well-standardized plate is the difference between measurements you can defend and numbers you merely hope are right.
Why Calipers Need Checking
Vernier calipers drift out of accuracy through ordinary use: the jaws wear, developing a slight radius on the measuring faces; the beam gets knocked and the zero shifts; dirt in the rack makes the slider bind and skip; temperature changes alter the dimensions being measured and the caliper itself. None of these announce themselves: a caliper with a 0.1mm zero error still feels smooth and reads confidently, and every measurement it takes is wrong by that amount. Regular checking against a known reference catches these errors before they propagate into parts. The check does not need to be a formal metrology lab procedure; it needs to be frequent, consistent, and honest. A calibration plate kept at the bench and used at the start of critical measuring sessions provides exactly that.
Plate Design and Dimensions
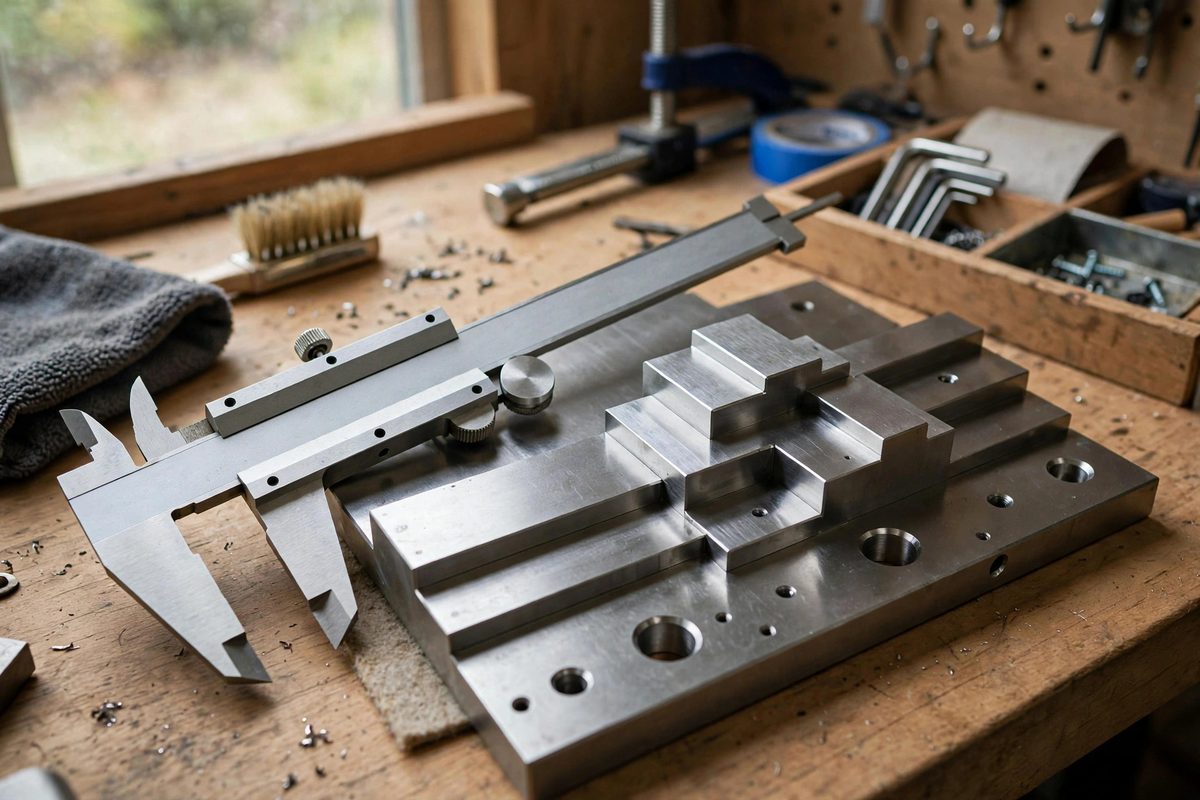
The plate should offer several known dimensions spanning the caliper's range: a small step, a medium step, and a large step, so the check verifies linearity, not just zero. A stepped block design works well: three or four steps of different heights, each ground or machined to a known dimension. Include an outside measurement, an inside measurement (a bored hole of known diameter), and a depth reference if the caliper has a depth rod. The dimensions should be chosen as round numbers in the shop's unit system for easy reading, but their actual values matter less than their known-ness: what makes the plate a standard is that its dimensions are documented and stable, not that they are particular numbers. Mark each feature with its nominal dimension, engraved or stamped, so the reference travels with the plate.
Material and Stability
The plate's material must hold its dimensions over years of handling. Hardened tool steel is the traditional choice: wear-resistant, dimensionally stable, and with a low thermal expansion coefficient. For shop-grade plates, stainless steel or even well-made aluminum can serve, with the understanding that softer materials wear faster and need their dimensions re-verified periodically. The critical property is stability: the plate must not change with humidity, handling, or time. Avoid plastics and wood for the reference surfaces; they move. Protect the measuring faces from damage: store the plate in a case or wrapped, never loose in a drawer with other tools, because a dinged reference face is a corrupted standard. Handle with clean hands; corrosion pits the faces over time, and even light rust changes the dimension.
The Checking Procedure
Standardize the procedure, not just the plate. Clean the caliper jaws and the plate faces before checking: a speck of swarf under the jaw is a measurement error. Check zero first with the jaws closed: the vernier should read exactly zero, and any deviation is recorded, not ignored. Then measure each plate feature with normal measuring pressure, the same light, consistent touch used in real work, because gorilla-gripping the caliper flexes the beam and gives false readings. Record the readings against the nominal values; the differences are the caliper's errors at those points. Decide the acceptance criterion in advance: for shop work, errors within the caliper's resolution are typically acceptable, while a consistent offset indicates a zero problem and varying errors indicate jaw wear or beam damage. A caliper that fails the check gets adjusted if it has that provision, or retired from critical work.
Documentation and Intervals
Keep a simple log: date, caliper identity, plate used, readings, pass or fail. The log transforms isolated checks into a history that reveals trends: a caliper whose zero drifts a little further each month is telling you its beam is damaged or its lock is worn, and the log makes the pattern visible before the errors become critical. Set the checking interval by usage: a caliper in daily production use earns a weekly check; one used occasionally for rough work needs less. After any drop or impact, check immediately regardless of schedule. The plate itself needs periodic re-verification against a higher standard, a micrometer or a known-good reference, on a longer cycle; a standard that has drifted unknown is worse than no standard because it certifies errors. This chain of verification, plate checked against better instruments, caliper checked against the plate, is the essence of metrology at any scale.
A standardized calibration plate, stable material, known dimensions, protected faces, used with a consistent procedure and a written log, makes caliper accuracy a verified fact instead of an assumption. The measurements that follow can be trusted, which is the entire foundation of making things that fit.
Related Guides
- Graduating Precision Vernier Scales on Milling Dials: A vernier scale lets a machinist read a dial to a fraction of its smallest division, turning a coarse graduation into a precise measurement with no
- Laser Cut Slide Rules for Logarithmic Math Kits: Before calculators, engineers multiplied with slide rules: logarithmic scales that turn multiplication into addition of lengths. A laser-cut slide
- Machining Precision Sine Bars for Shop Angle Checks: A sine bar is one of the most elegant measuring tools in the shop: a simple bar with two precision cylinders that turns angle measurement into height
- Milling Precision Sine Plate Angles for Lathe Work: A sine plate is one of the most elegant tools in the shop: two precision cylinders a known distance apart, a hinged plate, and a stack of gauge