
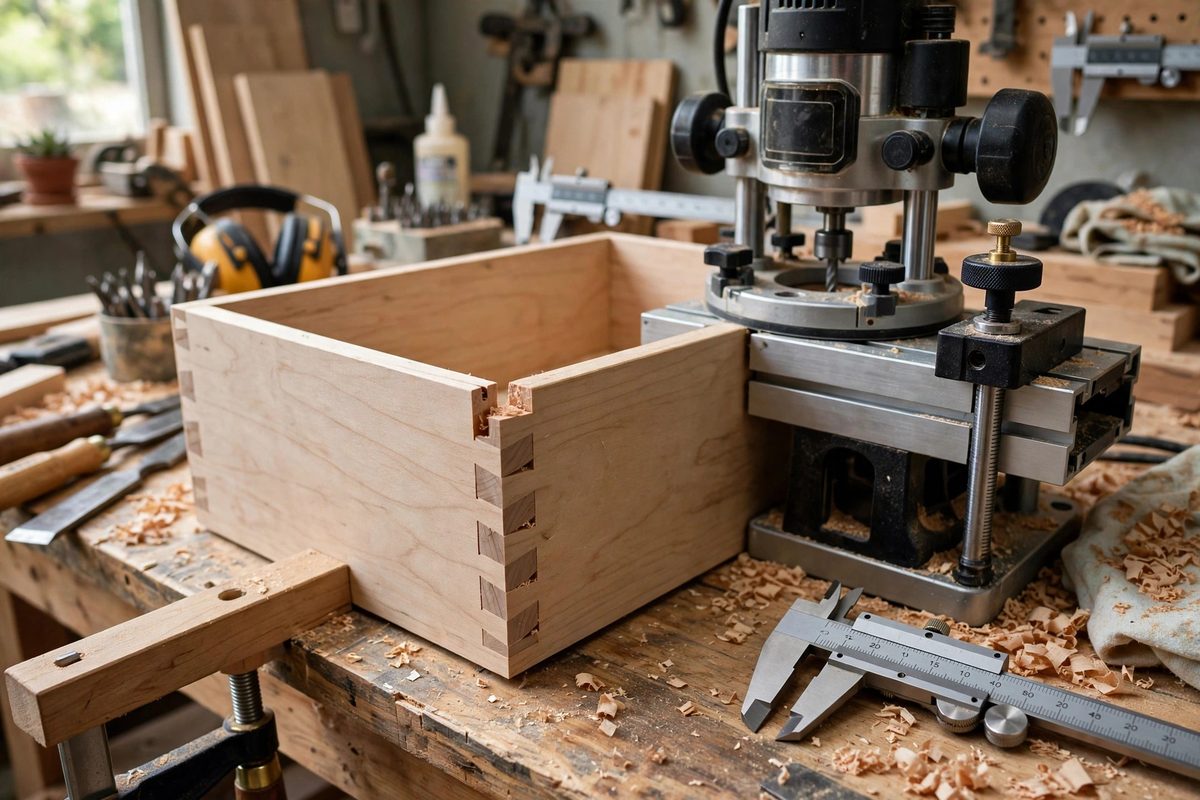
Half-blind dovetails are the classic drawer joint for one reason: they are strong, and the mechanical interlock hides the joint from the front of the drawer. Getting them right with a router jig comes down to one setting more than any other: the depth of cut of the dovetail bit, which controls exactly how the pins and tails mesh.
What the depth of cut controls
In a half-blind dovetail jig, the bit cuts the tails in the drawer sides and the matching pin sockets in the drawer front at the same time. The depth of the cut determines how far the tails sink into the front. Too shallow and the joint stands proud with gaps at the shoulders; too deep and the joint pulls together but leaves the drawer front face cut through, which ruins the half-blind appearance. The window between those two failures is narrow, often just a few thousandths of an inch, which is why this setting deserves real care.
Setting depth from the board thickness
The textbook starting point for the bit depth is roughly two-thirds of the drawer front thickness. With a standard 3/4 inch drawer front, that puts the cut about 1/2 inch deep. Set the bit so it protrudes from the router base by that amount, measuring with a caliper or a depth gauge rather than eyeballing. This gets you into the working range; the final tweak comes from test cuts, not from the ruler. Record the setting once you nail it, because a router that gets reconfigured for other work will never land back on the same depth by feel alone.
Test cuts in the real stock
Always run test joints in the same species and thickness as the drawer parts. Mill a few short offcuts of front and side stock and run them through the jig exactly as you would the real parts. Assemble the test joint dry: the tails should enter with firm hand pressure, the shoulders should seat fully against the front, and the joint should be flush or a hair proud for final planing. If it will not close, deepen the cut slightly; if it is loose and the front face looks thin, back the bit out. Make adjustments in tiny increments and cut a fresh test each time.
Consistency across multiple drawers
A dresser full of drawers multiplies every error. Once the depth is dialed, cut every front and every side without touching the router setting. Number or mark the boards so fronts stay fronts and sides stay sides; stock thickness variation from board to board can shift the fit even when the bit stays put, so it helps to thickness everything in one batch through the planer. If a joint still fits a little differently from the rest, check that board's thickness before blaming the bit.
Fitting adjustments at assembly
Even a well-cut joint may need a whisper of fitting. A paring chisel can relieve a tight pin socket, and a light pass of sandpaper on the tail faces eases a joint that is almost there. Work sparingly: it is easy to pare a snug joint into a loose one, and there is no way back. Dry-fit every drawer box completely before any glue touches it, because dovetails that assemble dry will assemble glued, and ones that needed force dry will become a crisis with glue swelling the fibers.
Glue and clamping strategy
Use glue sparingly on half-blind dovetails; the joint's strength is mechanical, and excess glue just squeezes out where it is hard to clean. A thin coat on the tail faces is enough. Clamp across the joint to close it fully, and check the drawer for square immediately, since a clamped dovetail box can rack. Measure the diagonals and correct them before the glue sets; once set, the box is the shape it is.
Half-blind dovetails reward the patient setup: measure the depth, prove it with test cuts in the real stock, lock the setting, and cut the whole batch. The drawers that result fit right, stay square, and show nothing but a clean front.
Related Guides
- Blind Mitered Dovetail Layout on Curved Carcass Edges: The blind mitered dovetail joins two case sides at a corner so the outside shows only a clean miter while the inside hides interlocking dovetails
- Drawbore Mortise and Tenon Pin Shear Stress: Drawboring is the traditional trick of offsetting the peg hole in the tenon slightly toward the shoulder, so driving the peg pulls the joint tight
- Mitering Secret Compartment Keyways in Hardwood Chests: A secret compartment is only as good as its invisibility, and invisibility lives in the details. The keyway, the hidden slot or channel that lets the
- Bridle Joint Tenon Thickness Ratios for Carcass Rails: The bridle joint, an open mortise that receives a full-width tenon, is the workhorse joint for carcass rails and frame corners where the joint will