
A secret compartment is only as good as its invisibility, and invisibility lives in the details. The keyway, the hidden slot or channel that lets the secret panel release, is the part most likely to betray the trick: a visible seam, a misaligned miter, or a panel that rattles gives the game away to anyone who looks closely. Cutting the keyway as a mitered detail inside the chest's joinery hides it in plain sight, disguised as ordinary construction. This guide covers the design thinking and the cutting technique for keyways that stay secret.
Designing the secret before cutting anything
Every secret compartment starts as a lie told by the dimensions. The classic approach is a false bottom or a hidden drawer whose existence is masked by making the interior depth not match the exterior depth, with the discrepancy hidden by thick-looking moldings or a deep base rail. The keyway is the mechanism that releases it: a sliding dovetail key, a spring-loaded pin, or a magnetic catch accessed through a disguised slot. Design the release to be operated by a natural gesture, pressing a particular spot on a molding or sliding a seemingly decorative element, because a secret that requires an obvious tool or an awkward motion is a secret nobody can use without looking suspicious. Sketch the full mechanism, including clearances, before cutting any joinery. A keyway that binds is worse than no keyway at all.
Where the mitered keyway hides
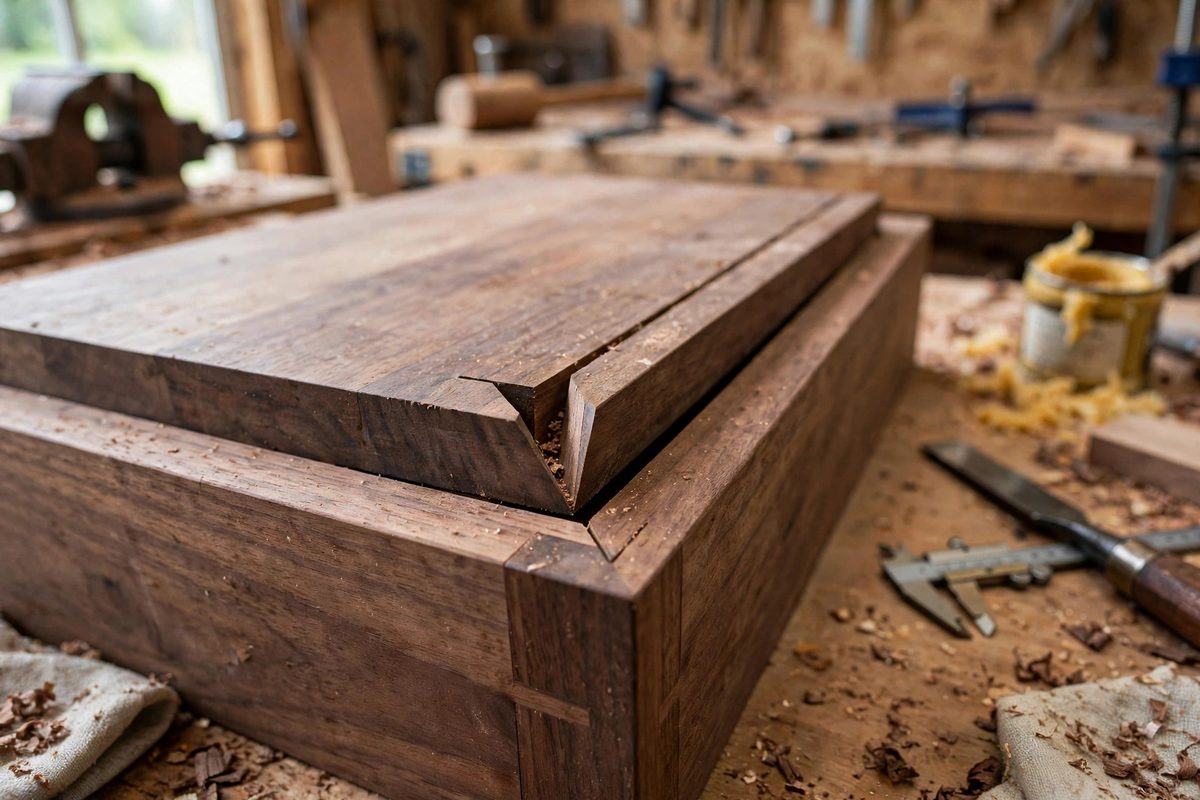
The miter is the natural home for a hidden keyway because miter joints already contain a forty-five-degree face that nobody examines closely. A narrow slot cut into the miter face of a base molding, aligned with a corresponding channel in the mating piece, creates a passage that is invisible when the joint is closed. A slender key, perhaps a shaped brass rod or a hardwood spline, slides in that passage to lock or release the secret panel. Because the slot lives on the glue face of the miter, it vanishes entirely in the assembled chest. The critical discipline is keeping the slot centered on the miter face and consistent in depth; a slot that breaks through to a visible surface is a permanent tell.
Cutting the keyway accurately
Cut the keyway before the miter is glued, while the faces are accessible. A router with a small straight bit and an edge guide gives the most controllable slot, or a tablesaw with the blade tilted to match the miter face works for straight runs. The slot must be straight, clean, and of uniform depth along its length, because the key has to slide freely without slop; a slot that is tight in one spot and loose in another will jam at the worst moment. Cut a test slot in scrap of the same species and fit the actual key to it, checking the slide with the chest's real clearances in mind. Hardwood moves with humidity, so size the fit for the damp season's swelling, not the dry shop conditions of the build. A keyway that works in January and seizes in August is a failed secret.
Fitting the key and the release
The key itself should be inconspicuous and captive: something that cannot be lost and does not look like a key. A common solution is a sliding section of the molding itself, where pushing one end of a seemingly fixed trim piece drives a pin into or out of the secret panel's latch. Another is a magnetic release, where a strong magnet held against a specific, unmarked spot on the chest pulls an internal catch. Whatever the mechanism, it must operate smoothly without visible flexing or clicking that announces itself. Test the release dozens of times during the build, because the mechanism will wear slightly with use and needs margin. And build in a non-destructive way to open the compartment if the mechanism ever fails. A secret compartment that becomes permanently sealed is a tragedy, especially if it was built to hold something meaningful.
Keeping the secret invisible in the finished piece
The finished chest must give nothing away. Grain continuity across the secret panel's edges is the biggest visual factor: resaw the panel from the same board as its surroundings so the grain flows uninterrupted. Keep gaps uniform; a secret panel with a wider gap on one side draws the eye exactly where you do not want it. Finish the interior of the compartment to the same standard as the visible interior, because a roughly finished hidden space suggests hasty concealment if it is ever discovered. Avoid hardware that hints at the mechanism: no visible screws near the release point, no plugged holes that do not match the piece's normal construction. The best secret compartments are discovered by accident or not at all.
A word on craftsmanship and intent
Secret compartments belong to a long furniture tradition, from seventeenth-century spice cabinets to campaign desks, and they are at their best when they delight rather than deceive. Build them for the joy of the hidden detail, the private space for letters or keepsakes, the piece that rewards curiosity. The skills transfer directly to fine joinery generally: tight miters, precise small-scale routing, and grain matching are the same abilities that elevate every visible joint. A chest with a well-made secret is simply a well-made chest with one extra layer of care.
A secret compartment succeeds through dimension lies, a keyway hidden in a miter face, a key that slides freely in all seasons, and a finished piece that shows no tells. Cut the slot before glue-up, fit the mechanism with humidity in mind, match the grain, and always leave yourself a way back in. The secret is safe as long as the craftsmanship is.
Related Guides
- Drawbore Mortise and Tenon Pin Shear Stress: Drawboring is the traditional trick of offsetting the peg hole in the tenon slightly toward the shoulder, so driving the peg pulls the joint tight
- Blind Mitered Dovetail Layout on Curved Carcass Edges: The blind mitered dovetail joins two case sides at a corner so the outside shows only a clean miter while the inside hides interlocking dovetails
- Half-Blind Dovetail Depth Setting on Drawer Boxes: Half-blind dovetails are the classic drawer joint for one reason: they are strong, and the mechanical interlock hides the joint from the front of the
- Bridle Joint Tenon Thickness Ratios for Carcass Rails: The bridle joint, an open mortise that receives a full-width tenon, is the workhorse joint for carcass rails and frame corners where the joint will