
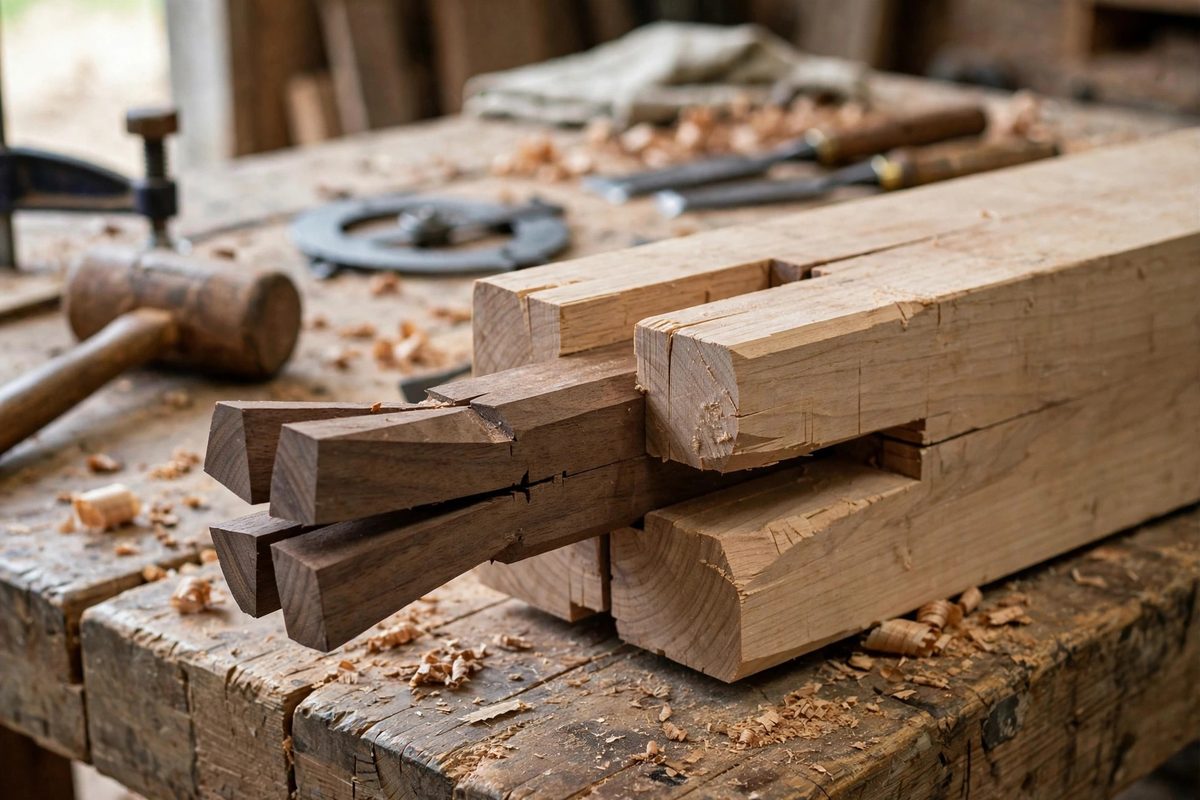
A through mortise with a wedged tenon is joinery at its most honest: the tenon passes all the way through, wedges driven into its end flare it like a dovetail, and the joint locks mechanically as well as with glue. The wedging angle, the taper of the wedge and the flare of the kerf it spreads, determines whether the joint draws tight and holds forever or splits the tenon and fails. Cut by hand, every angle is a judgment call, and understanding the geometry is what makes the judgment good.
How Wedging Locks the Joint
The tenon is sawn with kerfs partway down its length, and wedges driven into those kerfs spread the tenon's end wider than the mortise. The flared end cannot pull back through, which gives the joint its mechanical lock: even if the glue fails, the wedge holds. The wedge angle does two things at once: it must be steep enough to spread the tenon without splitting it, and shallow enough to drive fully and stay put.
The physics favor the shallow wedge. A thin, gradual wedge converts driving force into spreading force efficiently and seats deeply; a fat, steep wedge acts more like a splitting wedge, concentrating force at the kerf's bottom and cracking the tenon along its length. The classic wedge is a long, gentle taper, not a stubby spike.
Cutting the Mortise With Wedge Room
The mortise itself must accommodate the flare. Cut the mortise with a slight outward taper toward the exit face, wider at the show side than at the entry, so the wedged tenon has room to expand into. A straight-sided mortise fights the flare: the tenon spreads against parallel walls, which either prevents full seating or splits the mortise's cheeks.
The taper need not be dramatic; a degree or two per side is enough. Cut it deliberately with a chisel after the main mortise is chopped, paring the exit side wider with careful, even cuts. Check the taper by test-fitting an unwedged tenon: it should pass through with slight resistance that increases toward the exit, not bind halfway.
Sawing the Kerfs
The kerfs in the tenon receive the wedges, and their placement matters. Saw them centered on the tenon's thickness, running with the grain, to a depth of roughly two-thirds the tenon's length inside the mortise. Kerfs too shallow do not let the wedge spread enough wood; kerfs too deep weaken the tenon at its root, where the bending loads concentrate.
Keep the kerfs narrow: just wide enough for the saw, since the wedge will open them. A wide kerf removes wood that the wedge needs to bear against, reducing the spreading effect. And keep them straight; a wandering kerf steers the wedge off-center, flaring one side of the tenon more than the other and twisting the joint.
- Cut kerfs before final tenon fitting; fitting after kerfing risks breaking the weakened end.
- Make the wedges from a wood slightly harder than the tenon so they drive without crushing.
- Orient wedge grain along the wedge's length; cross-grain wedges snap during driving.
- Dry-fit the whole assembly with the wedges before glue-up; there are no second chances once glue is involved.
Driving the Wedges
Glue the joint, seat the tenon, and drive the wedges while the glue is wet. Drive them firmly but not violently: the goal is to spread the tenon until it bears hard against the mortise's tapered walls, not to split the tenon or blow out the mortise. You will feel the wedge seat; the driving resistance rises sharply when the tenon is fully flared.
Trim the wedges and tenon flush after the glue cures, not before. Trimming early risks disturbing the joint while the glue is still setting. A sharp chisel or a flush-cut saw takes the protruding ends down cleanly, and the end grain of the wedged tenon, with its contrasting wedge lines, becomes one of the joint's visual signatures.
Troubleshooting Wedged Joints
A tenon that splits during wedging usually suffered from too steep a wedge, too deep a kerf, or driving too hard. A joint that does not draw tight usually has a mortise without enough exit taper, so the flare has nowhere to go. A wedge that will not stay seated was either too steep to hold friction or driven into a kerf too wide to grip it.
Each failure is diagnosable and fixable on the next joint, which is the virtue of hand-cut work: every joint teaches. The wedged through mortise has held furniture together for centuries because its geometry is sound. Cut the angles with understanding, and the joint will outlast the maker.
Taper the mortise exit, kerf two-thirds deep, wedge long and shallow, and drive to the seat. The wedged through tenon is mechanics you can see, and when the angles are right, it is joinery that needs no apology.
Related Guides
- Miter Box Spline Reinforcement for Picture Frames: A picture frame miter joint is a structural weak point wearing a pretty face: two 45-degree cuts glued end-grain to end-grain, which is the weakest
- Trueing Wooden Jack Plane Soles With Scraper Blades: A wooden jack plane only works as well as its sole is true. A sole with hollows and high spots rocks on the work, takes uneven shavings, and makes
- Scribing Compound Shoulders on Sloped Timber Tenons: A tenon entering a mortise at an angle, the classic sloped timber joint of braces and rafters, needs shoulders that meet the mating timber's face