
LED strips have become the default accent and fill lighting for video studios: cheap, flexible, dimmable, and available in every color temperature. But not all LED strips render color equally, and the difference shows up exactly where it hurts most: on skin tones and on the studio walls behind the subject. A low-CRI strip can make a carefully painted set look muddy and a person's face look ill, while a high-CRI strip renders both faithfully. Understanding color rendering is what separates decorative LED glow from professional studio lighting.
What CRI actually measures
The Color Rendering Index rates how faithfully a light source reveals colors compared to a reference source, on a scale where 100 is perfect. A CRI of 80, common in cheap strips, means colors render noticeably worse than under the reference; reds in particular suffer, which is why low-CRI light makes skin look gray-green and unhealthy. A CRI of 95 or above, the target for studio work, renders colors with the fidelity that cameras and audiences expect. The catch is that CRI is an average over a set of test colors, so two lights with the same CRI can still differ; the extended metric TM-30 gives a fuller picture, but CRI remains the number manufacturers publish and the one to shop by. For studio walls, where the light's color interacts with paint colors you chose deliberately, high CRI preserves the choices you made. Low CRI quietly repaints your set.
Why walls reveal bad color rendering
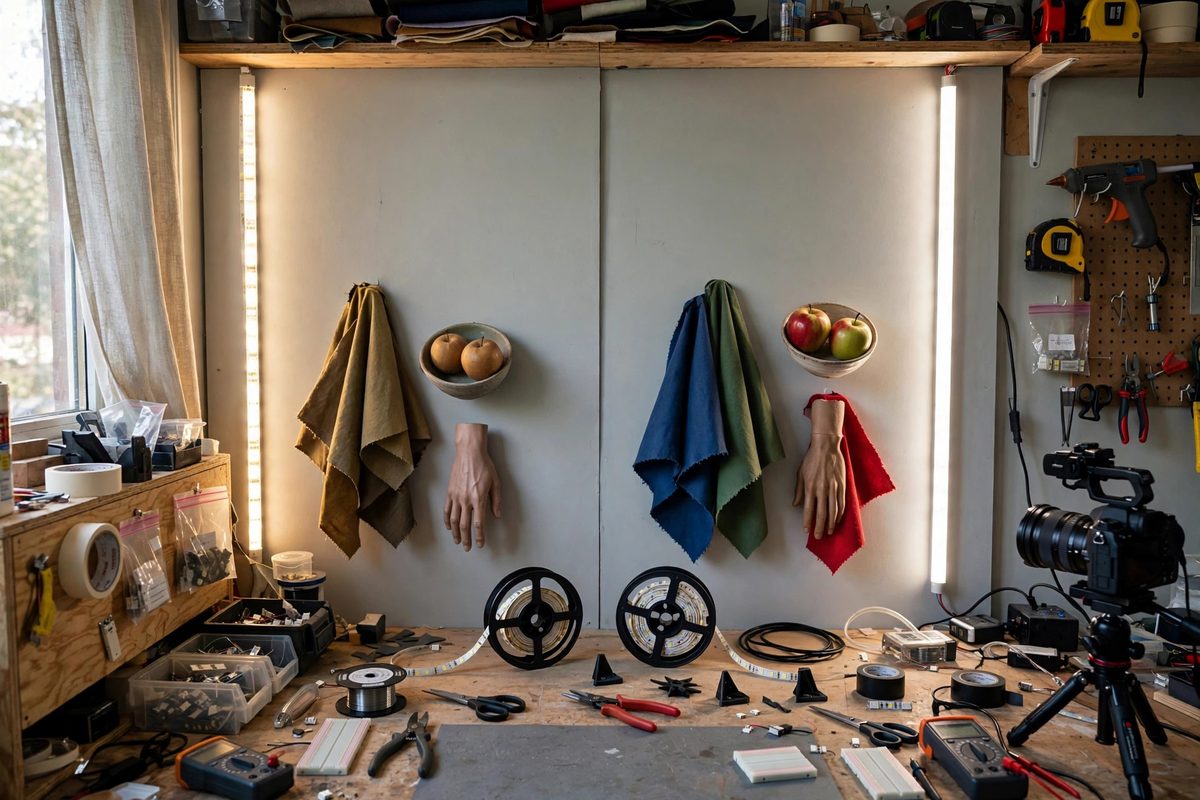
A studio wall is a large, evenly lit surface in a single known color, which makes it a ruthless test of a light source. Under high-CRI light, the wall reads as the color you painted it. Under low-CRI light, the wall shifts: warm grays go green, rich blues go flat, skin tones on anyone standing near the wall pick up the same cast. The camera exaggerates what the eye forgives, so a cast that looks mild in person can dominate the footage. This is also why testing LED strips by eye in the store tells you little; the eye adapts to color casts within seconds, but the camera records them faithfully. Judge strips by their published CRI and, better, by test footage shot with your actual camera, not by how they look to your adapted eyes.
Selecting and placing strips
Shop for strips specifying CRI 95 or higher, and prefer manufacturers that publish full spectral data or TM-30 values over those that print only a bare CRI number. Match color temperature across all strips in the studio; mixing 3000K and 5600K strips in the same shot creates unfixable mixed lighting. For wall washing, mount the strips with diffusion: the individual LED points create hot spots and harsh gradients on the wall, while a diffuser or a bounce turns the strip into the soft, even wash that flatters both walls and subjects. Aluminum channels serve triple duty here: they sink heat, which preserves both brightness and color accuracy over the strip's life; they provide a mounting surface for the diffuser; and they give the installation a finished look. Keep strips a consistent distance from the wall along their whole run, since brightness falls off quickly with distance and uneven spacing shows as banding.
Power, voltage drop, and consistency
Long LED runs suffer voltage drop: the far end of the strip gets less voltage than the near end, so it runs dimmer and often shifts color. This is devastating for wall washes, where the gradient screams amateur. Mitigate it by feeding power from both ends of long runs, by using thicker supply wire, and by keeping individual runs within the manufacturer's recommended length. Size the power supply generously, at least twenty percent above the strips' rated draw, and use a quality supply with clean output; cheap supplies introduce flicker that the camera sees even when the eye does not. Dim with PWM dimmers designed for video work, and test dimmed levels on camera: some dimmers flicker at certain levels, producing rolling bands in footage. Every electrical choice in the strip system shows up in the image eventually.
Calibrating to the camera
Once installed, calibrate. White-balance the camera to the actual studio lighting, not to a preset, because even high-CRI strips deviate slightly from ideal. Shoot a color chart under the studio lights and check that the wall color and skin tones land where they should; adjust strip color temperature or add correction until they do. Save the camera's white balance and exposure settings as a preset for the studio so every shoot starts from the calibrated baseline. Recheck periodically: LED strips drift in color as they age, especially when run hot, and a studio that was calibrated a year ago may have quietly shifted. The aluminum channels and conservative power sizing from the installation step slow this drift, but nothing stops it entirely.
High CRI, matched color temperature, diffused mounting, clean power, and calibration to the camera: that chain turns LED strips from party decoration into studio lighting that flatters faces and honors the paint on the walls.
Related Guides
- High CRI LED Diffusion Scrim Spacing for Key Lights: A key light shapes the face, and its quality decides whether skin looks alive or waxy. High-CRI LED panels give accurate color, but bare LEDs are
- Fresnel Lens Collimation for Clean Studio Key Lights: A bare LED panel throws light everywhere, spilling onto backgrounds and flags and generally making a mess. A Fresnel lens in front of the source
- Diffusion Scrim Spacing Ratios for Soft Key Light: Soft, flattering key light is the foundation of good-looking video, and diffusion scrims, translucent fabrics stretched on frames, are how you make a
- Parabolic Softbox Efficiency Limits for Rim Lighting: Parabolic softboxes promise focused, punchy light with softbox quality, and they deliver it, within limits. Used as a rim light, a parabolic modifier