
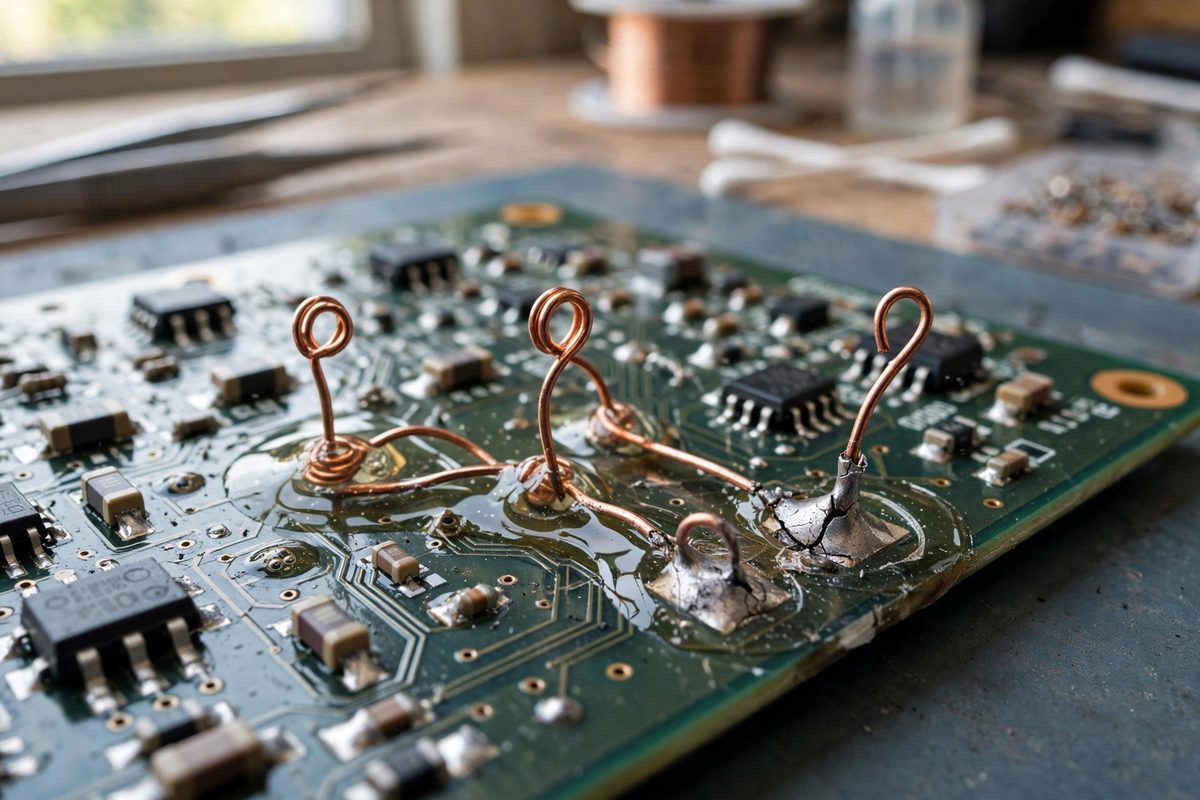
Repair jumper wires, the fine wires bodged across a board to fix a broken trace or add a missing connection, fail at the solder joint. The wire flexes with vibration, thermal cycling, and handling; the solder joint does not flex; the wire breaks right where it enters the solder, usually at the worst possible time. A service loop, a deliberate slack loop in the wire, absorbs the movement before it reaches the joint, and conformal coating locks the whole assembly down. Together they turn a fragile bodge into a durable repair, but the details of loop geometry and coating order determine whether the fix actually works.
Why Jumpers Break at the Joint
The failure is fatigue at a stiffness transition. The free wire is flexible; the solder joint is a rigid lump; where they meet, all the bending concentrates in the few millimeters of wire just outside the solder. Every vibration cycle, every thermal expansion mismatch between the wire and the board, bends that short section back and forth. Copper work-hardens with cycling: it gets brittle at the bend point, then cracks. The crack is usually invisible, hidden under the solder fillet's edge, and the symptom is intermittent: the circuit works until vibration or temperature moves the broken ends apart. This is why jumpers that test fine on the bench fail in the field. The joint itself is rarely the problem; the unrelieved wire entering it is.
Service Loop Geometry
A service loop gives the wire somewhere to move that is not the joint. Instead of routing the jumper taut between its two endpoints, leave deliberate slack formed into a gentle loop, like a miniature version of the drip loops on outdoor wiring. When the assembly vibrates or expands, the loop flexes open and closed, absorbing the displacement over a long, gentle curve instead of concentrating it at the joint. The loop's bend radius matters: generous, smooth curves distribute strain, while tight kinks create new fatigue points. Size the loop to the expected movement: a board in a vibrating enclosure needs more slack than one on a bench. Route the loop so it cannot snag or short: keep it low against the board, away from tall components and board edges, and never let the loop's movement bring the wire into contact with anything conductive.
Soldering for Strain Tolerance
The joint itself should be built to tolerate what the loop does not fully absorb. Strip only as much insulation as needed; exposed wire beyond the joint is a shorting risk and a flex point. Tin the wire before soldering so the joint wets quickly with minimal heating, because overheated insulation melts back and overheated pads lift. Make the fillet smooth and concave, flowing from the wire onto the pad, with no sharp transition where the wire exits: a fillet that feathers onto the wire for a millimeter or two supports the wire's entry instead of creating a hard edge. Avoid the classic mistake of a big blob: excess solder makes the rigid section longer, moving the flex point further out the wire but not eliminating it, and adds mass that vibrates. A neat, minimal, well-wetted joint plus a service loop beats a blobby joint with a taut wire every time.
Conformal Coat: Locking It Down
Conformal coating, the thin protective film sprayed or brushed over the board, serves the jumper in two ways: it immobilizes the wire against the board so vibration cannot work the joint, and it protects the repair from moisture and contamination. The order of operations matters: solder the jumper, form the service loop, verify the circuit works, then coat. Coating before verification seals in a fault. Apply the coating so it wicks under and around the wire, bonding the wire to the board along its run, not just at the joints; a wire coated only at its ends can still vibrate in the middle. Keep coating off connectors, test points, and anything that needs future access, masking them first. Choose a coating compatible with rework if the repair might need revisiting: some coatings dissolve for repair, others must be abraded off, which risks the very jumper they protect.
Inspection and Documentation
A repair jumper is a deviation from the design, and it should be treated as one. Inspect under magnification: the joints should be smooth and wetted, the loop should have gentle curves with no kinks, the coating should cover the wire run without bridging to places it should not go. Tug-test gently: the wire should not move at the joint, with all movement absorbed visibly in the loop. Document the repair: what the jumper connects, why it was needed, and a photo. The next person to service the board, who may be you in two years, needs to distinguish the intentional repair from damage. A well-documented jumper with a service loop under conformal coat is a professional repair; an undocumented taut wire is a landmine.
Jumper wires fail where stiffness changes, at the joint. Give the wire a loop to absorb movement, solder a clean minimal joint, lock it down with conformal coat after verifying, and document what you did. The bodge becomes a repair, and the repair outlasts the product.
Related Guides
- Micro-Jumper Bonding With Two-Part Silver Epoxy: Every repair bench eventually meets the board that cannot be soldered: a lifted pad with no copper left to wet, a trace cracked under a chip you
- Rebuilding Broken Circuit Traces With Enamel Wire: Circuit board traces break: scratched by a slipped screwdriver, lifted by overheated rework, corroded by a leaking battery, or cracked by flexing
- Restoring Torn Trace Pads With Copper Ribbon: A torn pad, the copper circle ripped off the board along with the component, looks like a dead board. It usually is not. The trace underneath still
- Copper Foil Bridge Overlap on Solder Mask Scrapes: Scrape through the solder mask down to bare copper and you have exposed a conductor that will oxidize, short against anything that touches it, and