
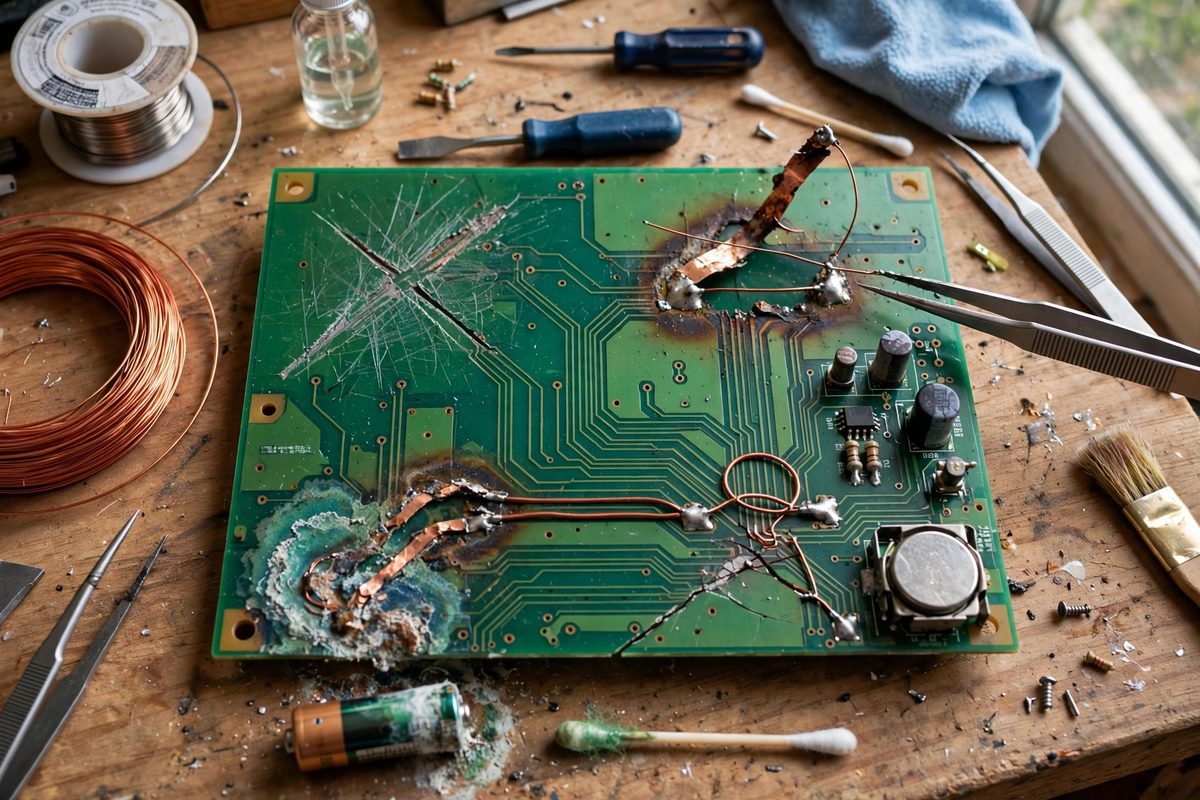
Circuit board traces break: scratched by a slipped screwdriver, lifted by overheated rework, corroded by a leaking battery, or cracked by flexing. When the break is in an accessible location, the trace can be rebuilt with enamel-coated magnet wire, the thin insulated copper wire that solders into a neat, durable jumper. Done well, the repair is electrically sound, mechanically secure, and nearly invisible; done carelessly, it is a fragile bodge that fails at the worst moment. The technique is straightforward, but the details determine which outcome you get.
Assessing the Damage
Start by understanding the break fully. Inspect under magnification: is the trace merely cracked, or is a section missing? Is the surrounding solder mask intact? Are nearby traces or vias damaged? A clean crack in an otherwise healthy trace is the ideal repair candidate; a trace with corroded, lifted, or missing copper over a long section may need a longer jumper routed between solid endpoints rather than a local bridge.
Identify what the trace connects before repairing. A power trace needs heavier wire than a signal trace; a high-frequency signal trace needs the jumper kept short and routed close to the original path to preserve its electrical behavior. The repair should respect the trace's function, not just its continuity.
Preparing the Repair Site
Expose clean copper at both ends of the break: gently scrape away the solder mask over solid trace on each side, extending a few millimeters past the damage into healthy copper. The scraping should be just enough to expose bright copper without thinning it; aggressive scraping weakens the very trace you are trying to save. Clean the exposed copper with isopropyl alcohol; contamination is the enemy of a good solder joint.
If the trace is lifted but intact, it can sometimes be tacked back down with a tiny amount of adhesive before soldering; if it is missing or crumbling, plan the jumper to span from solid copper to solid copper, bypassing the damaged section entirely. Never solder to corroded or flaking copper and expect it to hold.
The Enamel Wire Technique
Enamel wire's insulation is the key to the neat repair: the thin enamel coating lets the wire route across the board, even over other traces, without shorting, and it solders through, the heat of the iron burns off the enamel at the joint while the rest stays insulated. Strip or tin the wire ends by melting solder onto them with a hot iron; the enamel bubbles away and the tinned end is ready.
- Choose wire gauge to match the trace's current: signal traces take fine wire, power traces need heavier.
- Keep the jumper as short and direct as practical; long loops snag and add inductance.
- Route over solder mask, not over exposed copper; the enamel is good insulation but not armor.
- Form gentle curves, not sharp bends; sharp bends stress the wire and can crack the enamel.
Soldering the Jumper
Tin the exposed trace ends with a small amount of solder, then lay the tinned wire end onto the tinned trace and reflow them together with a brief touch of the iron. The joint should be small, smooth, and shiny; a large blob suggests too much heat or solder, either of which can damage the board. Work quickly: prolonged heat lifts the trace from the board, turning a repairable break into a destroyed pad.
Secure the wire's midspan if the run is long: a tiny dot of adhesive or a loop through a nearby mounting hole prevents the wire from flexing at the solder joints, which is where fatigue failures start. The solder joints should never carry mechanical load; they are electrical connections, and the mechanical securing is separate.
Protecting the Finished Repair
Once the repair tests good (continuity confirmed, neighboring traces checked for bridges), protect it. A coat of conformal coating, nail-polish-like UV cure mask, or even a careful layer of Kapton tape over the repair guards against future abrasion and shorting. The protection also signals to the next technician that the repair is intentional and complete, not a work in progress.
Document the repair if the board matters: a note on the board or in the service record describing what was fixed and where. The next person to troubleshoot the board should know the jumper is a repair, not original design, because that knowledge changes how they interpret what they see.
Expose solid copper, bridge with properly gauged enamel wire, solder quickly and cleanly, secure mechanically, and protect the result. A broken trace is a small disaster with a small, elegant fix; the enamel wire jumper, done right, is often stronger than the trace it replaced.
Related Guides
- Jumper Wire Loop Strain Relief Under Conformal Coat: Repair jumper wires, the fine wires bodged across a board to fix a broken trace or add a missing connection, fail at the solder joint. The wire
- Restoring Torn Trace Pads With Copper Ribbon: A torn pad, the copper circle ripped off the board along with the component, looks like a dead board. It usually is not. The trace underneath still
- Micro-Jumper Bonding With Two-Part Silver Epoxy: Every repair bench eventually meets the board that cannot be soldered: a lifted pad with no copper left to wet, a trace cracked under a chip you
- Copper Foil Bridge Overlap on Solder Mask Scrapes: Scrape through the solder mask down to bare copper and you have exposed a conductor that will oxidize, short against anything that touches it, and