
Every repair bench eventually meets the board that cannot be soldered: a lifted pad with no copper left to wet, a trace cracked under a chip you cannot heat without collateral damage, or a heat-sensitive component sitting millimeters from the joint you need. Two-part silver epoxy earns its place in the kit for exactly these situations. It is a structural adhesive loaded with silver particles that conducts electricity as it cures, letting you bond a fine jumper wire to a scraped trace or a component lead with no iron anywhere near the work. It is not a replacement for solder. It is the tool you reach for when solder cannot go where the repair needs to be.
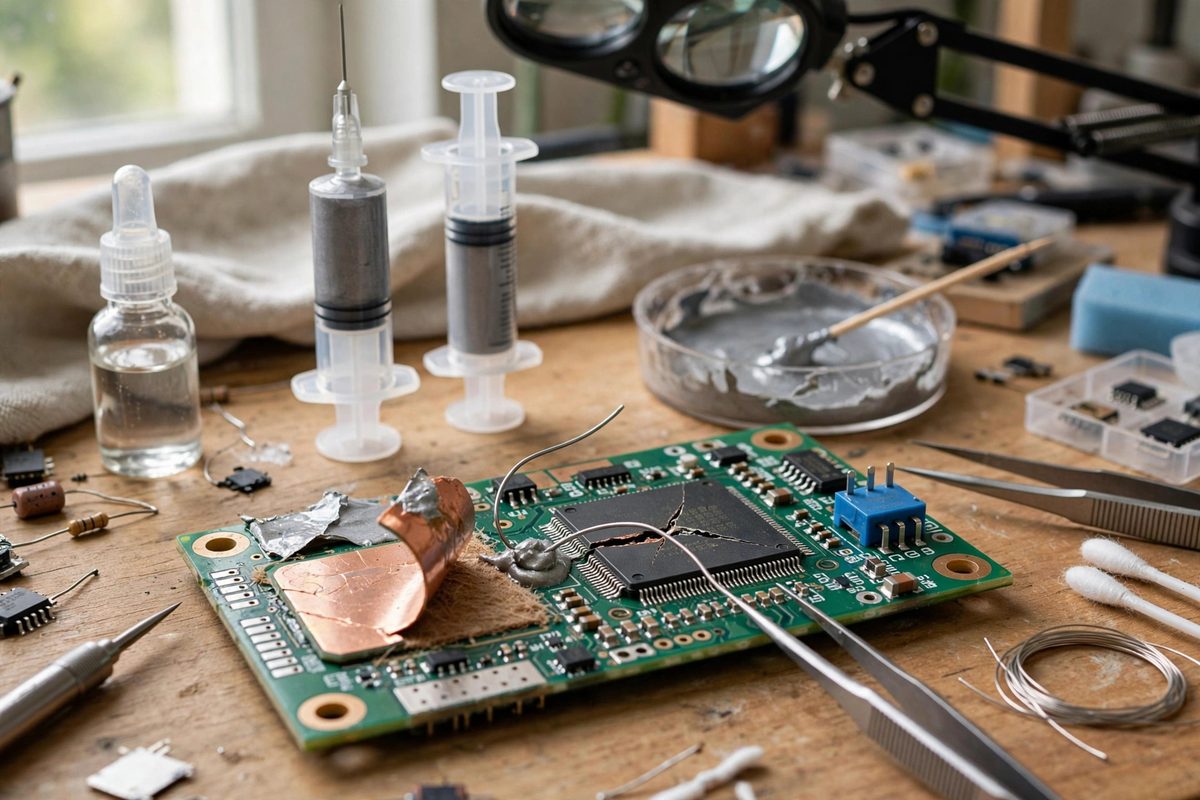
When epoxy beats solder
Silver epoxy makes sense in a narrow but important set of cases. Lifted or torn pads on fragile boards are the classic one: there is nothing left for solder to grip, but a jumper wire epoxied to the exposed trace restores the connection. Heat-sensitive parts are another: some sensors, plastic-bodied components, and already-stressed boards cannot survive another thermal cycle, and a room-temperature cure sidesteps the problem entirely. It also works where access defeats an iron, such as a via under a shield or a joint facing the wrong way in a dense assembly. What it does not do is match solder's conductivity or mechanical strength, so reserve it for signal paths and low-current connections, and never for anything carrying serious power or mechanical load. A jumper that flexes will eventually crack an epoxy bond that a solder fillet would have survived.
Choosing and mixing the epoxy
Conductive epoxies come as two parts, resin and hardener, that must be mixed in the ratio the manufacturer specifies, often by weight rather than by volume. Mix thoroughly but gently: whipping air into the mix creates voids that raise resistance and weaken the bond. Mix only what you will use within the working time, because once the parts meet, the clock runs regardless of whether you are ready. For micro-jumper work you want a formulation with a fine silver loading and a workable viscosity, fluid enough to wet a scraped trace but thick enough not to run across the board. Dispense a tiny amount onto a mixing pad and transfer it with a fine needle or a sharpened toothpick. The right quantity looks almost too small. A blob that spreads is a short circuit waiting to happen.
Preparing the bonding surfaces
Silver epoxy bonds to what it can grip, so surface preparation decides the repair. Gently scrape the solder mask off the trace at the bonding point to expose bright copper, using a fiberglass scratch pen or a scalpel with a light touch. The goal is clean metal, not a trench: gouging through the thin trace copper destroys the very conductor you are trying to reach. Clean the exposed area with isopropyl alcohol to remove flux residue, oils, and fiberglass dust, and let it dry fully. Strip and tin the jumper wire end lightly if you like, though the epoxy bonds fine to clean bare copper. Position the wire with tweezers and hold it steady; unlike solder, which grabs the wire the instant it freezes, epoxy holds nothing until it cures, so plan a way to keep everything motionless, such as a bit of Kapton tape anchoring the wire's far end.
Applying and curing the joint
Place a small dot of mixed epoxy over the wire-to-trace junction, enough to encapsulate the contact with a slight fillet, and no more. Check under magnification that the epoxy has not bridged to neighboring traces, because it conducts and it does not forgive. Then leave it alone for the full cure time at the specified temperature. Room-temperature cures take hours; gentle warmth shortens the time substantially, but stay well within the rated range, since overheating the cure can degrade conductivity. Do not probe, tug, or power the joint early. An epoxy bond disturbed mid-cure never reaches full strength, and a joint that tests good at hour two can fail at hour twenty if the cure was interrupted. Patience is a structural material here.
Testing and protecting the repair
Once cured, verify the joint electrically before you celebrate. Check continuity across the repair and confirm there is no leakage to adjacent traces, since a thin smear of silver epoxy between conductors is easy to miss visually. Measure resistance across the joint and compare it with your expectation for the wire length involved; a reading far higher than the wire alone suggests a poor bond or a void, and the honest fix is to remove and redo it rather than to pile on more epoxy. For mechanical protection, a drop of non-conductive epoxy or conformal coating over the cured joint guards against flexing and abrasion, which are the long-term enemies of every adhesive bond. Document the repair on the board or in your notes. The next person to service it deserves to know the joint is epoxy, not solder, before they attack it with a hot iron.
Safety and shelf life
Two-part epoxies are sensitizers: repeated skin contact can develop into an allergy that ends your use of them permanently, so wear nitrile gloves and work ventilated. Uncured hardener in particular deserves respect. Keep the components sealed and stored as directed, because conductive epoxy has a finite shelf life and expired material cures weakly or not at all. If a tube has been open for many months, test-cure a dot on scrap before trusting it on a real repair. And keep the mixed waste contained; cured silver epoxy is inert, but the uncured parts should not go down the drain or into household trash loose.
Silver epoxy is the repair you use when heat is the enemy: scrape to bright copper, mix small and clean, place the wire, cure it fully undisturbed, and protect the result. It will never replace a proper solder joint, but on the board that cannot be soldered, it is the difference between a working repair and a parts donor.
Related Guides
- Jumper Wire Loop Strain Relief Under Conformal Coat: Repair jumper wires, the fine wires bodged across a board to fix a broken trace or add a missing connection, fail at the solder joint. The wire
- Restoring Torn Trace Pads With Copper Ribbon: A torn pad, the copper circle ripped off the board along with the component, looks like a dead board. It usually is not. The trace underneath still
- Rebuilding Broken Circuit Traces With Enamel Wire: Circuit board traces break: scratched by a slipped screwdriver, lifted by overheated rework, corroded by a leaking battery, or cracked by flexing
- Copper Foil Bridge Overlap on Solder Mask Scrapes: Scrape through the solder mask down to bare copper and you have exposed a conductor that will oxidize, short against anything that touches it, and