
A stained glass panel's weatherproofing lives in the lead came: the flanges must lie tight against the glass on both faces, with no gaps for water to enter. Burnishing, pressing and smoothing the flanges down firmly, is the step that converts a loosely assembled panel into a sealed one. Skipped or rushed, it leaves a panel that looks finished and leaks from the first rain.
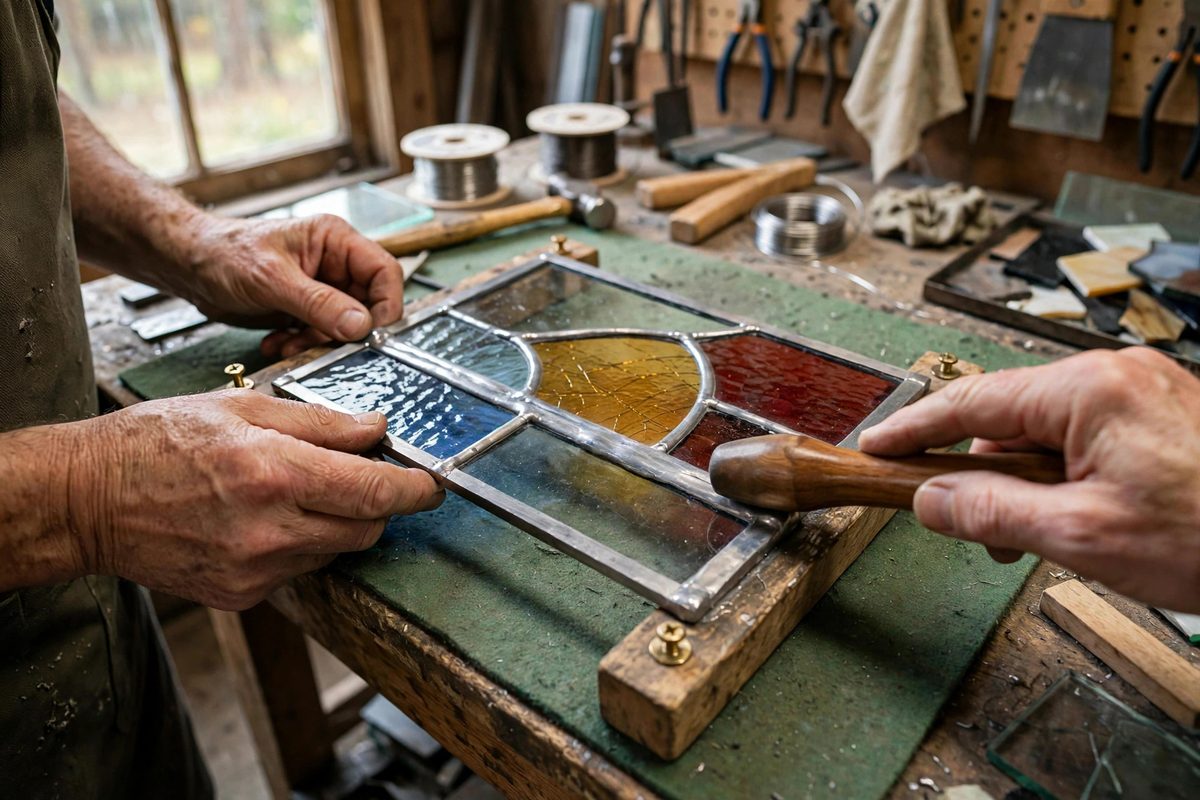
What Burnishing Does
Fresh lead came has flanges that stand slightly open from cutting, stretching, and fitting. Burnishing presses those flanges flat against the glass, closing the channel around each piece. The pressure also work-hardens the lead slightly, stiffening the panel, and it seats the glass firmly so nothing rattles. On a weatherproof panel, the burnished flange is the primary water barrier; the cement applied afterward is the backup. A flange that was never burnished tight leaves a capillary gap that cement alone cannot reliably fill.
Tools and Technique
Burnish with a proper fid or burnishing tool, hardwood or plastic, shaped to reach into the came channels without scratching the glass. Work along each came line with firm, overlapping strokes, pressing the flange down on both faces of the panel. Go over every joint, because joints are where flanges lift most. The lead should end up smooth and tight, with the flange edges lying flat and even. Avoid steel tools on the glass faces; a slipped steel burnisher scratches glass permanently, while wood or plastic just leaves a mark that wipes off.
Working the Joints
Soldered joints need burnishing attention too. After soldering and cleaning, the came around each joint often sits slightly proud or distorted from the heat. Burnish the flanges back down around every joint, checking that the solder fillet itself is smooth and does not hold the flange up. A solder blob under a flange creates a permanent gap; file or rework the offending solder rather than burnishing around it. The joints are the panel's stress points and its leak points, so they get the most careful burnishing, not the least.
Cementing After Burnishing
With the flanges burnished tight, work cement under the flanges from both faces, pushing it into the remaining hairline gaps. The cement waterproofs and stiffens the panel, but it only works where the flanges are already close to the glass; it cannot bridge wide gaps. Apply the cement, let it set up partially, then clean the excess from the glass and do a final light burnish to seat everything. The sequence matters: burnish, cement, clean, burnish again. Reversing it traps problems under the cement.
Checking the Finished Panel
Inspect the finished panel against the light: no daylight should show between flange and glass anywhere. Press gently on the glass pieces; nothing should move or click. For exterior panels, a hose test after full curing confirms the work, though it should be done gently and with the panel properly supported. A panel that passes these checks will shed weather for decades; the lead, the burnish, and the cement form a system that has protected windows for centuries when executed properly.
Burnish every flange tight to the glass, work the joints carefully, cement into the closed channels, and verify against the light. The weatherproofing is in the burnish; the cement just keeps it honest.
Related Guides
- Reinforced Zinc Came Framing for Large Stained Windows: Large stained glass windows carry real weight, and the zinc came framework that holds the glass must be engineered, not just assembled. Unreinforced
- Copper Foil Width Selection for Hand Rolled Glass: Copper foil stained glass joins pieces by wrapping each edge in adhesive copper tape and soldering the foiled edges together. The foil's width
- Flux Residue Neutralization on Stained Glass: Flux makes solder flow, and flux residue makes solder joints corrode. The same chemistry that cleans metal oxides during soldering keeps working