
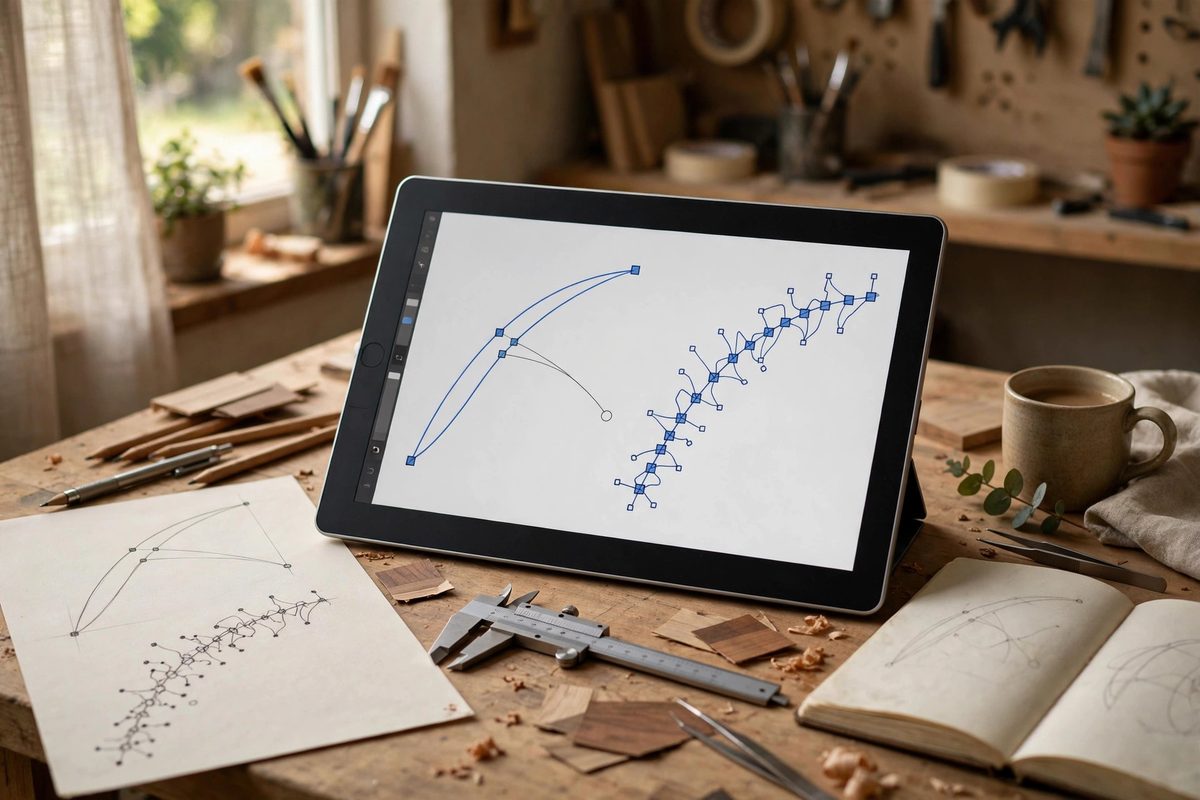
Every smooth curve in a vector drawing is a negotiation between anchor points and their bezier handles, and the number of points on the curve decides who wins. Too many anchors and the path develops lumps and flats that no amount of handle tweaking will fix; too few and the curve refuses to take the shape you want. Clean curves come from using the fewest points that can describe the shape, placed where the curve changes direction, with handles doing the rest of the work.
Why anchor count matters more than anchor placement
A beginner's instinct is to drop a point everywhere the curve looks complicated. Each anchor introduces a potential discontinuity, because the software blends handle directions across points, and every point is a place where that blend can wobble. A circle drawn with four well-placed anchors and symmetric handles is mathematically smooth. The same circle drawn with thirty anchors will show faint ripples even when every point sits on the circle, because the handle interpolation keeps changing direction between closely spaced points.
The practical rule: place anchors at the extremes of the curve (its topmost, bottommost, leftmost, and rightmost points) and at corners or sharp transitions, and nowhere else to start. If the curve still will not match the shape you need, add a point at the spot of worst deviation, not at every spot.
Smooth points versus corner points
Most vector tools offer two kinds of anchors, and mixing them up is the source of a huge number of bad curves. A smooth point forces the two handles on either side to stay aligned, producing a continuous tangent through the point: no kink possible. A corner point lets each handle aim independently, which is what you need at an actual corner but which introduces a potential kink everywhere else.
The common failure is a curve that should be smooth but has corner points from sloppy pen-tool work, producing subtle kinks that become visible when the path is stroked thick or scaled up. The fix is to select the offending points and convert them to smooth points, then re-balance the handles. Conversely, a genuinely sharp transition drawn with smooth points will fight you forever, rounding a corner you wanted crisp. Match the point type to the geometry: smooth where the tangent is continuous, corner where it breaks.
Handle length and the weight of the curve
Handle length controls how far the curve's influence extends from the anchor, which is the "weight" the title refers to. Long handles pull the curve toward the handle direction over a greater distance, flattening the curve near the anchor and pushing the maximum curvature toward the middle of the segment. Short handles let the curve bend sharply near the anchor.
The classic beginner error is handles of wildly different lengths on either side of a smooth point, which makes the curve bend asymmetrically even though the tangent is continuous. The result looks fine at small sizes and lumpy at large ones. A good habit: after shaping a curve, check that opposite handles are roughly proportional to the segment lengths they control. They do not need to match exactly, but a handle twice as long as its partner is doing twice the work, and the curve will show it.
The pull, don't push method of editing
When a curve is close but not right, the instinct is to grab an anchor and drag it onto the target shape. This almost always makes things worse, because moving the anchor changes both adjacent segments at once. Instead, adjust the handles: rotate them to change the curve's direction, lengthen or shorten them to change its fullness. Handles are the fine controls; anchors are the coarse ones. Move an anchor only when the curve's overall position is wrong, not when its shape is wrong.
Another useful technique is to temporarily hide the artwork and look at the path skeleton alone. Lumps that are invisible against a busy drawing become obvious when the path is all you see. If the skeleton looks smooth, the rendered curve will too.
Reducing points on imported or traced paths
Auto-traced artwork and imported paths arrive with far too many anchors, often hundreds on a simple shape. Most vector tools include a simplify or reduce-points operation that removes anchors while keeping the curve within a tolerance of the original. Run it, then inspect the result: simplification algorithms preserve shape but do not always preserve point type, so convert problem points and re-balance handles afterward. The cleaned path is smaller, renders faster, and edits far more predictably than the original.
Clean curves are not a talent, they are a discipline: few anchors, right point types, balanced handles, and the habit of editing handles instead of dragging points. Get those four things right and the pen tool stops being the frustrating tool and becomes the precise one.
Related Guides
- Managing Vector Node Density in Linework Paths: Vector linework is built from nodes, the anchor points that define a path's curves, and node density, how many anchors describe a given length of
- Custom Brush Pressure Curves for Digital Inking: A pressure curve maps how hard you press on your stylus to how thick, opaque, or wide the digital brush stroke becomes. The default curve in most
- Color Gamut Profile Matching in CMYK Linework: Digital linework destined for print lives in two color worlds: the glowing RGB of the screen and the ink-on-paper CMYK of the press. Colors that look