
Bubbles under collage papers are trapped air, and trapped air is a viscosity problem. Acrylic matte medium is the standard collage adhesive, but it ships at a thickness designed for general painting, not for slipping paper down flat. Used straight from the jar, it can be too thick to flow into the paper's fibers, so air pockets survive under the sheet and surface as bubbles once the medium skins over. Thinning it to the right viscosity, and applying it the right way, is what separates flat, archival collage from work that wrinkles and lifts within a year.
Why Viscosity Causes Bubbles
When you lay paper onto wet medium, air must escape sideways out from under the sheet. Thick medium resists that sideways flow, so air gets caught in pockets, especially under large pieces where the escape path to the edge is long. At the same time, thick medium does not wet into the paper fibers quickly; it sits on top as a discrete layer, and the paper's underside never fully bonds, leaving a weak, air-filled sandwich. Thin medium flows: it wicks into the fibers, carries air out ahead of it, and bonds paper to substrate as one integrated layer. The tradeoff is that medium thinned too far loses body, soaks through thin papers, and dries with less adhesive strength. The target is a viscosity that flows under a brayer but still holds a soft peak on the brush: roughly like heavy cream, not milk and not paste.
Thinning Without Weakening
The safe way to thin acrylic medium is with water, added gradually, because the medium's adhesive strength comes from its polymer content and water simply spreads that polymer over a larger area. A ratio of roughly one part water to four or five parts medium usually lands in the collage sweet spot, but start lean and add more: every brand's base viscosity differs slightly, and humid studio air already keeps things fluid. Stir gently rather than whipping, because vigorous stirring folds air into the medium itself, which defeats the purpose. What to avoid: thinning beyond about one part water to two parts medium, where adhesion drops off noticeably, and using flow improvers or wetting agents as a shortcut, which can leave the dried film tacky or interfere with later paint layers. If the medium still feels thick after moderate thinning, check whether it is old: partially dried or skinned medium never thins cleanly and should be replaced.
Coating Both Surfaces
Bubble-free collage comes from coating both the substrate and the paper, not just one side. Brush a thin, even layer of thinned medium onto the substrate where the paper will sit, then brush a light coat onto the back of the paper as well. The back coat does two jobs: it pre-wets the fibers so the paper relaxes and lies flat instead of curling, and it gives the trapped air a continuous fluid path to escape through. Let the paper sit for a few seconds after back-coating; you will see it soften and flatten. Then lay it down from one edge, rolling it across like applying a screen protector, rather than dropping it flat, which traps a sheet of air underneath. This rolling placement is the single most effective bubble-prevention technique, and it costs nothing.
Brayering Technique
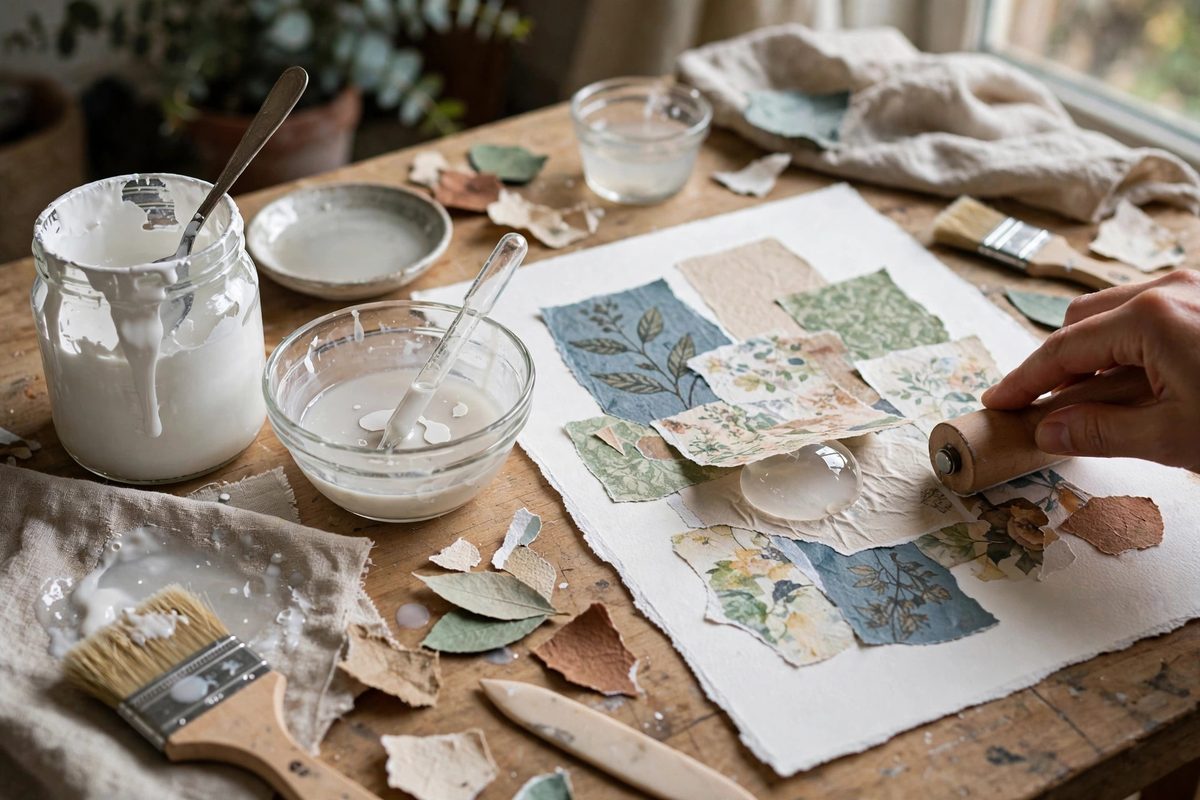
Once the paper is down, a brayer is the tool that finishes the job. Roll from the center outward with firm, even pressure, which pushes residual air and excess medium toward the edges. Use a hard rubber brayer for smooth papers and a softer one for textured papers that need to conform. Keep the brayer clean: dried medium on the roller leaves ridges in the paper. Work quickly but without panic; matte medium gives you a working window of several minutes, and rushing creates wrinkles that are worse than the bubbles you are preventing. For delicate or thin papers that a brayer might tear, substitute a sheet of silicone release paper or wax paper over the collage and smooth with your fingers or a bone folder through the protective layer. The release sheet also prevents medium from squeezing out onto your tools.
Sealing the Top
After the collage is down and dry, seal the top with another coat of medium. This locks the edges, unifies the surface sheen, and protects the paper for any paint layers that follow. Apply the topcoat in one direction with a soft brush, using the thinned viscosity, and resist going back over areas that have started to set: reworking half-dry medium drags the paper and introduces the very wrinkles you avoided. Two thin topcoats beat one thick one, because each thin layer dries through completely while a thick layer can skin over with moisture trapped underneath, which later causes cloudiness or lifting. Let each coat dry fully, to the touch and a bit beyond, before the next. Patience here is structural, not cosmetic.
Flat collage is a fluid-dynamics problem wearing an art-supply disguise. Thin the medium to heavy-cream consistency, coat both surfaces, roll the paper down from one edge, brayer from the center out, and seal in thin coats. Follow that sequence and bubbles become a rarity instead of a routine.
Related Guides
- Wax Medium Buffing Sheen on Collage Surfaces: Cold wax medium gives collage surfaces a luminous, encaustic-like depth, and buffing is what brings out its signature sheen. The difference between a
- Preventing Paper Wrinkling in Wet Collage Beds: Wet collage, laying paper elements into a bed of wet medium or adhesive, produces beautiful integrated surfaces where the papers seem to grow out of
- Tension Flattening for Buckled Rice Paper Collages: Rice paper buckles when it gets wet, and collage gets it wet. Every layer of paste or medium swells the fibers, and as the piece dries the fibers