
Between forging a blade and hardening it lies a heat treatment step that beginners routinely skip and experienced smiths never do: normalizing. Heating the blade to its critical temperature and letting it cool in still air, repeated two or three times, refines the grain structure that forging leaves coarse and stressed. The few minutes normalizing takes pay off in a blade that hardens evenly, resists warping in the quench, and holds an edge instead of chipping. It is the least dramatic step in bladesmithing and one of the most consequential.
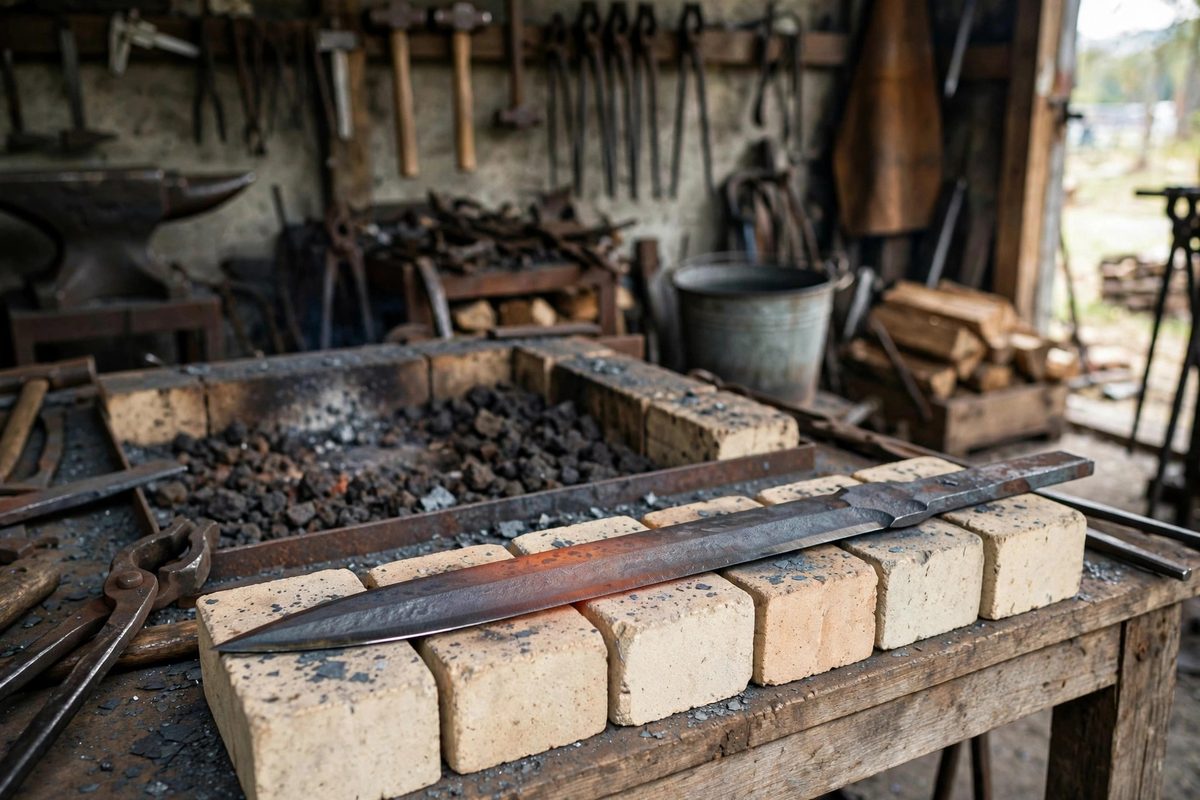
What forging does to the grain
Steel is crystalline, and its properties depend heavily on the size of those crystals, the grain. Forging at high heat grows the grain: the hotter and longer the steel soaks, the coarser the grains become. Coarse grain is bad news for a blade: it hardens unevenly, it is prone to quench cracking, and the finished edge chips because cracks propagate easily along large grain boundaries. Forging also leaves internal stresses from uneven working and uneven cooling. A blade straight from the forge is therefore a blade with coarse, stressed grain, exactly the wrong starting point for hardening. Normalizing exists to fix this: each heating-and-air-cooling cycle recrystallizes the steel, and each cycle produces a finer grain than the last, while the slow cooling relieves the forging stresses.
The normalizing cycle
Heat the blade evenly to just above its critical temperature: the point where it becomes non-magnetic, visible as a bright red heat in dim light. The key word is evenly; a blade with hot and cold spots normalizes unevenly, so take the time to soak the whole blade to a uniform color. Then remove it from the heat and let it cool in still air, lying flat or standing so air reaches all sides. Do not quench, do not fan it aggressively; the slow air cool is what produces the refined structure. Once it reaches room temperature (or at least below any visible color), repeat the cycle. Two to three cycles is the standard for forged blades; each cycle refines further, with diminishing returns after the third. You can verify the effect by breaking a normalized test coupon: fine, smooth grain at the fracture instead of coarse, sparkly grain.
Normalizing versus annealing
Beginners often confuse normalizing with annealing, since both involve heating and cooling. The difference is the cooling rate and the purpose. Annealing cools the steel as slowly as possible, often buried in insulating material, producing the softest possible state for machining or filing. Normalizing cools in still air, faster than annealing, producing a refined but not fully softened structure. For a blade headed to hardening, normalizing is the right treatment: it refines the grain while leaving the steel in a consistent, predictable state for the quench. Annealing has its place, softening a blade for drilling or hand filing before hardening, but it is a separate operation with a separate goal. Use normalizing to prepare the grain; use annealing to soften for machining; harden from the normalized state.
Decarburization and scale: managing the surface
Every heating cycle oxidizes the blade's surface, forming scale, and at high temperatures the surface also loses carbon to the atmosphere, a process called decarburization. A decarburized skin will not harden properly, leaving a soft outer layer on the finished blade. Manage this by normalizing at the minimum effective temperature and minimizing time at heat; do not overshoot into bright orange when bright red suffices. After normalizing, grind or file the blade's surfaces lightly to remove scale and any decarburized layer before hardening, exposing fresh steel. This cleanup pass also lets you inspect the blade's straightness and correct any warp before the quench, when correction is easy. Think of normalizing as ending with a clean, straight, fine-grained blade ready for its hardening heat.
Forge safety for the normalizing heats
Normalizing uses the same equipment and hazards as forging: an extremely hot heat source, hot steel, and scale that pops off unpredictably. Wear eye protection always; hot scale in the eye is a classic forge injury. Use tongs that grip the blade securely, and handle the blade deliberately at every step, since a dropped blade at normalizing temperature is a fire and burn hazard. Ensure ventilation, particularly with coal or gas forges, and keep the work area clear of clutter and flammables. The normalizing heats are calmer than forging heats, no hammering, no urgency, which makes them a good time to practice the deliberate, unhurried movement that keeps forge work safe.
Heat evenly to non-magnetic, cool in still air, repeat two or three times, then clean the surfaces before hardening. Normalizing is quiet work with loud results: fine grain, even hardening, and a blade that performs like the steel promised.
Related Guides
- Differential Clay Quenching for Clean Hamons: The hamon, the visible line separating the hardened edge from the softer spine on a differentially hardened blade, is both beautiful and functional
- Forging Tapered Tangs on High Carbon Hunting Knives: A tapered tang, thinning from the blade toward the butt, is the mark of a well-made hunting knife. It moves the balance point forward toward the
- Clay Coat Thickness for Defined Hamons in 1095 Steel: The hamon, the visible line separating hardened edge from softer spine, is the signature of a differentially hardened blade. On 1095 steel, the clay