
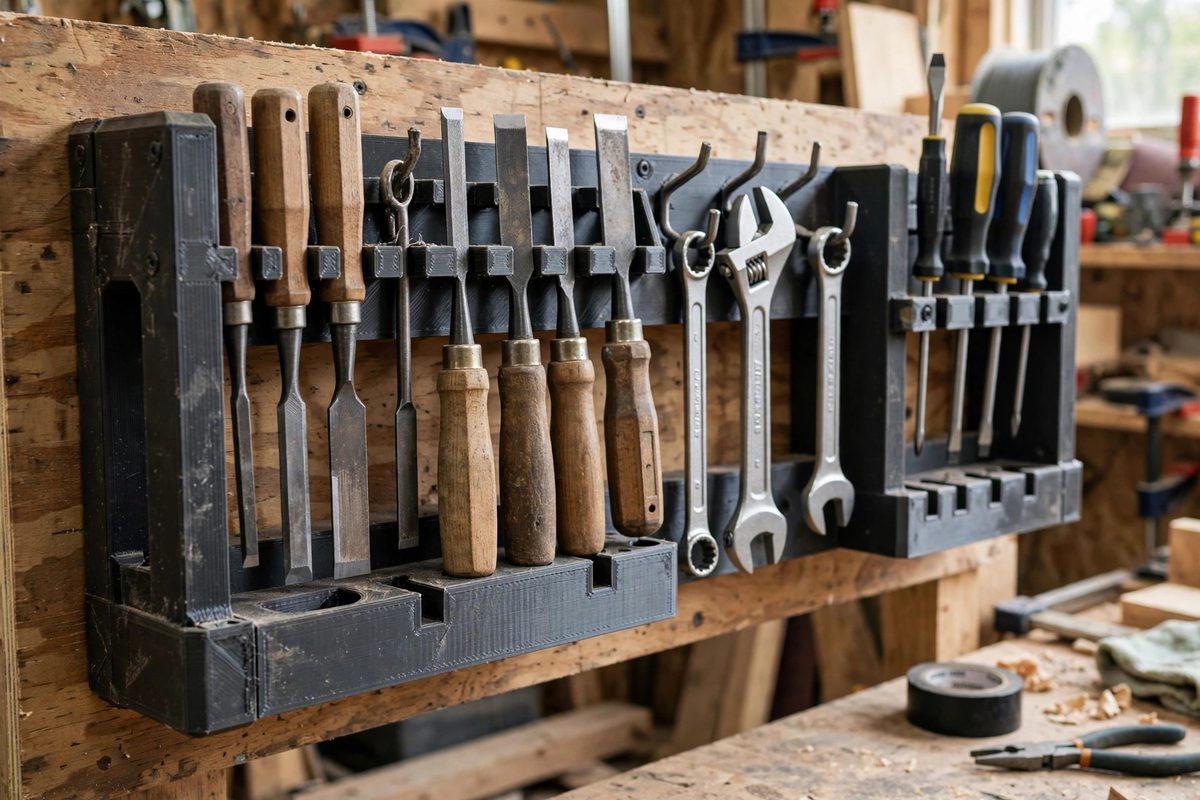
A printed tool rack holds real weight: chisels, wrenches, and drivers hanging off hooks and slots, loaded and unloaded daily. The perimeter walls, the outer shells of the print, carry much of that load. Optimizing their thickness is the difference between a rack that lasts years and one that cracks at the first overloaded hook.
What perimeters do structurally
In a 3D print, the perimeters are continuous loops of extruded plastic forming the part's skin, and they are the strongest element of the print: continuous strands, well bonded, running in the direction of the load. Infill, by contrast, is a sparse internal structure. For a tool rack, where hooks and slots create stress concentrations at the surface, the perimeters do the heavy lifting. Adding perimeters strengthens the part far more efficiently than adding infill, because the strength goes exactly where the stress is.
How many perimeters
Two perimeters is the default for decorative prints; a load-bearing tool rack wants more. Three to four perimeters is the practical range for most racks, with heavily loaded hooks or thin sections going higher. The returns diminish eventually: beyond about five or six perimeters, you are adding weight and print time for marginal gains, and the part is essentially solid at the walls anyway. Test with the actual load: print a sample hook section, load it beyond the expected weight, and see where it fails. The failure tells you whether the walls or something else need the attention.
Wall thickness versus nozzle size
Perimeter count and nozzle size interact. With a standard small nozzle, four perimeters make a wall around a millimeter and a half thick; with a larger nozzle, the same count makes a much thicker wall. Design the rack's thin sections with the actual wall thickness in mind: a hook designed as two millimeters thick with a big nozzle may print as nearly solid perimeters, which is fine, or may not slice as intended. Check the sliced preview, not just the CAD; the preview shows what the printer will actually build.
Reinforcing the stress points
Hooks, slots, and mounting holes are where racks fail, and perimeters alone may not suffice. Add fillets at the base of hooks to spread the stress; a sharp inside corner is a crack waiting to happen. Consider local thickening: design the CAD so high-stress areas get extra perimeters via modifier meshes or simply thicker sections. The mounting points deserve special attention, since the whole rack's weight plus the tools hangs on them; through-bolts with washers beat screws into plastic for heavy racks.
Infill's supporting role
Infill still matters: it supports the perimeters and resists crushing. A moderate infill density, in the twenty to forty percent range, with a strong pattern, backs up the walls without wasting plastic. For racks, the infill's job is mostly to keep the perimeters from buckling inward under load. Do not chase strength with infill alone; a rack with heavy infill and two perimeters will still fail at the surface where the hooks attach.
Material choice
The plastic matters as much as the geometry. A tough material with good layer adhesion and some flex resists the cyclic loading of tools being grabbed and replaced; a brittle material cracks at the stress concentrations no matter how thick the walls. Print the rack in an orientation that puts the layer lines perpendicular to the main loads where possible, since layer adhesion is the weakest direction. The right material, oriented well, with optimized perimeters, makes a rack that outlasts the tools it holds.
Run three to four perimeters or more at the stress points, fillet the hooks, back the walls with sensible infill, and choose a tough material. The printed rack will hold its tools without complaint, load after load.
Related Guides
- Perimeter Wall Infill Ratios for Tough Mallet Heads: A 3D-printed mallet head takes impacts for a living, and impact is the cruelest load you can ask of a layered plastic part. The difference between a
- Shell Thickness Optimization for Tough Impact Wrenches: An impact wrench housing printed in PLA that cracks after twenty bolts is not a failed design, it is a failed thickness decision. The shell of a
- Print the NASA Ratcheting Wrench from Space: The First Tool "Emailed" to Space! In 2014, NASA made history by transmitting a 3D model file from Earth to the International Space Station, where
- Print Orientation for Shear Strength on Shop Wrenches: A 3D-printed wrench is a study in compromise: enormously useful for odd sizes, custom clearances, and non-marring work, but built from a material
- Print Infill Geometry for Impact-Resistant Mallets: A 3D-printed mallet is a real tool if it is built like one. The head must absorb repeated impacts without delaminating, cracking, or shattering, and