
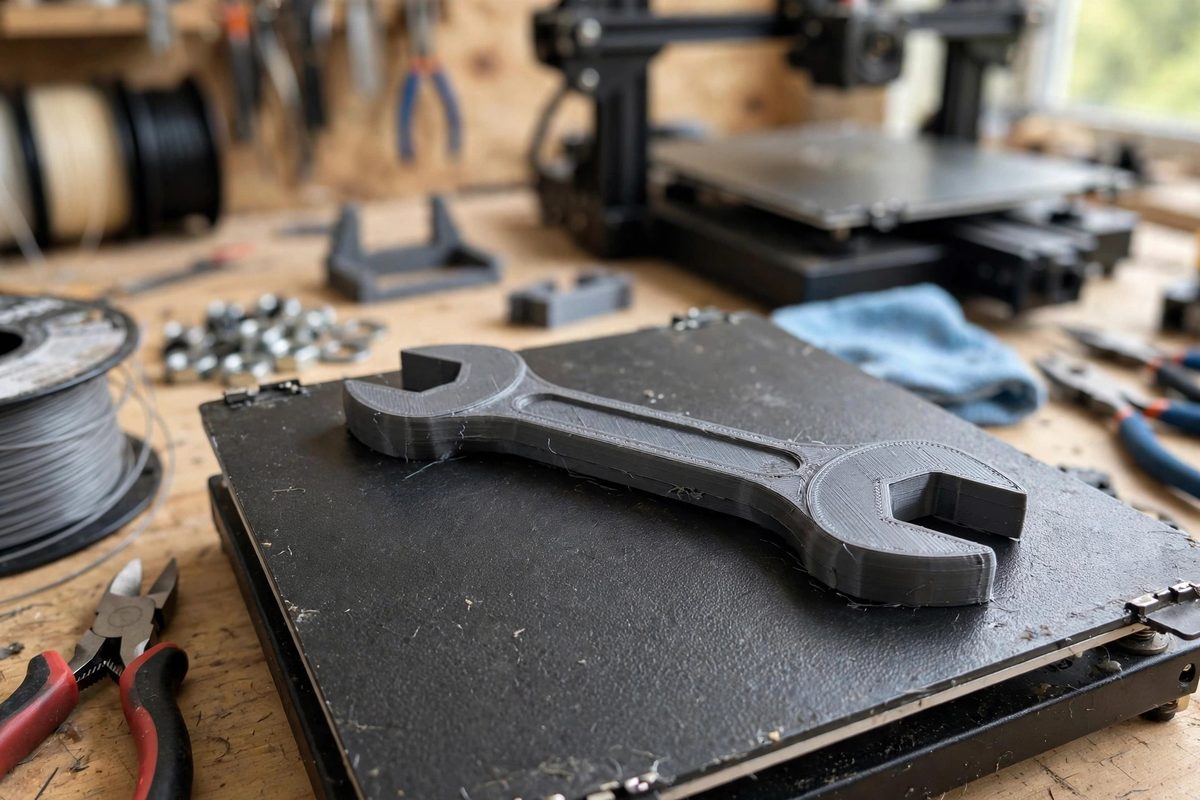
A 3D-printed wrench is a study in compromise: enormously useful for odd sizes, custom clearances, and non-marring work, but built from a material whose strength depends entirely on which direction you ask it to work. Get the print orientation right and a PETG or nylon wrench handles real shop torque. Get it wrong and it shears along a layer line the first time you lean on it. Orientation is the single most consequential slicer decision for any printed tool that transmits force.
Why layers are the weak axis
A fused-filament print is not a solid block of plastic; it is a stack of welded-together layers, and the welds between layers are weaker than the plastic within a layer. Pull along the layers and you test the filament's own strength. Pull across the layers and you test the welds, which typically manage only a fraction of the bulk strength, roughly half to three-quarters depending on material and print settings. A wrench in use puts its handle in bending and its jaws in shear, and the failure that matters is the one where the stress tries to separate layers. Your orientation job is to arrange the print so that the highest stresses run along the layers, never across them. Think of it as aligning the grain: woodworkers would never make a hammer handle with the grain running across the striking direction, and the same instinct applies here.
Orienting a wrench for real loads
For a typical open-end or combination wrench, the strong orientation is flat on the bed: the wrench's wide faces parallel to the build plate, layers stacking through the thickness. In this orientation, bending the handle stresses the layers along their planes, and the jaw opening forces also run in-plane. The weak direction, through the thickness, sees almost no load in normal use. The tempting alternative, printing the wrench standing on edge to get a smoother jaw profile, is a trap: it stacks the layer boundaries right across the bending plane of the handle, so the first hard pull delaminates the wrench along its length. Flat printing may need support for overhanging jaw details, but supports are cheap and a sheared wrench is not. For box-end or ratcheting geometries, the same principle holds: identify the plane of the main bending load and keep the layers parallel to it.
Walls, infill, and the skin that does the work
In bending, the outermost material carries the highest stress, which means perimeters matter more than infill for a wrench. Use many perimeters, six or more for a hardworking tool, so the highly stressed skin is solid, continuous plastic rather than a thin shell over sparse infill. Then fill the interior densely: high infill percentages, or fully solid for small wrenches, because a hollow core under the skin buckles and the skin follows it. Some slicers offer concentric or aligned infill patterns that reinforce along the load direction; these are worth trying for tools. Material choice matters too: PETG offers good toughness and layer adhesion for general shop wrenches, while nylon or polycarbonate step up strength and heat resistance at the cost of harder printing. Whatever the material, dry it before printing, because wet filament welds poorly and poor welds are exactly the weak axis you are trying to protect.
Fillets, stress risers, and jaw design
Wrenches break at stress concentrations, and the classic one is the inside corner where the jaw meets the handle. A sharp inside corner multiplies the local stress far above the nominal value, so model generous fillets at every transition: jaw to handle, handle to box end, any notch or lightening cutout. If the design includes a hex socket or an adjustable jaw, keep the wall around it thick; thin walls around a socket split under torque. Size the wrench honestly for the fastener and the expected torque: a printed wrench is a light-to-medium duty tool, excellent for assembly, adjustment, and holding, not for breaking loose rusted fasteners. Designing within that envelope, rather than hoping the print exceeds it, is what keeps printed tools trustworthy.
Testing before trusting
Every printed wrench that will see real torque deserves a proof test. Clamp a matching nut or bolt head, apply torque gradually with the wrench, and watch and listen: creaking, whitening at the fillets, or visible flexing beyond a small amount are warnings. Test to a torque comfortably above what the wrench will see in service, then inspect for damage; a wrench that survives proof testing without whitening is a wrench you can trust. And observe the shop safety rule that applies to all improvised tools: never extend a printed wrench with a cheater bar, never strike it, and stand clear of the failure path during testing. A printed wrench that fails should fail in your test rig, not in your hand.
Orientation is free: it costs nothing but thought, and it is the difference between a printed wrench that earns a place in the toolbox and one that earns a place in the trash. Lay it flat, skin it thick, fillet the corners, and prove it before you trust it.
Related Guides
- Shell Thickness Optimization for Tough Impact Wrenches: An impact wrench housing printed in PLA that cracks after twenty bolts is not a failed design, it is a failed thickness decision. The shell of a
- Print the NASA Ratcheting Wrench from Space: The First Tool "Emailed" to Space! In 2014, NASA made history by transmitting a 3D model file from Earth to the International Space Station, where
- Print Infill Geometry for Impact-Resistant Mallets: A 3D-printed mallet is a real tool if it is built like one. The head must absorb repeated impacts without delaminating, cracking, or shattering, and
- Optimizing Perimeter Wall Thickness for Tough Tool Racks: A printed tool rack holds real weight: chisels, wrenches, and drivers hanging off hooks and slots, loaded and unloaded daily. The perimeter walls
- Perimeter Wall Infill Ratios for Tough Mallet Heads: A 3D-printed mallet head takes impacts for a living, and impact is the cruelest load you can ask of a layered plastic part. The difference between a