
Shed roofs rot from the inside out more often than the outside in. Warm moist air rises into the roof cavity, condenses on the cold underside of the sheathing, and feeds decay in the dark where you never look. The fix is ventilation that moves air from eave to ridge, and it starts with getting the intake area right.
How roof ventilation actually works
Ventilation is driven by the stack effect: cool air enters low at the eaves, warms as it travels up the underside of the roof deck, and exits high at the ridge, carrying moisture with it. For the air to move, the intake and exhaust need roughly balanced area, with a slight bias toward the intake so the flow never reverses. Blocked soffits, insulation stuffed against the deck, or no ridge exhaust all stall the flow, and a stalled roof cavity is a humid one. Design the path first, then size it.
The net free area rule
The longstanding rule of thumb for roof ventilation is about 1 square foot of net free vent area for every 150 square feet of attic or roof-cavity floor area, where net free area means the actual open space air passes through, not the size of the vent cover. Mesh, louvers, and grilles all reduce the opening, so a vent that measures larger on paper delivers less in practice. Split the total roughly evenly between intake at the eaves and exhaust at the ridge. A 10 by 12 shed roof cavity therefore needs roughly 160 square inches of net free area at the eaves and about the same at the ridge.
Soffit vent selection and spacing
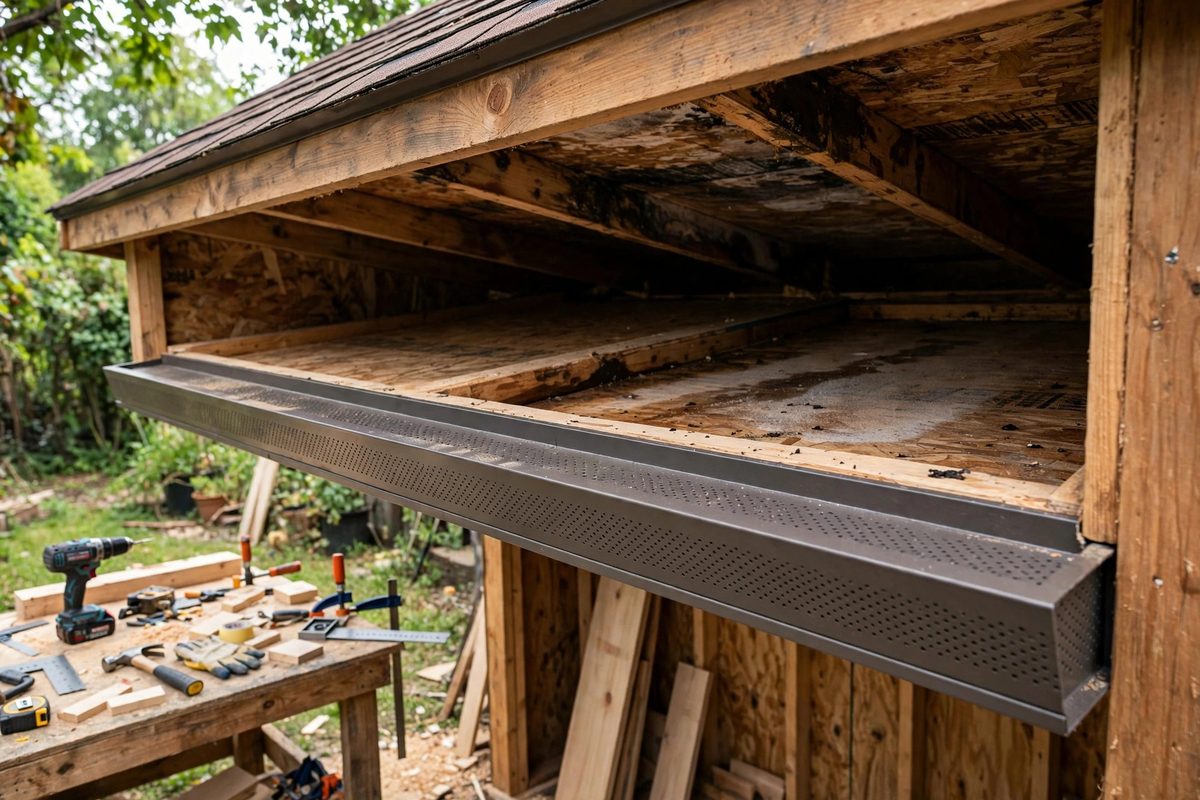
Soffit vents are the intake, and they need to stay clear for the life of the shed. Continuous perforated soffit panels give the most even airflow and the largest intake area, while individual round vents are easier to retrofit and adequate for small sheds. Space individual vents evenly along the eave, including near the gable ends where air would otherwise stagnate. Check that insulation baffles or vent chutes hold the insulation back from the soffit line; one slumped batt of insulation can plug the intake for a whole rafter bay.
Keeping the channel open under the deck
Intake and exhaust do nothing if the air cannot travel between them. In an insulated shed roof, maintain a clear channel of at least an inch between the insulation and the roof sheathing from eave to ridge. Cardboard or foam vent chutes stapled to the rafters before insulation hold this channel reliably. In an uninsulated shed roof, the whole cavity is the channel, but stored items stacked against the underside of the roof can still block flow. Leave the air path alone; it is doing quiet structural work.
Ridge exhaust options
The ridge needs a continuous exhaust to balance the eave intake. A ridge vent, which is a capped slot along the peak, is the standard answer and distributes exhaust evenly. Individual roof vents near the ridge work too, but they serve localized areas, so on a long shed you may need several. Whatever you choose, keep it weatherproof; an exhaust that admits rain creates the moisture problem it was meant to solve. In sheds that are left unheated, the ventilation demand is lower but not zero, because even an unheated roof sees condensation in shoulder seasons.
Inspecting what you cannot see
Every year or two, get a look at the underside of the roof sheathing from inside the shed. Dark staining, mold on the rafters, or damp-feeling sheathing in cold weather means the ventilation is underperforming. Check that soffit vents are not blocked by debris, paint, or insulation drift, and that the ridge exhaust is intact. Catching the problem at the staining stage costs you an afternoon of fixes; catching it at the rotting-deck stage costs you a roof.
Vent the eaves, vent the ridge, balance the two by the net free area rule, and keep the channel between them open. A shed roof that breathes stays dry, and a dry roof lasts decades longer than a sealed one.
Related Guides
- Load Bearing Header Sizing for Wall Spans: Open up a wall and the studs you remove were carrying weight, from the floor above, the roof, or both. A header is the beam that picks up that load
- Truss Collar Tie Sizing for Snow Load Spans: A shed roof that must carry snow is a small structure with a serious load problem: snow is heavy, it arrives all at once, and it stays. Collar ties
- Plywood Gusset Plate Nailing Patterns for Site Trusses: Site-built trusses for sheds and small outbuildings join their members with plywood gusset plates nailed across each joint. The gusset is the truss's
- Sizing Hurricane Ties for Shed Rafter Tie Downs: A shed roof fails in high wind the same way every time: the wind gets under the eave, the roof acts like a wing, and the rafters lift off the top
- Rafter Seat Cut Dimensions on Shed Wall Top Plates: The birdsmouth, where a rafter sits on the wall top plate, is the most important joint in a shed roof. Get the seat cut right and the rafter bears